MasterClass at Work
Learning solutions for employees from the world’s best
MasterClass at Work: Admin Implementation: Onboarding & Setup
Admin Onboarding Emails
Look out for emails from the MasterClass at Work team! These will contain helpful information and links to teach you how to invite users, set up teams, view analytics and more.
Email 1

Email 2

How to Set Up Your MasterClass at Work Admin Account
Activating Your Administrator Invitation
You should have received an email from MasterClass . If you don’t see it in your inbox, try checking your spam folder.

After you click the Activate Now button in the email, you should see the following screen, prompting you to create an account:
Create a password and then click on Create Account. Follow the prompts to successfully create your account.
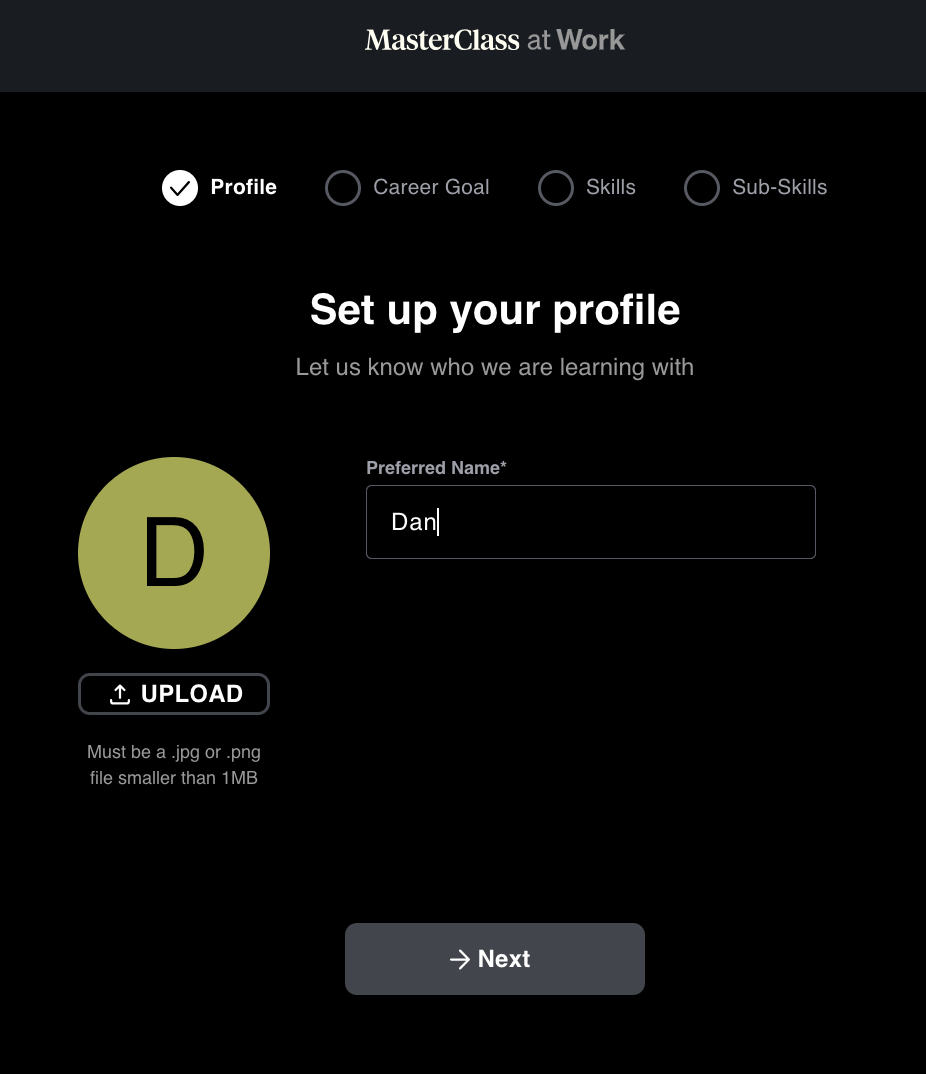
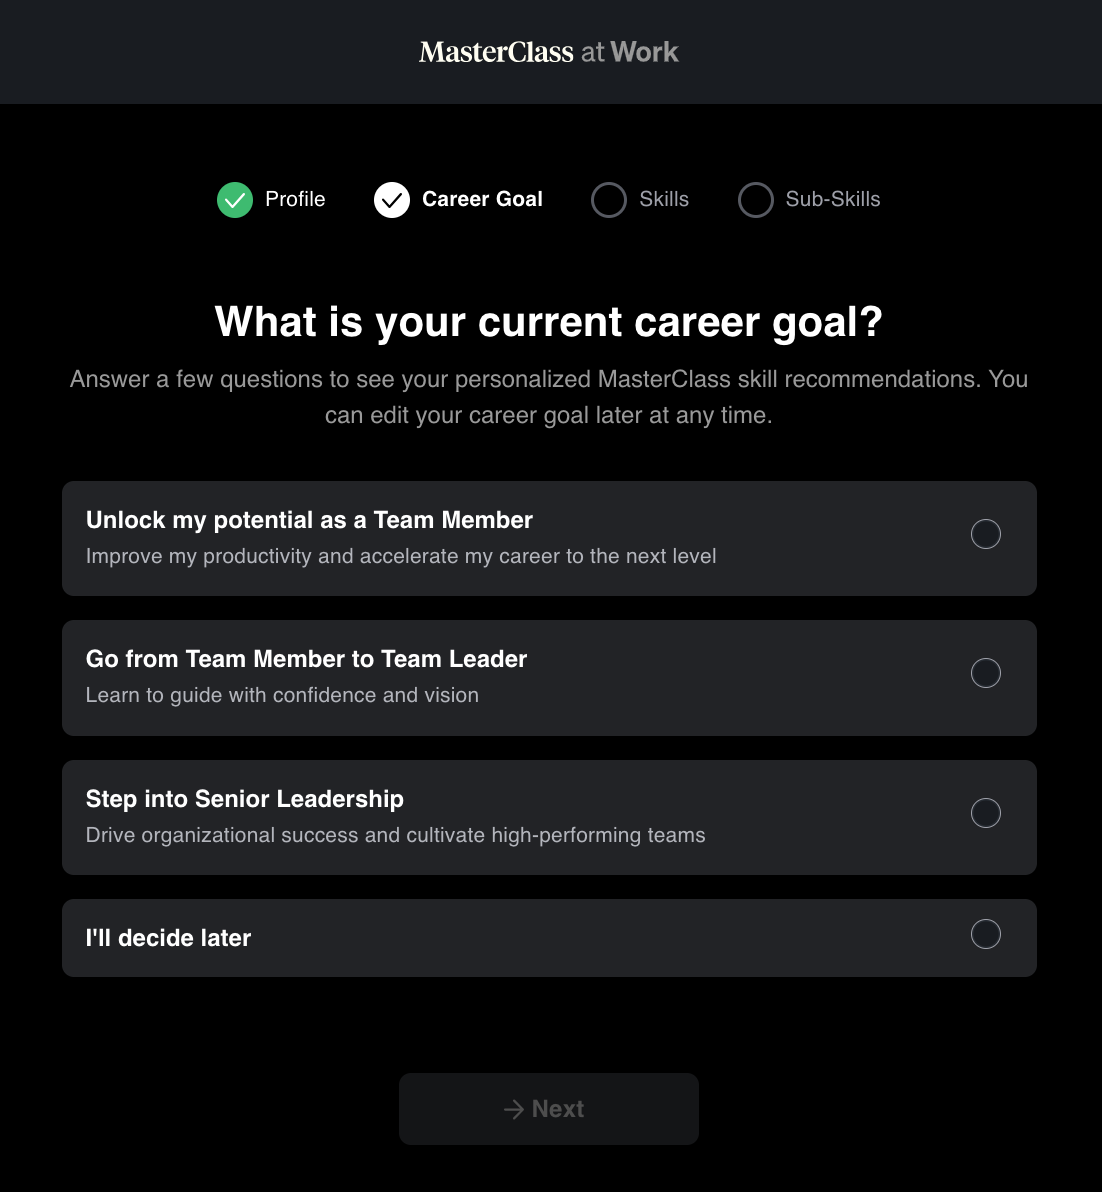
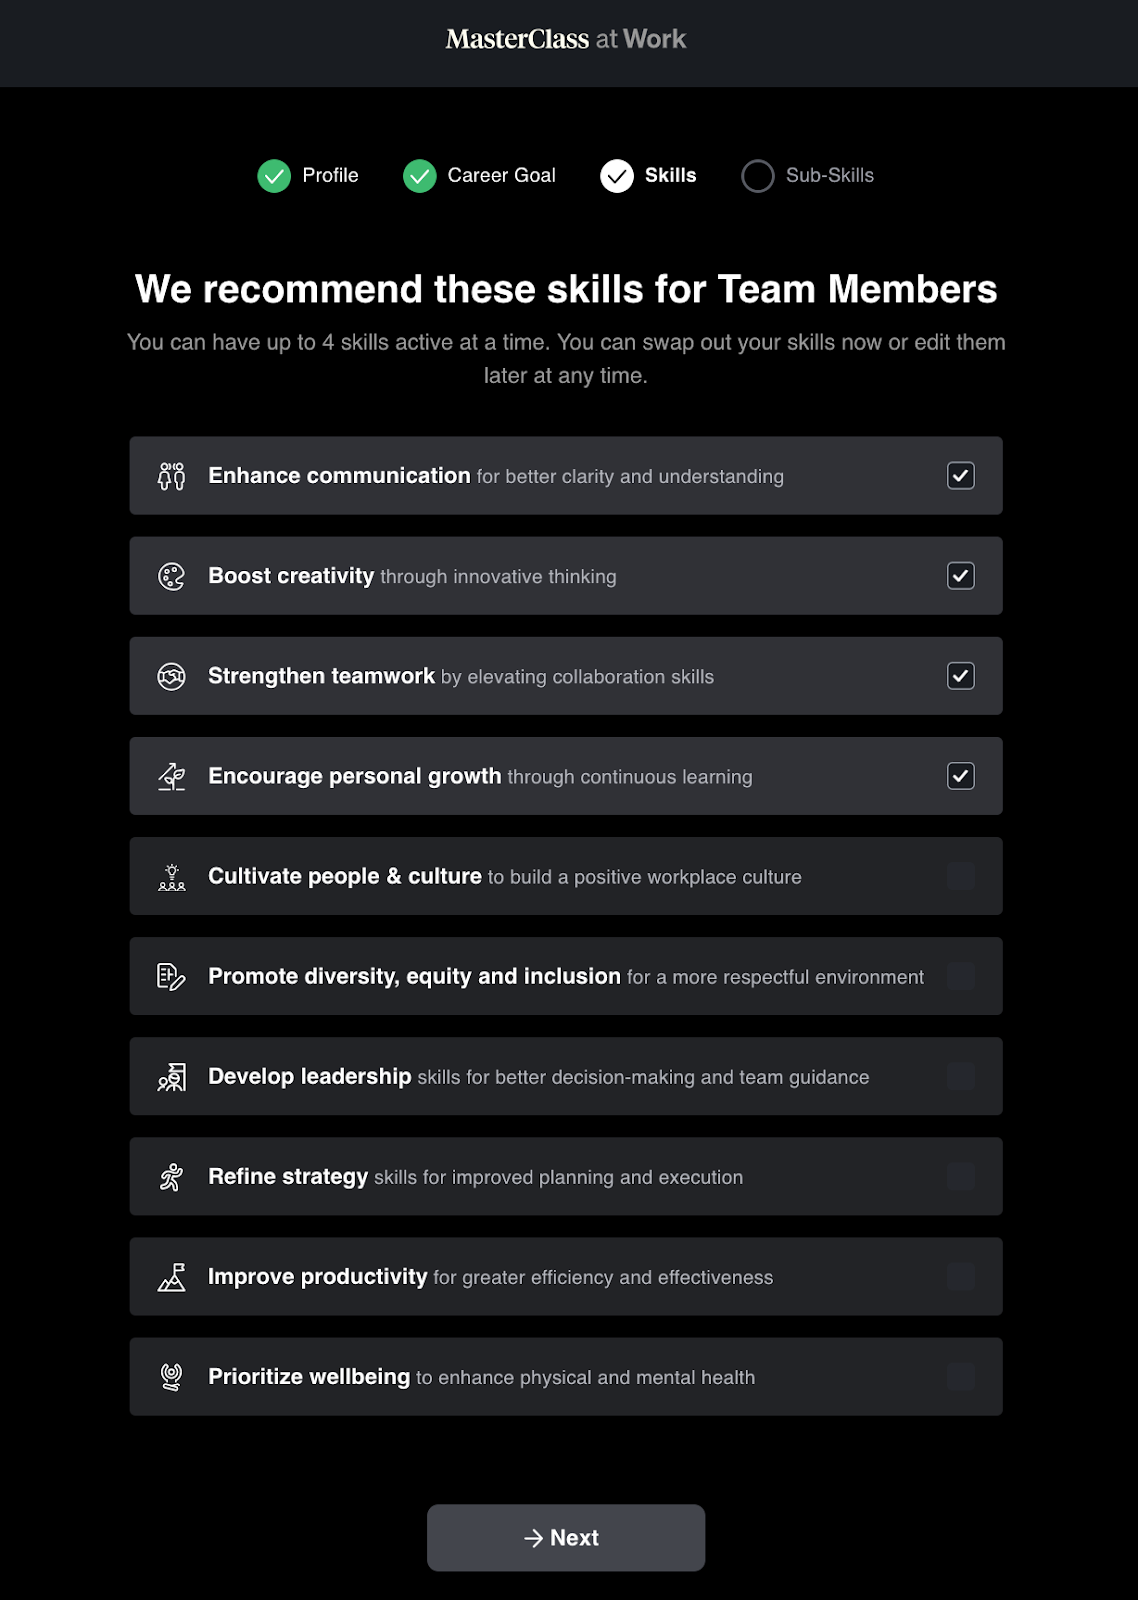
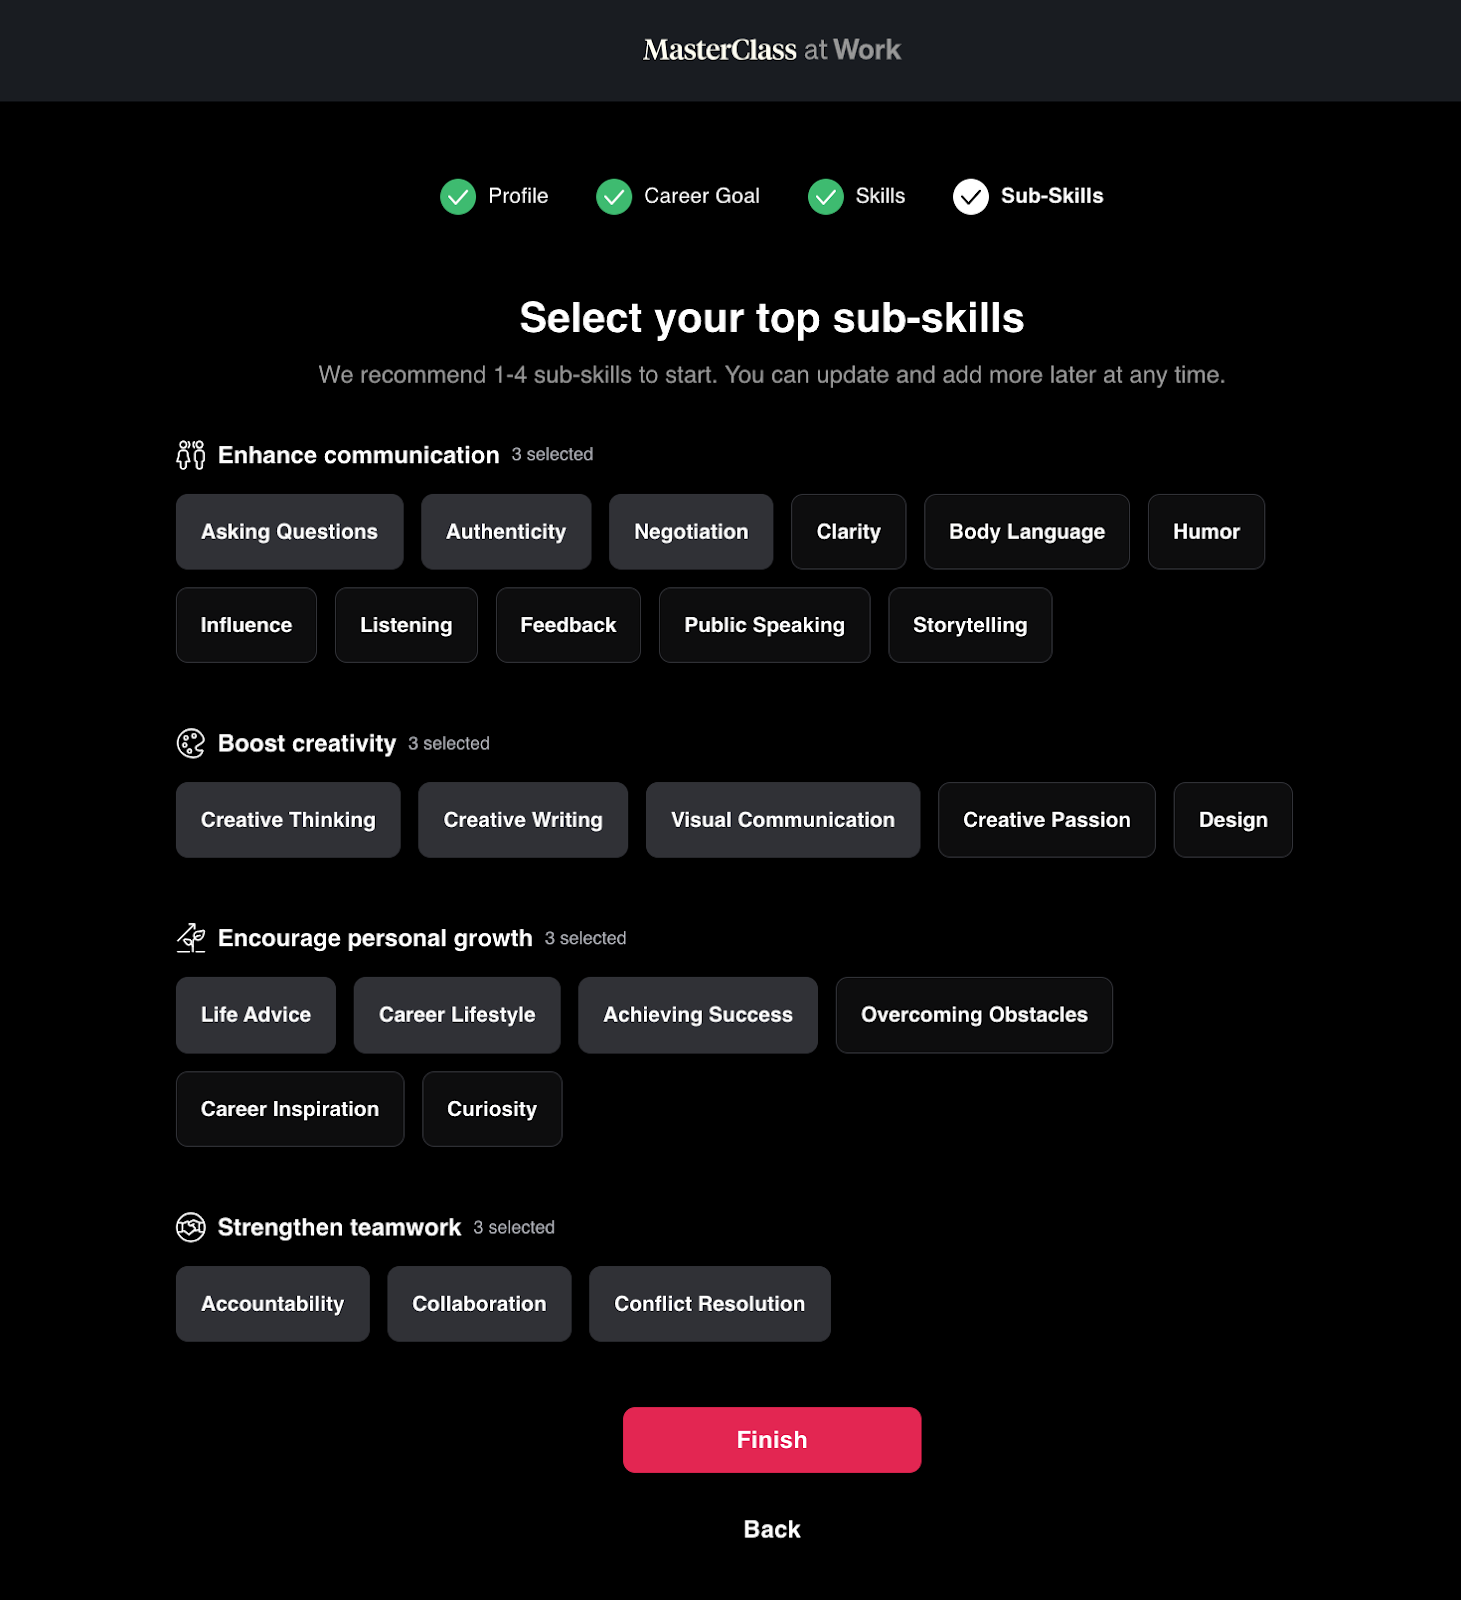
After that, you are ready to start learning! You can watch the Featured content in the Home page or click on Library in the upper left corner to view MasterClass’s full catalog.
Adding Your Users
Navigate to the top right corner menu and select the Admin tab.
Select Members on the left side menu and then Manage Members to direct you to the user administration dashboard:
Here you can filter by Admins, users that have redeemed their licenses, users who have not redeemed their licenses, and all users.
To invite your users to MasterClass at Work, select the pink Invite New Members. You can choose to invite users manually, or bulk upload via CSV. Once you have entered your users, select Send Invitations. Selecting Send Invitations will automatically send your users their invitations to MasterClass at Work:
After your initial launch, you can send invitation reminders to users that have not yet redeemed their license. Select the Resend Invitations button to send them a new invitation email:
Teams & Permissions
Once users are in the system, administrators can create Teams of users to easily segment their user base and compare analytics at a more granular level (ex. Viewing engagement metrics for their HR team vs. their Product team).
Admins can also assign other users as administrators to distribute the control. Permissions are broken down into two categories:
- Viewing analytics: viewing reports associated with the workspace or team the person is an administrator for
- Managing teams: this encompasses adding/removing users, creating/deleting teams, editing team names.
Creating a Team
Navigate to the Admin tab and click Members to see the Members Overview. You should see a section that says “Create a New Team”. You can choose to create a team from a CSV file or manually. To use the CSV method, first download the sample CSV that appears when you click on “uploading a CSV”. This will give you the columns you need to properly import your teams. If a user needs to be added to multiple teams, they can be included in multiple rows with the “Team” column being updated.
To manually create a team, select the option that says “manually create a team”. This option creates the team, and users must be manually added after:
Managing User Permissions
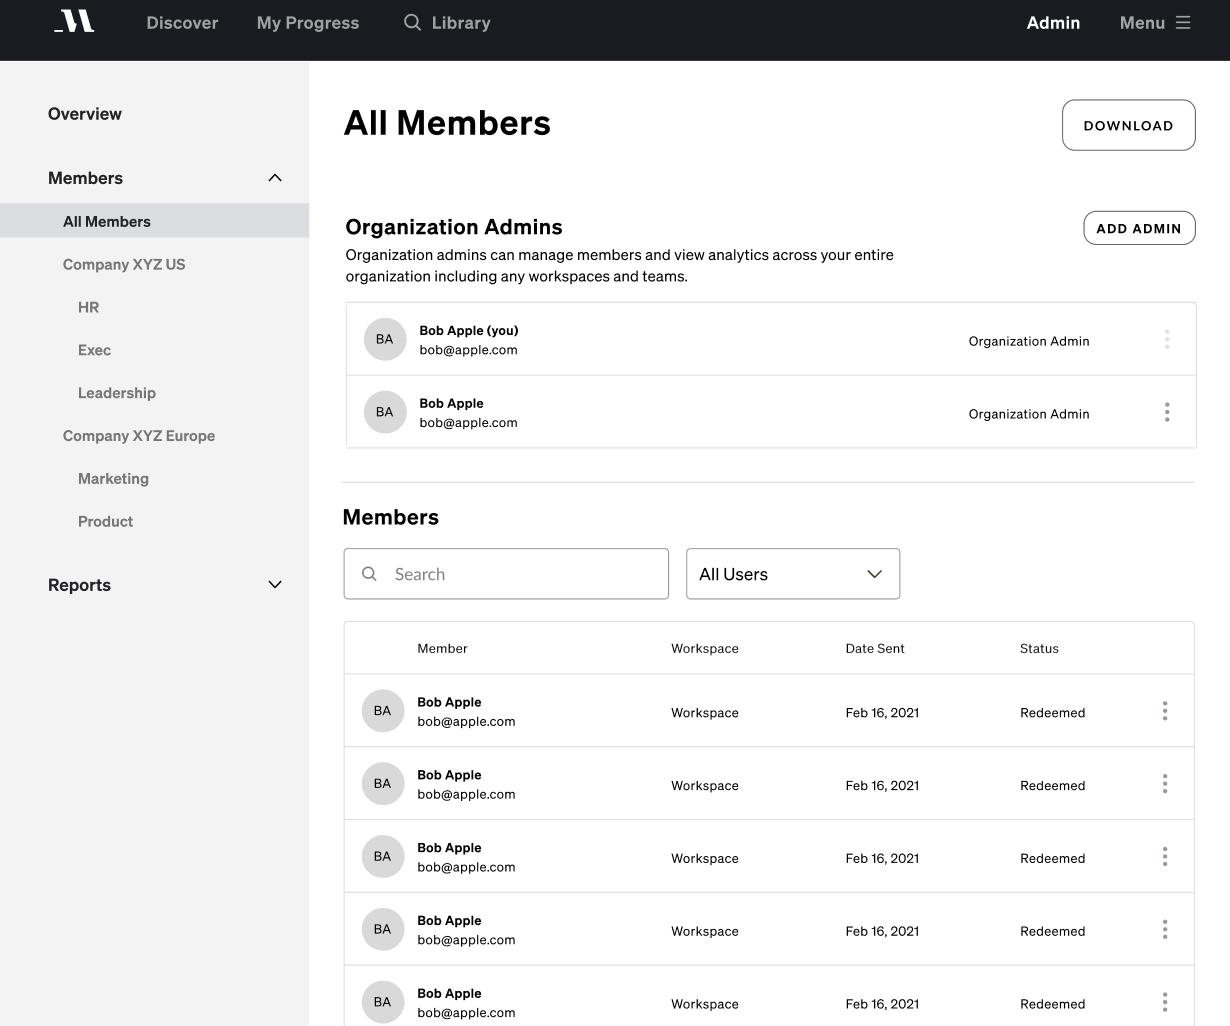
To add another user as an admin, select Add Admin in the All Members page:
