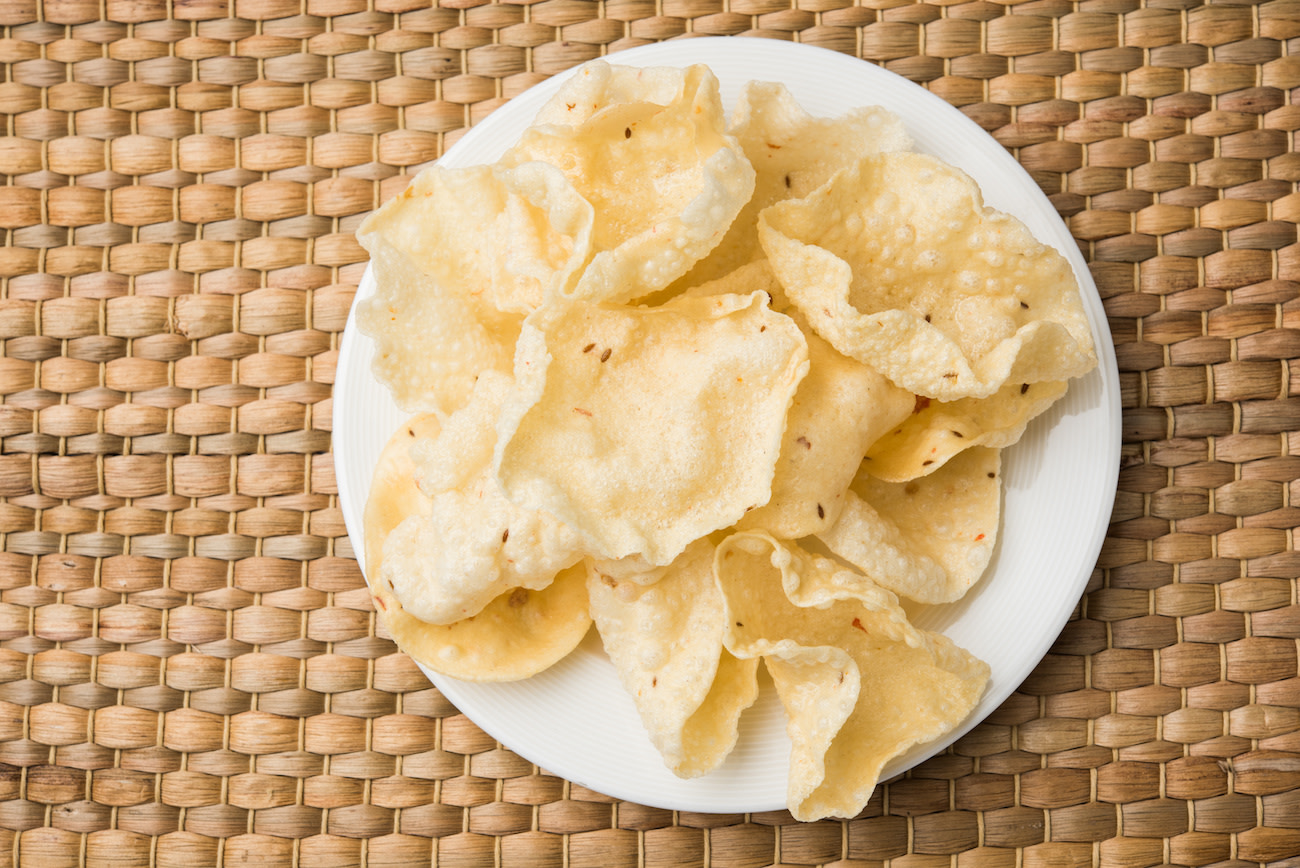
What Is Papadum? Easy Recipe and Tips for Making Perfect Indian Crackers
Written by MasterClass
Last updated: Feb 1, 2026 • 3 min read
Crisp, glossy, and crackling with cumin seeds, light-as-air papadum (also known as poppadom) is a popular cracker from the Indian subcontinent.
Learn From the Best
What Is Papadum?
Papadum is a very thin, North Indian flatbread with a satisfying shatter that’s fully dried before getting a quick dunk in hot oil until blistered and golden. It is served as side dish or a standalone snack; Indian restaurants will often bring them out as an appetizer with an array of chutneys for dipping.
What Does Papadum Mean?
Derived from the Sanskrit word parpaṭa (पर्पट), papadum is, in its simplest interpretation, a thin, wafer-like cake made from flour. Nowadays, it’s known as a widely available snack food.
Classic Papadum Ingredients
The main ingredients of classic papadum are:
- Black gram (also known as urad flour or chickpea flour)
- Water
- Salt
- Whole cumin seeds
Other spices like black pepper, garlic powder, and occasionally ground chilies can be added for a more pronounced flavor. Rice flour is also sometimes added to the black gram to give the cracker a more delicate texture, but not always.
Papadum recipes, like most Indian recipes, vary by region and household. They have been known to be made with lentil flour; green gram flour in places like Bikaner, a city in the northern Indian state of Rajasthan; and even potato, like those found in Varanasi in Uttar Pradesh—made with a spiced mashed potato mixture, spread very thin, and dried before frying, like a larger conventional potato chip.
How Do You Make Papadum?
Dried papadum can be cooked by several different methods. Each approach yields a slightly different texture.
- Deep frying, for the crispiest results found in the recipe below.
- Toasting in a toaster oven. In the toaster oven, toast on medium, or until nicely browned and crisp.
- In a microwave. If using a microwave, cook for about 2 minutes, or until crisp. (Keep a close eye on it, since microwaves vary!)
Is Papadum Gluten-Free?
Papadum is a gluten-free alternative for roti or naan because it is usually made with flour from legumes like lentils or chickpeas, though not a true substitute since texturally it is far from bread-like. Though papadum is usually fried in peanut oil, chickpea flour is high in fiber, iron, and protein, and healthier versions are easily achieved by toasting or cooking in the oven.
What Is Papadum Served With?
These versatile thin rounds are just as good on their own as they are with condiments like mango chutney. They can be enjoyed before a meal or alongside any favorite dish.
Easy Classic Papadum Recipe
makes
15 medium or 30 small papadumstotal time
15 minIngredients
Papadums are incredibly easy to make at home. What you’re looking for is a golden brown, ultra-thin chip with airy pockets and bubbles from the fryer.
- 1
Preheat oven to lowest possible setting.
- 2
Combine all ingredients in a large bowl and mix until a shaggy dough begins to form.
- 3
Turn out onto a clean work surface and knead well, until dough becomes smooth, 6-7 minutes. (It’s a tacky dough at first, so lightly coat your hands with a bit of the oil as needed, but take care not to soak the dough.)
- 4
When surface of the dough is smooth and a little stretchy, roll out as thin as possible without ripping.
- 5
Using either a ring mold (in your desired size) or a paring knife, cut dough into rounds about the size of your hand, or smaller if desired. Spread out rounds on a baking sheet as you go; place in oven to dry out.
- 6
Heat oil (poured to about the 1 inch mark in a large skillet) over medium-high heat. When oil is ready (test first with small pieces of dough), carefully slip in the discs of dried papadum. They will puff and begin to blister immediately; be ready with tongs to flip to other side as needed and remove after 30-45 seconds. If they curl in on themselves, just use tongs to hold edges until they’ve crisped up enough to hold their shape.
- 7
Transfer to a paper towel-lined plate.
Let cool and store in an airtight container.
