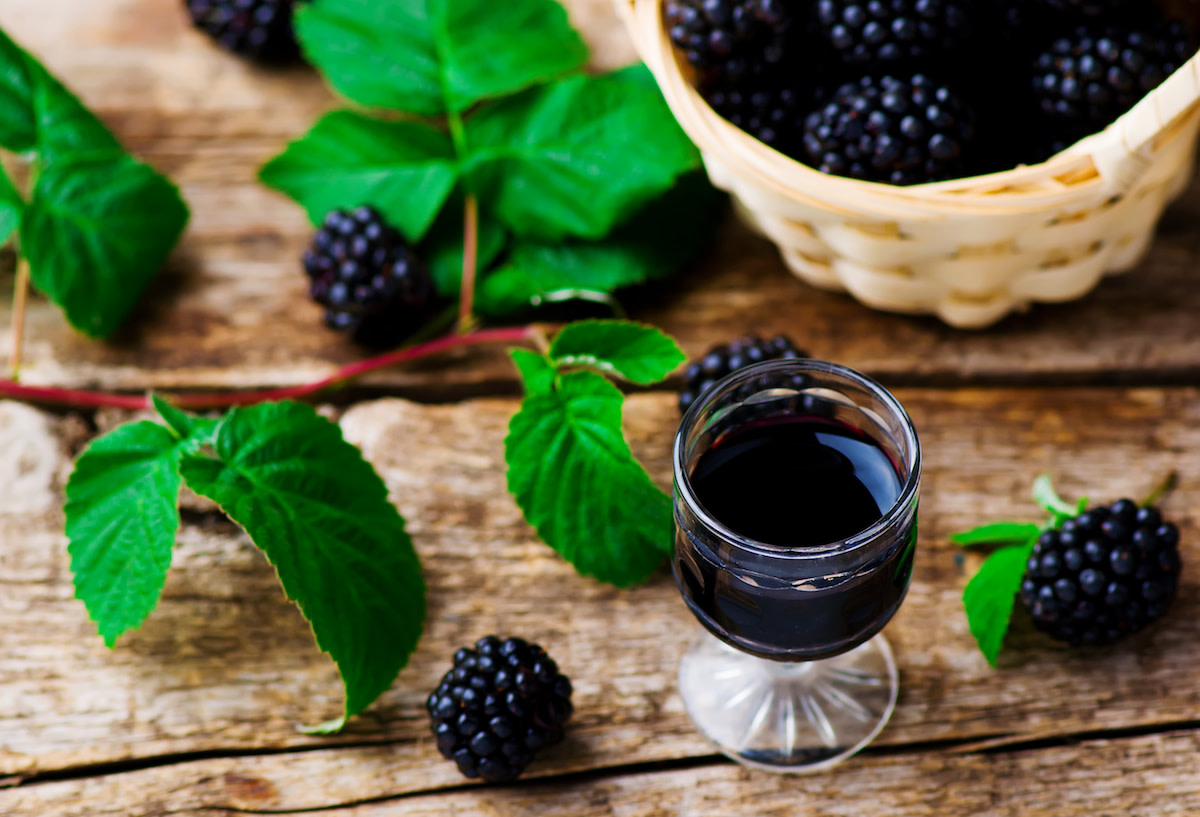
What Is Fruit Wine? How to Make Homemade Fruit Wine With Step-by-Step Recipe
Written by MasterClass
Last updated: Feb 22, 2025 • 3 min read
Making your own fruit wine is a pretty slick move. Very “pastoral homesteader” chic, if you will.
Learn From the Best
What Is Fruit Wine?
Fruit wine is a term that refers to a fermented beverage (also sometimes called “country wine”) made with a fruit juice base that is not grape juice. Think plum, pomegranate, or elderberry, or any fermentable plant matter you think sounds delicious, like dandelions.
Is Fruit Wine, Wine?
Technically, fruit wine is wine. Although the term “wine” is conventionally used to refer to the beverage made of grapes, the process of making fruit wine—allowing yeast to feed on the sugars in fruit and become alcohol—is the same. Depending on the fruit used, fruit wine can produce red wines and white wines.
What Does Fruit Wine Taste Like?
Fruit wine tastes predominantly of the base fruit you choose to feature. Depending on the length of your fermentation process, it can range from tangy and funky to soft and mellow. By measuring and adjusting the acids in a fruit wine, you can make the blend more dynamic and balanced.
What Equipment Do You Need to Make Wine at Home?
To make homemade wine, you’ll need:
- 1. Wine yeast
- 2. A fermentation bag
- 3. A large crock, gallon jug, or glass jug for the primary fermentation
- 4. Large carboy or glass containers for the secondary fermentations
- 5. An airlock
- 6. A siphon tube
- 7. Clean wine bottles with corks or caps to bottle your finished product.
- 8. A winemaker’s hydrometer, while not necessary, will make your life a lot easier: it allows you to measure the sugar content, and thus the alcohol level, of your base mixture.
- 9. Blends of tartaric, citric, and malic acids can also be purchased in addition to the yeast nutrient to further refine the balance and quality of the end result, but they’re optional.
How to Store Homemade Wine
Like conventional grape wine, homemade wine should be stored in a cool, dry place. While it’s fermenting, you can cover your carboy with a dark T-shirt to block further light.
3 Tips for Making Homemade Fruit Wine
Making your own wine is a testament to the power of patience to beget great things. (Got a couple years? Good! Let’s do this.)
- 1. The main thing to remember is the ratio—which is best worked out through trial and error and personal preference, so stay flexible and open to experimentation. To make 5 gallons of wine, the corresponding amount of fruit is typically around 10 to 15 pounds, depending on the strength of the flavor you’re looking to distill.
- 2. The amount of added sugar should be about half. (So, if you’re making a smaller batch, with 4 pounds of fruit, you’d likely use a scant 2 pounds of sugar.)
- 3. To be exact, use a hydrometer on your starting juice and scale up from there.
7 Fruit Flavor Ideas
- 1. Blackberry wine
- 2. Plum wine
- 3. Cherry wine
- 4. Elderberry wine
- 5. Raspberry wine
- 6. Apple wine
- 7. Strawberry wine
Simple Homemade Fruit Wine Recipe
makes
Ingredients
- 1
Combine the sugar, water, and pectic enzyme in your primary fermentation vessel (ideally a large, clean bucket or jar) and stir well to combine.
- 2
Place the fruit pulp and pieces into a fermentation bag. Submerge the bag completely into the liquid.
- 3
Cover fermenter with a clean towel and allow to sit in a cool, dry place for 24 hours.
- 4
Add the yeast, and replace the towel with a clean one. Allow to ferment for 5– 6 days, squishing the bag of fruit once every day with clean hands. By day 5, the sugar level should be dropping as the yeast converts it to alcohol.
- 5
After a week, when the fruit is well and truly gooey, lift it out of the container and let drain. Don’t squeeze it! Discard the fermented pulp, and give the wine a few more days to rest, covered.
- 6
Time to siphon into the carboy. Try not to disturb the debris as you remove the clearest liquid into the bottle. Fit with airlock, allowing 4–5 inches of space between the liquid and the bottom of the airlock.
- 7
Store wine in a cool, dark place where it won’t rise above 70ºF.
- 8
After about a month, rack the wine by siphoning it again into a clean carboy. Repeat after 3 months.
- 9
After 6 months, when no bubbles can be seen moving through the airlock or around the top of the wine, siphon into glass bottles and seal. If you like the taste of the wine at this point, you can drink it! You can also age it for up to two more years to see how it changes.
Learn more about wine in James Suckling’s MasterClass.
