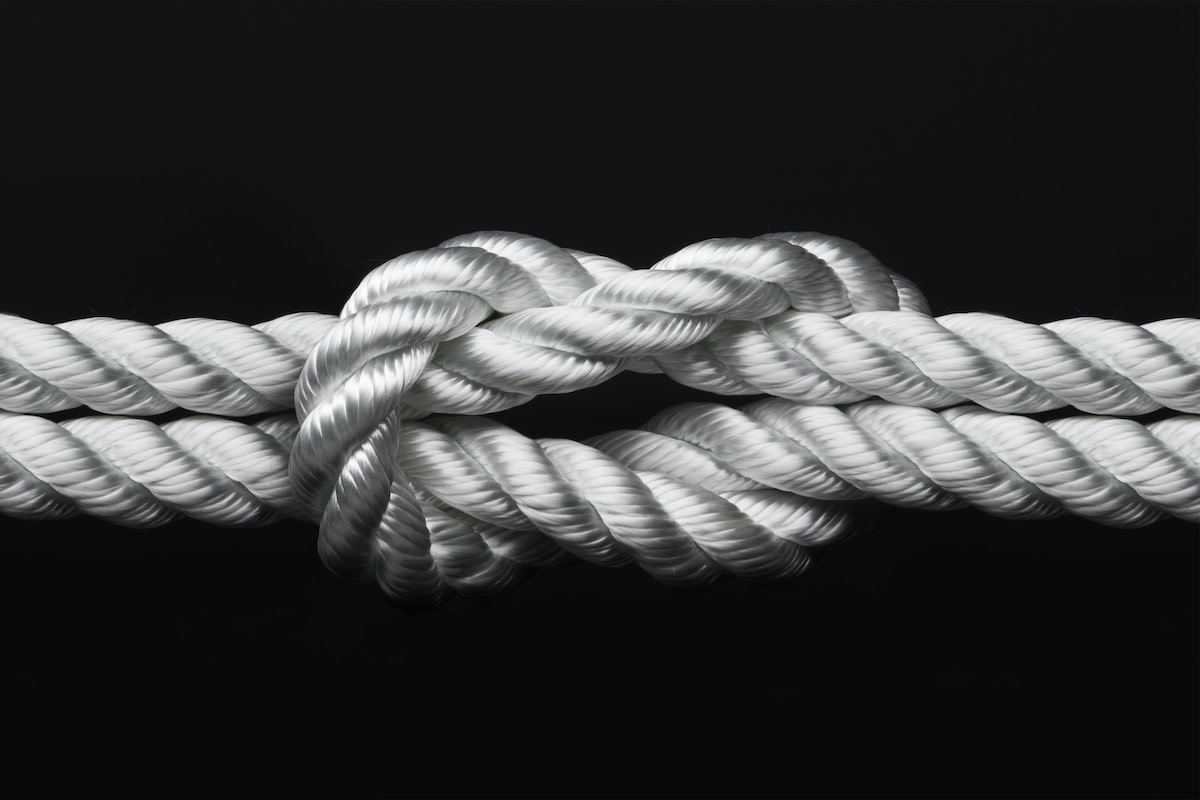
Knots Guide: How to Tie a Water Knot
Written by MasterClass
Last updated: Oct 15, 2021 • 2 min read
The water knot is a strong knot used in rock climbing to secure two lengths of flat strap together.
Learn From the Best
What Is a Water Knot?
A water knot joins two flat straps together with two double overhand knots. The water knot is most often used to tie tape, leather, or other kinds of flat straps together. It can also connect two pieces of rope which is why it is technically a type of “bend.” The water knot is also known as the overhand follow through, the ring bend, the grass knot, or tape knot. It is a popular knot used in rock climbing and is a reliable way to fasten flat straps together. The water knot becomes less reliable when you are working with tubular webbing and must be secured with a stopper knot.
3 Uses of Water Knots
A water knot is useful in many situations, including:
- 1. Rock climbing: The water knot is a popular climbing knot to connect two ends of webbing which can be used to anchor a climber to a rock when they are rappelling. They can also be used to make DIY grab handles or slings to be used in rock climbing.
- 2. Hammocks: A water knot is commonly used to secure a hammock to its anchoring stakes.
- 3. Rescue operations: Firefighters and other safety professionals use the water knot in rescue operations.
How to Tie a Water Knot
Follow these simple steps for tying a water knot.
- 1. Lay out your straps. Lay both of your straps next to each other. Beginning with one strap, make a loop at one end and thread the end through the loop to make a loose knot.
- 2. Thread the second strap through the back of the first knot. Thread the end of the second strap through the back of the first loose knot and loop it over the wrapped front of the knot and around to the back.
- 3. Pass the second strap through the front of the first knot. Thread the second strap's end through the front of the first loop so the second tail comes out in the opposite direction to the first tail. Both knots will now be connected. Make sure you have more than four inches of tail on either side.
- 4. Tighten the knots. Tighten both knots together, creating a firm anchor point where both knots are weaved together.
3 Tips for Tying a Water Knot
Here are three tips that will help you make your water knot as secure as possible.
- 1. Leave enough tail. When you tie your water knot, make sure to leave at least four inches of tail at the end of both conjoined straps. The long tails will help ensure that your knot won’t come undone even with a little bit of slippage.
- 2. Use flat straps for webbing. Instead of tubular webbing, make sure to use flat straps. Tubular webbing can decrease the strength of the knot by up to 40 percent.
- 3. Keep the straps flat. When threading knots through each other, ensure the straps line up and create a flat fold to increase the knot's strength.
Before You Start Climbing
Climbing is a high-impact activity with an elevated risk of serious injury. Practice, proper guidance, and extensive safety precautions are essential when attempting a climbing pursuit. This article is for educational and informational purposes only, and is not a substitute for professional instruction or guidance.
Ready to Give “On the Rocks” a Whole New Meaning?
Take your climbing mastery to new heights with the MasterClass Annual Membership and exclusive video lessons from Alex Honnold and Tommy Caldwell, two of the world’s most accomplished climbers. Together they’ll help you get a grasp on climbing holds, balance, footwork, and more, plus teach you the ins and outs of ethical outdoor exploration.
