Vertical Shiplap Overview: How to Install a Vertical Shiplap Wall
Written by MasterClass
Last updated: Dec 22, 2021 • 3 min read
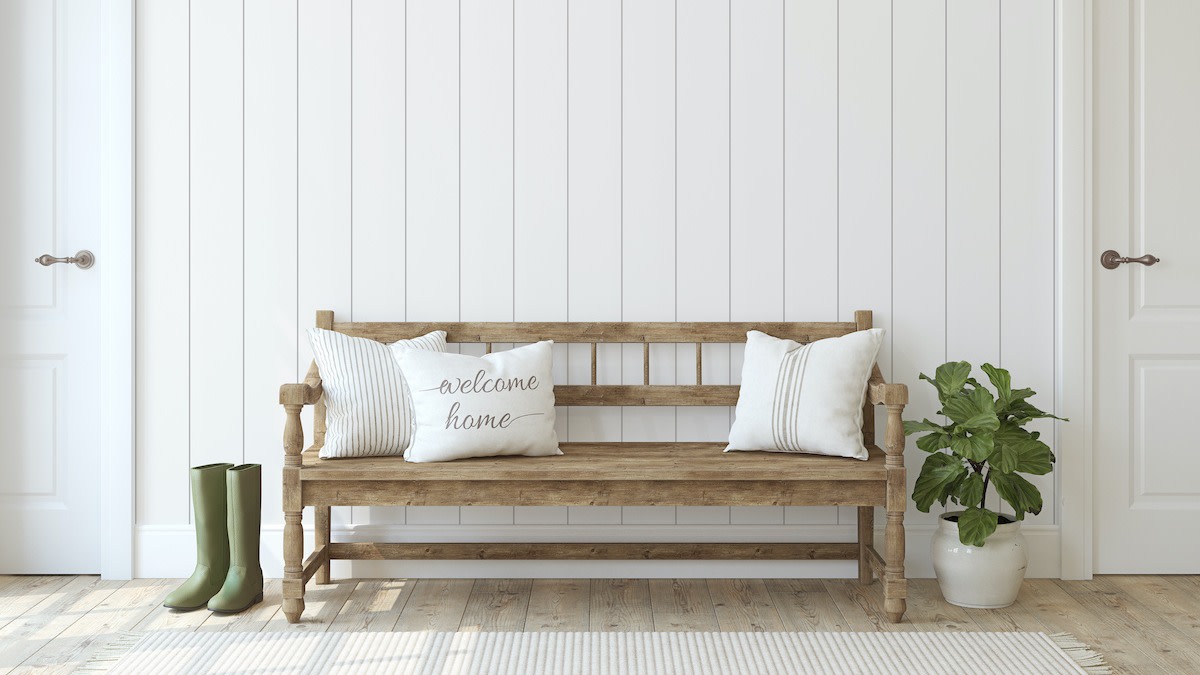
Vertical shiplap adds texture and interest to interior walls with a grooved design that presents a casual look. DIY vertical shiplap installation requires a few basic tools to create a modern twist on the shiplap look.
Learn From the Best
What Is Shiplap?
Shiplap is wood paneling with grooves, called rabbets, on both edges of each board. These grooves let the pieces overlap to create a tight seal, which was important when people used shiplap on the exteriors of buildings.
For interior design purposes, shiplap often covers walls to create a rustic, nautical, or farmhouse aesthetic, sometimes concealing rough walls for an easy makeover. With both vertical and horizontal shiplap, the overlapping edges create small gaps for a distinct grooved appearance. Vertical shiplap installations offer an alternative look for your master bedroom, living room, dining room, home office or laundry room. This orientation encourages you to look upward and gives the illusion of a higher ceiling.
Tools for DIY Vertical Shiplap Installation
If you often take on DIY projects, you may already have the tools on hand to install this accent wall treatment The required tools and materials include:
- Miter saw or table saw
- Jigsaw
- Brad nailer
- Stud finder
- Tape measure
- Screwdriver
- Level
- Shiplap boards
- Furring strips
- Wood filler
- Brad nails
- Liquid Nails
- Caulk
How to Install Vertical Shiplap
At the beginning of your vertical shiplap project, measure the installation area to estimate supply needs. Open your vertical shiplap boards and place them in the room for at least forty-eight hours before installing so they can acclimate to the conditions. Then, you can move on to installation with these instructions:
- 1. Prepare the wall. Remove everything from the wall and clear furniture from the area. Remove outlet and light switch covers, baseboards, and crown molding.
- 2. Locate the studs. Use the stud finder to locate the studs. Mark each stud location.
- 3. Make holes for outlets. Before you start to install shiplap boards, identify where you will need to cut holes for outlets, light switches, and other spaces on the wall. Draw a template on paper to help you get the openings correct, then use a jigsaw to cut the boards accordingly.
- 4. Use furring strips. If you’re not using construction adhesive, install furring strips horizontally every two feet, from ceiling to floor.
- 5. Measure. Measure the height from floor to ceiling for the first board. Cut the board to length. Measure every two or three feet since there can be variations in the wall height.
- 6. Use adhesive. Apply construction adhesive to the back of the first board over the entire length (but skip the adhesive if you’re using furring strips). Press the board firmly against the wall, ensuring it bonds to the wall from top to bottom. If you’re using furring strips, use the nailer to attach the first board to the furring strips.
- 7. Work across the wall. Position the next board using spacers to create a nickel gap between the two pieces. Work across the wall until you cover it all.
- 8. Fill holes. Use wood filler to fill the nail holes.
- 9. Apply paint. Paint the vertical shiplap to your preferred color. Most people opt for a light, neutral paint color, such as eggshell.
- 10. Install the baseboards. Use nails or construction glue when adhering the baseboard to the bottom of the shiplap boards. Reinstall any outlet covers or light switches you removed at the beginning of the project.
- 11. Apply caulk. Using a caulk gun, apply caulk along the top of the board planks where your shiplap wall meets the ceiling and along the edges where it meets the other walls. This seals the edges and gives the finished product a smooth look.
Ready to Give Your Space a Chic Update?
Master everything from color theory to pattern mixing with the MasterClass Annual Membership and exclusive lessons from award-winning interior designers like Corey Damen Jenkins and Kelly Wearstler. From shopping for statement furniture to designing a lighting scheme to choosing the newest member of your plant family, the skills you’ll pick up are sure to make your house, apartment, or condo feel even more like a home.
