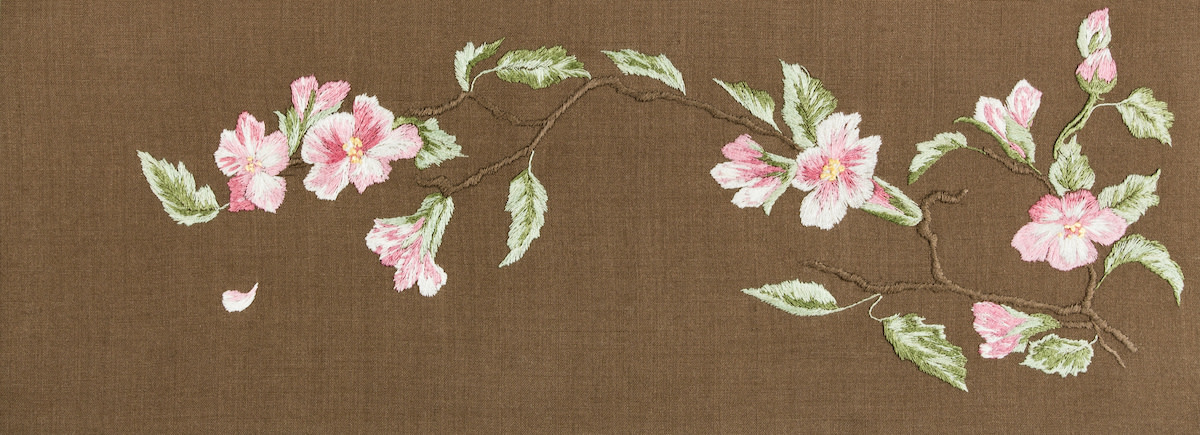
Thread Painting Guide: How to Create a Thread Painting
Written by MasterClass
Last updated: Jun 7, 2021 • 2 min read
Thread painting is a technique for creating stitches with a sewing needle or machine that resemble painted brush strokes.
Learn From the Best
What Is Thread Painting?
Embroidery thread painting, also known as needle painting or silk shading, is a needlework embroidery technique that creates designs that look like paintings. In hand embroidery, thread painting techniques are a combination of short and long stitches. Quilters can make art quilts and thread-painted quilt toppers by moving fabric in various directions beneath a sewing machine, a method called free-motion embroidery. Sewists use thread painting as an appliqué technique to create DIY embellishments for clothing or quilts and textile art pieces.
Best Type of Thread for Thread Painting
Use a strong thread for embroidery thread painting, such as a 40-weight rayon or cotton floss. A low-lint thread can prevent residue on your embroidery. Be sure to have different colors of thread on hand if you want to make a more complex work of art.
How to Create a Thread Painting With a Sewing Machine
The key to thread painting is to use different-sized stitches to create texture and depth. Follow these steps to try embroidery painting with a sewing machine:
- 1. Decide on the design. You can draw a design on a white piece of paper or print out a premade drawing or design. Coloring it on paper will give you a guide for which color threads you will be using.
- 2. Trace the lines of the drawing onto the fabric. Use a pen to trace the design onto an open-weave fabric with a low-thread count, such as linen, so that the stitching won’t distort the material and the finished product.
- 3. Place a stabilizer underneath the fabric. Place the stabilizer and the fabric into an embroidery hoop to prevent the material from puckering and stretching.
- 4. Set up your sewing machine. Make sure your machine is set for both straight and zigzag stitches—those are the two main stitches you use in embroidery thread painting. Use a straight stitch for most of the thread painting and a zigzag stitch to layer threads to add depth and dimension and fill in color.
- 5. Drop your machine’s feed dogs. Dropping the machine’s feed dogs will enable you to move the fabric freely.
- 6. Thread your bobbin colors. Make sure to select bobbin thread colors and wind bobbins before starting your project.
- 7. Begin moving the fabric. You can move the material back and forth to fill in a section and even layer stitchin to create more texture. Create short stitches by moving the fabric slowly or longer stitches by moving the material faster. You can do some rough thread sketching to get a feel for the technique before moving onto a more involved painting.
- 8. Switch the color of your thread. Start with the primary colors within the painting, then add accent colors to shade and create depth in the design.
Want to Learn More About Fashion Design?
Become a better fashion designer with the MasterClass Annual Membership. Gain access to exclusive video lessons taught by the world’s best, including Diane von Furstenberg, Marc Jacobs, Tan France, Laura Kim & Fernando Garcia, Anna Wintour, and more.
