How to Make Sourdough Starter: Simple Sourdough Starter Recipe
Written by MasterClass
Last updated: Oct 13, 2025 • 2 min read
This easy method for starting and maintaining your own sourdough starter will elevate your favorite bread recipes.
Learn From the Best
What Is Sourdough?
Sourdough is another term for naturally leavened bread. Instead of (or in addition to) commercial yeast, sourdough bread is made with wild yeast, which is found on many foods, including flour.
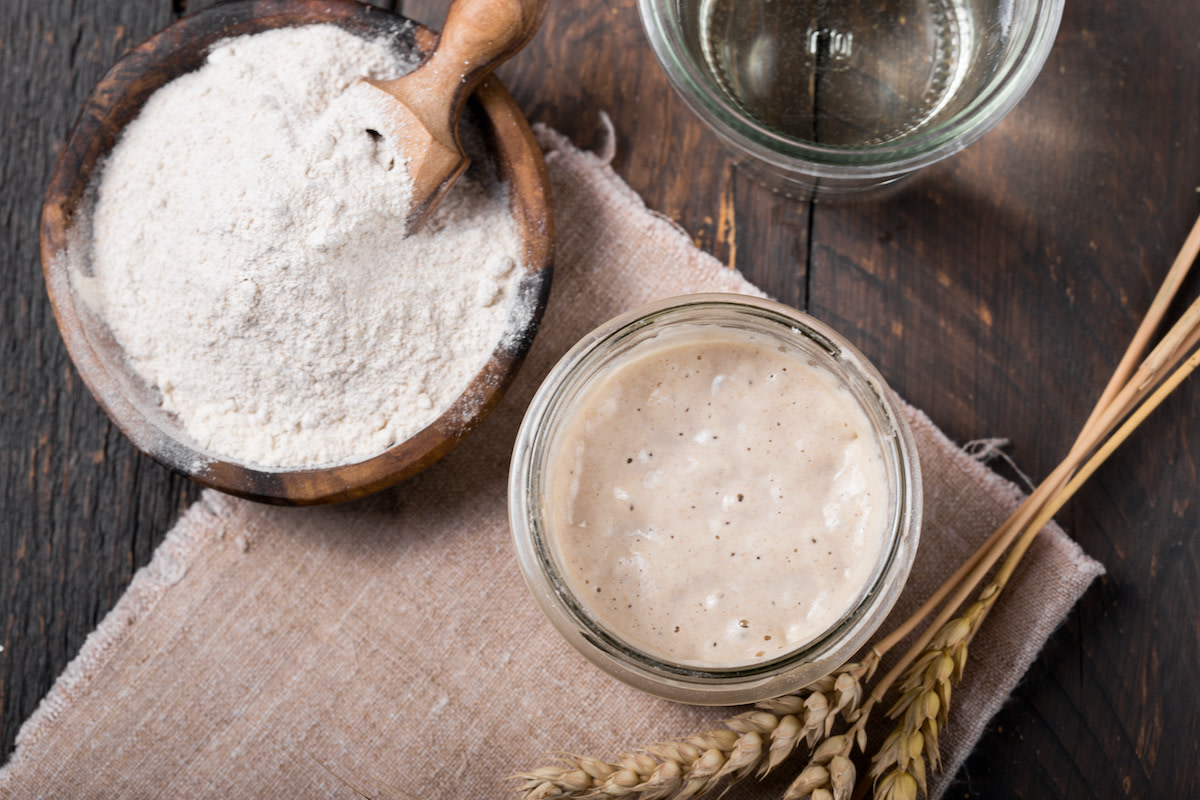
Harnessing the wild yeast in your flour is as simple as mixing equal parts flour and water and leaving the mixture in a warm location. This process will also promote the growth of lactic acid bacteria, which can give sourdough a tangy flavor. Once your sourdough starter is full of yeast and lactic acid bacteria, you'll start to notice signs of fermentation as the microbes consume the starch in the flour and release carbon dioxide, creating gas bubbles in the starter.
How to Maintain Sourdough Starter
An active starter should be bubbly, but if left alone too long, the yeasts will start to convert sugar into alcohol, leaving a harsh-smelling syrup on top of a previously healthy starter. To prevent this, it's necessary to replenish your starter's nutrient supplies with fresh flour and water every few days.
How to Know When Sourdough Starter Is Ready
Sourdough starter is ready to bake with when it’s rising and falling predictably after each feeding and the aroma is sour but not acrid. To test the readiness of your starter, fill a small bowl with warm water and scoop a spoonful of starter. If the starter floats, it’s mature enough to help your bread rise. If it sinks, you’ll need to continue the feeding process until the yeast grows strong enough.
Basic Sourdough Starter Recipe
makes
80 gramsprep time
5 mintotal time
5 minIngredients
- 1
In a clean glass jar, mix both flours with 40 grams of warm water and stir to fully combine.
- 2
Cover the jar with a cloth secured with a rubber band and place the jar in a draft-free, warm place.
- 3
After 1–7 days at room temperature, the starter should start to form bubbles and have a pleasant, yeasty aroma. At this stage, you can start to use your starter in bread recipes.
- 4
Use the float test to see if your starter is bubbly enough to make bread rise: Carefully transfer a spoonful of starter into a clean jar halfway full of water. If the starter is full of air, it should float. If your starter doesn't pass the float test the first time, know that it can take a while for a starter to build a strong community of yeasts.
- 5
Once your starter is active, it's time to start the discarding process. Remove all but one tablespoon of active starter to another jar or airtight container and refrigerate for another use. (You can use this "discard" to make pancakes, waffles, and all kinds of baked goods.)
- 6
For the remaining starter, add the same amount of flour and tap water as called for in the original recipe. Repeat this process every time your starter becomes active, typically every 1–3 days.
Become a better chef with the MasterClass Annual Membership. Gain access to exclusive video lessons taught by culinary masters, including Apollonia Poilane, Gabriela Cámara, Chef Thomas Keller, Yotam Ottolenghi, Dominique Ansel, Alice Waters, and more.
