Sewing Buttons: How to Sew Buttons in 8 Steps
Written by MasterClass
Last updated: Mar 25, 2022 • 4 min read
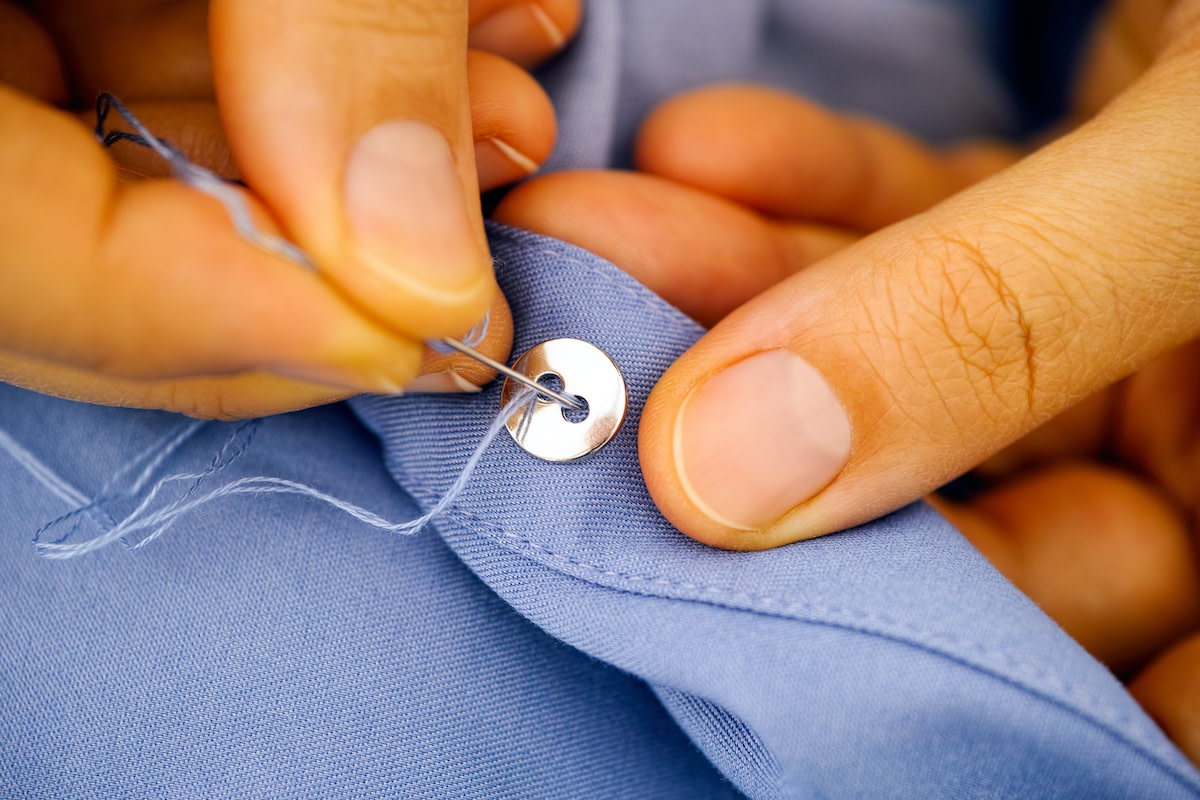
Sewing buttons is one of the foundational skills for new sewers. Learn how to sew on a button with these DIY hand-sewing tips.
Learn From the Best
5 Types of Buttons
From decorative wooden buttons to flat plastic buttons, there is a wide selection of buttons designed for different garments and purposes. Some of the most common button types include:
- 1. Decorative buttons: Many buttons feature embellishments—such as antique gold, embroidery, rhinestones, or engravings—for decorative purposes. Instead of closing a jacket or pocket, these ornate novelty buttons come in unique shapes and materials to enhance an outfit. You can personalize some decorative buttons, such as engraving metal buttons or carving wood buttons to include your initials. Some examples of decorative buttons include cuff links and lapel buttons.
- 2. Flat buttons: These buttons are thin and one of the easiest buttons to sew. They come in three variations: two-hole buttons, three-hole buttons, or four-hole buttons. Since these bottoms have a flat back and holes through the center, you can sew flat buttons by hand or with a sewing machine. You’ll often find flat buttons on formal wear or semi-formal attire; for example, button-up shirts use flat buttons to close the shirt securely. Flat buttons also make great craft buttons for scrapbooking since they’re easy to work with and come in many colors.
- 3. Shank buttons: While a flat button has visible holes, shank buttons have a solid face, and the hole of the button is a separate loop attached to the back of the button. Shank buttons are common in coats, cardigans, and blouses; however, you can also use them as a dressy blazer button.
- 4. Stud buttons: A classic jean button, stud buttons are long-lasting because you press the metal shank into the fabric with a snap button tool. This process clasps the button into the garment more permanently than sewing the button in place with a needle and thread. Denim jeans have stud buttons at the top of the zipper to fasten the pants, but you can also use studs as skirt and coat buttons.
- 5. Toggle buttons: Known for their distinct shape and fastening style, toggle buttons are narrower than the standard round button and use a loop-fastening technique. While toggle buttons work well on jackets, you can also use these buttons as a decorative shirt button for crochet or knit sweaters.
How to Sew a Button in 8 Steps
Follow these tips to help you with your mending so you can attach a replacement button back on a coat or add new buttons to your garment.
- 1. Gather your basic sewing tools. Button sewing requires a few tools. You’ll need a needle, thread, and a pair of small scissors—these sewing supplies are standard in sewing kits.
- 2. Thread your needle. Work your thread through the eye of the needle. Instead of leaving a tail and tying a knot at the end of the single thread, feed the thread all the way through the needle so that the two ends of the thread are equal in length, creating a double thread. Pull a few inches of thread and wrap the ends of the thread tails around your index finger a few times and gently roll off with your thumb to create a knot tying the two ends of the thread together.
- 3. Choose a spot for your button. Locate where you want to place your button, making sure it is on the right side of the fabric. After selecting a spot for your button, thread a small x to guide your needle. Starting on the back side of the fabric, feed the threaded needle up through the fabric, and sew a small x as a placeholder for where the button will go. The ends of the x should be approximately where the buttonholes will be.
- 4. Place your button. Line your button up on top of the small x, placing your button on the fabric. Starting at the underside of the garment, guide your sewing needle through the first hole of the button. After pulling the needle and thread through the fabric and buttonhole, angle your needle downward and pull it through the second hole. Your needle and thread should come out of the underside of the garment.
- 5. Add a straight pin. Before sewing any more stitches, place a straight pin or toothpick between the button and the fabric, beneath the button and first stitch. The pin will prevent you from sewing the button onto the garment too tightly.
- 6. Continue sewing the button. Guide your needle through the button and garment six more times or until the button is secure. Small buttons require less stitching than large buttons, so if your button is heavy, consider adding a few extra stitches to secure the button in place. On the last upward stitch, guide the needle through the fabric only (not through the buttonhole).
- 7. Remove the straight pin. Pull the straight pin out from the bottom of the button, and wrap the thread around the underside of the button five or six times to form the shank.
- 8. Secure and cut off the excess thread. To tie off the thread, feed the needle through the stitches on the back of the fabric and then tie a knot by guiding the needle through the loop. Do this two or three times before cutting the thread.
Want to Learn More About Fashion Design?
Become a better fashion designer with the MasterClass Annual Membership. Gain access to exclusive video lessons taught by the world’s best, including Laura Kim and Fernando Garcia, Diane von Furstenberg, Marc Jacobs, Tan France, Anna Wintour, and more.
