Press Handstand Guide: How to Master Press Handstands
Written by MasterClass
Last updated: Aug 10, 2021 • 4 min read
The press handstand is an advanced bodyweight exercise that activates your core, hamstrings, and lower back muscles. Learn how to do press handstands with proper form.
Learn From the Best
What Is a Press Handstand?
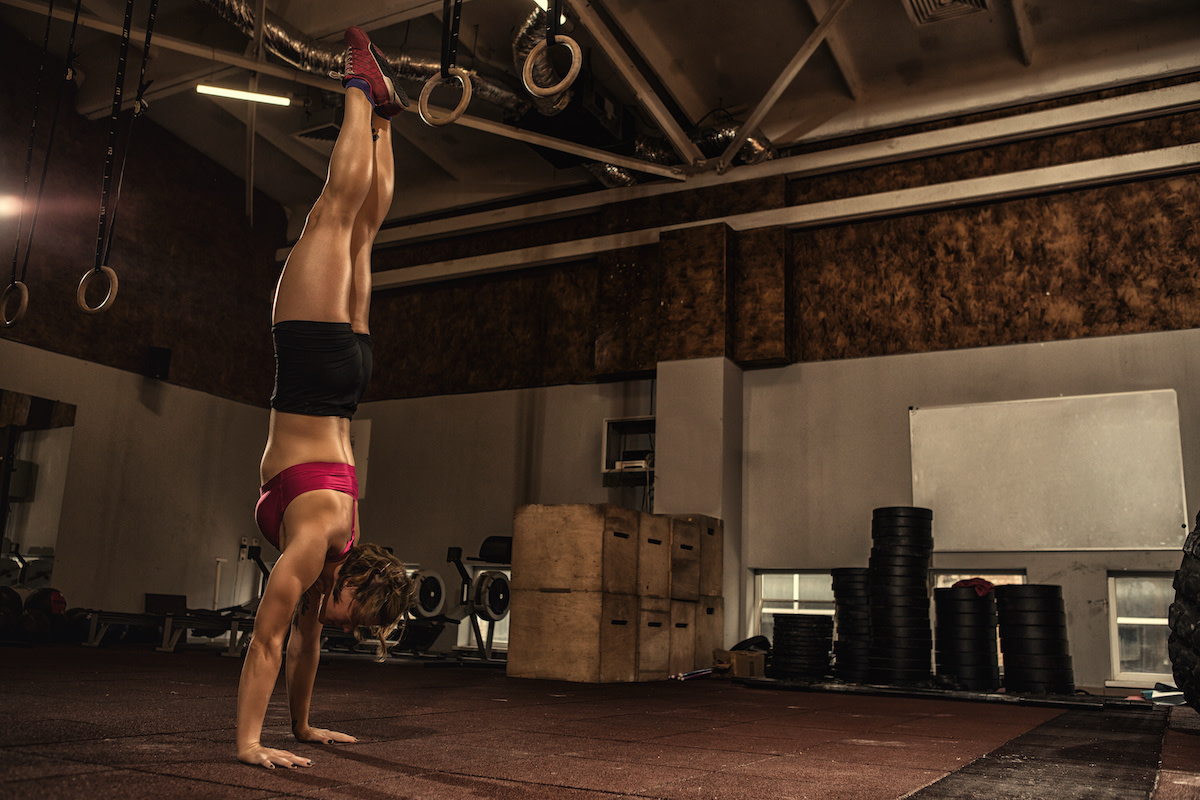
A press handstand is a composite exercise of the press and the handstand hold. The combination of these two bodyweight exercises results in an advanced core exercise. In addition to targeting your core muscles, press handstands work your hamstrings, hip flexors, and lower back. The press handstand is commonly practiced by yoga enthusiasts and gymnasts and is featured in acrobatics and handstand drills. Gymnastics routines often include a variation known as the straddle press handstand, in which you do a press to handstand starting from a seated straddle position.
3 Benefits of Doing Press Handstands
There are several notable benefits to practicing press handstands.
- 1. Press handstands build core strength. The press handstand is an advanced bodyweight exercise that activates all of the stabilizer muscles in your core to complete the range of motion.
- 2. Press handstands are a total-body workout. Press handstands engage muscles throughout your entire body—including your triceps, trapezius muscles, hamstrings, glutes, and deltoids.
- 3. Press handstands can help improve your coordination. By strengthening your core and upper body, press handstands can help train your stabilizer muscles and give you more control in similarly advanced movements.
How to Do Press Handstands With Proper Form
For press handstands, begin by performing 2–3 sets of 15–60 second holds. Choose your sets and length of holds based on your ability to maintain good technique throughout each set.
- 1. Get into an all-fours position with your knees and toes flexed and in contact with the floor. Your hips should be over your knees. Your hands should be directly under your shoulders.
- 2. Rotate your shoulders outward to engage your upper back. Your chin should remain tucked throughout the movement, as if you were holding an egg under your chin.
- 3. Straighten your arms and legs so you end up in an inverted V position. Your ribs should be down and your pelvis should be slightly tucked. Engage your core.
- 4. The weight on your hands should be evenly distributed. Grip the floor with your hands to create a stable hand and shoulder position. All repetitions should begin from this starting position.
- 5. Push your hands through the floor and shift your upper body forward over your hands to shift your weight from your lower body to your hands.
- 6. Pull your lower body off the floor by slightly rounding your thoracic spine to use your core and arms to lift your legs off the floor.
- 7. While keeping your arms fully extended, slowly lift your legs toward the ceiling until your legs are over your hands.
- 8. Once you reach the full handstand position, your shoulders should be over your wrists and your hips should be over your shoulders. Your legs should be fully extended.
- 9. Squeeze your legs together and squeeze your glutes and quads. Your chin should be tucked. Your ears should be in line with your upper arms. Your ribs should be down and your pelvis should be slightly tucked. Your body should form a straight line.
- 10. Hold the handstand for your desired length of time before slowly lowering to begin another set.
3 Press Handstand Modifications
Work your way up to practicing the press handstand by performing these drills.
- 1. Tuck planche holds: Often practiced by gymnasts, the tuck planche hold involves positioning your shoulders slightly past your wrists, lifting your legs off of the ground, tucking your knees toward your chest, and holding the tuck position.
- 2. Pike press: Also known as pike push-ups, pike presses involve setting up in the downward dog yoga pose instead of the standard push-up position before lowering down on one arm. Side-to-side pike push-ups are great for building shoulder strength.
- 3. Press from straddle stand: This is an advanced move and the last step before practicing a seated straddle-to-press handstand. Place your feet and hands shoulder-width apart on the floor, keeping your arms straight and knees slightly bent. Lean forward to shift your weight onto your shoulders and gently kick up your legs into an L position. Slowly raise your legs until they're straight and then slowly lower them back down.
How to Work Out Safely and Avoid Injury
If you have a previous or pre-existing health condition, consult your physician before beginning an exercise program. Proper exercise technique is essential to ensure the safety and effectiveness of an exercise program, but you may need to modify each exercise to attain optimal results based on your individual needs. Always select a weight that allows you to have full control of your body throughout the movement. When performing any exercise, pay close attention to your body, and stop immediately if you note pain or discomfort.
To see continual progress and build body strength, incorporate proper warm-ups, rest, and nutrition into your exercise program. Your results will ultimately be based on your ability to adequately recover from your workouts. Rest for 24 to 48 hours before training the same muscle groups to allow sufficient recovery.
Want to Dive Deeper Into Your Wellness Journey?
Throw on some athleisure, fire up a MasterClass Annual Membership, and get ready to sweat it out with exclusive instructional videos from Nike Master Trainer and GQ fitness specialist Joe Holder. Want to improve your cardiovascular endurance? Give Joe’s HIIT workout a go. Trying to get a little swole? He’s got a strength training workout for that. From fitness tips to nutrition hacks, Joe will have you feeling healthier in no time.
