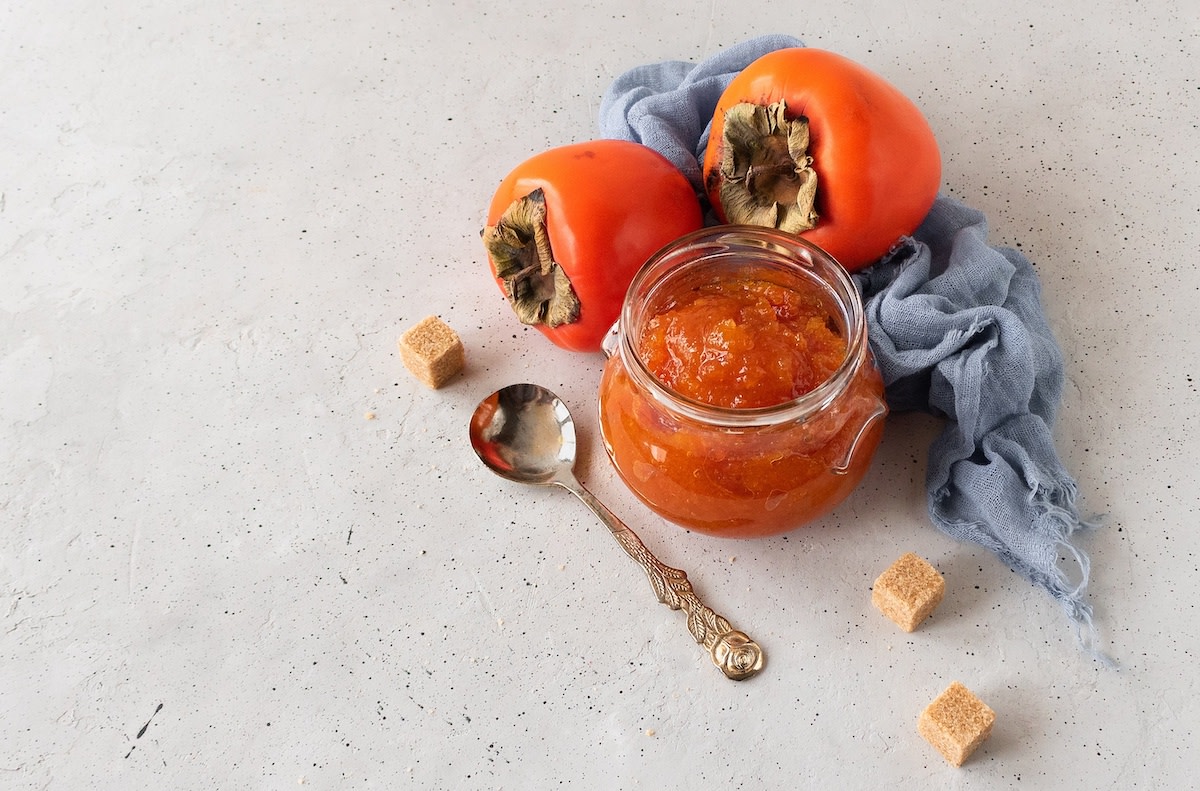
Persimmon Jam Recipe: 4 Ways to Use the Condiment
Written by MasterClass
Last updated: Dec 7, 2025 • 4 min read
If you have a mountain of ripe permissions, you can clear your counters by making a batch of persimmon jam. Read on for tips for making the condiment.
Learn From the Best
What Is Persimmon Jam?
Persimmon jam is a condiment made from fresh persimmon pulp boiled together with sugar and an acid, like lemon juice or vinegar, until thick and spreadable. Persimmons are naturally high in both sugar and pectin, a carbohydrate found in fruit cell walls that, when heated, causes jams to set. Since persimmons are already sweet, persimmon jam may require less added sugar than other fruit spreads.
What Type of Persimmon Should You Use for Making Persimmon Jam?
There are two main types of persimmons found in the West: Hachiyas and Fuyus. You can use either for jam, but Hachiyas are ideal. Non-astringent Fuyu persimmons have crisp flesh and a mild flavor similar to apples and are great for snacking or salads. Astringent acorn-shaped Hachiya persimmons are inedible when raw (unless dried into hoshigaki) but reveal an earthy sweetness with notes of brown sugar, honey, apricots, and raisins once ripe—perfect for jam.
4 Ways to Use Persimmon Jam
Persimmon jam is a versatile condiment thanks to its complex, mellow sweetness. Here are a few ways to incorporate it into your culinary routine:
- 1. Baked goods: Add a layer of persimmon jam beneath the main fruit filling (think apples or pears) of a rustic galette or pie to create a twist on a standard recipe, or use it as a topping on a flaky cheese danish.
- 2. Breakfast and brunch: Serve persimmon jam with buttered toast, scones, and muffins. For a quick breakfast, swirl a spoonful of persimmon jam into plain yogurt and top with homemade granola.
- 3. Cheese platters: Pair persimmon jam with assorted cheeses—everything from creamy brie to aged gouda and goat cheese—and snacks, like spiced nuts and dried fruits. Persimmon jam adds sweetness to balance any cheese or charcuterie board.
- 4. Grilled cheese sandwiches: Persimmon jam is an unexpected pairing for classic grilled cheese. If you’re already a fan of a bit of apple butter in your grilled cheese, try persimmon jam.
3 Tips for Making Persimmon Jam
Persimmon jam is one of the best ways to extend the lifespan of this seasonal fruit. Here’s what to know:
- 1. Use ripe persimmons. Making persimmon jam is a more straightforward process than most jams because ripe Hachiya persimmons already have a thick, jam-like consistency. Hachiyas are ripe when they feel like full water balloons.
- 2. Create a sweet or savory jam. While sugar and lemon juice will capture pure persimmon flavor, adding spices and vinegar brings out the fruit’s lesser-known savory side. Take inspiration from Indian classics like apple chutney or mango chutney, and stew your fruit with whole spices, citrus zest, and dried chilies.
- 3. Adjust the texture. If you prefer a smooth jam, scoop out the flesh and discard the skins before using an immersion blender to purée the pulp directly in the pot with the lemon juice and sugar. If you don’t mind a bit of texture, just remove the stems and any seeds before processing, use a potato masher or a fork to break up the pulp.
How to Store Persimmon Jam
Fresh persimmon jam stored in an airtight container will last up to a week in the refrigerator. If you’re planning to make a larger batch to give away or set aside for use throughout the year, use a canner to store the jam in sterilized glass jars—like Ball or Mason jars—and process in a hot water bath. (Here’s how to can food at home.) The preserved jam will last about two years when stored in a cool, dry spot.
Easy Persimmon Jam Recipe
makes
10–12 8-ounce jarsprep time
10 mintotal time
30 mincook time
20 minIngredients
- 1
Place the persimmon halves in the bowl of food processor or high-speed blender and purée until smooth.
- 2
In a medium saucepan over medium high heat, combine the persimmon purée, sugar, lemon juice, and salt and bring to a boil.
- 3
Reduce the heat and simmer until thickened to desired consistency, about 10–15 minutes.
- 4
Taste and adjust seasoning as needed.
- 5
Meanwhile, bring a large pot of water to a boil over high heat.
- 6
Once the water has come to a rolling boil, sterilize canning jars and lids.
- 7
Using jar tongs, remove the jars and lids and place on a clean kitchen towel to air-dry.
- 8
Use a measuring cup or a ladle to transfer the jam into sterilized jars, leaving an inch or two of space at the top.
- 9
Use a chopstick to pop any air bubbles.
- 10
Seal the jars and return to the canner.
- 11
Process the jars in the boiling water bath for 10 minutes.
- 12
Remove the jars to a towel-lined counter and let them cool to room temperature. You should hear the jars “ping” as soon as you remove them from the pot. (The sound is from the seals forming; the center of the lids will become concave as the vacuum seal takes hold, creating an airtight seal.)
- 13
Once the jars have cooled, test the seals by pressing the center of the jar lids. If the lid pops up and down, the jar has not properly sealed. Jars that don’t seal can be stored in the refrigerator and used within 3 days or processed within 24 hours.
Become a better chef with the MasterClass Annual Membership. Gain access to exclusive video lessons taught by the world’s best, including Mashama Bailey, Gabriela Cámara, Niki Nakayama, Chef Thomas Keller, Yotam Ottolenghi, Dominique Ansel, Gordon Ramsay, Alice Waters, and more.
