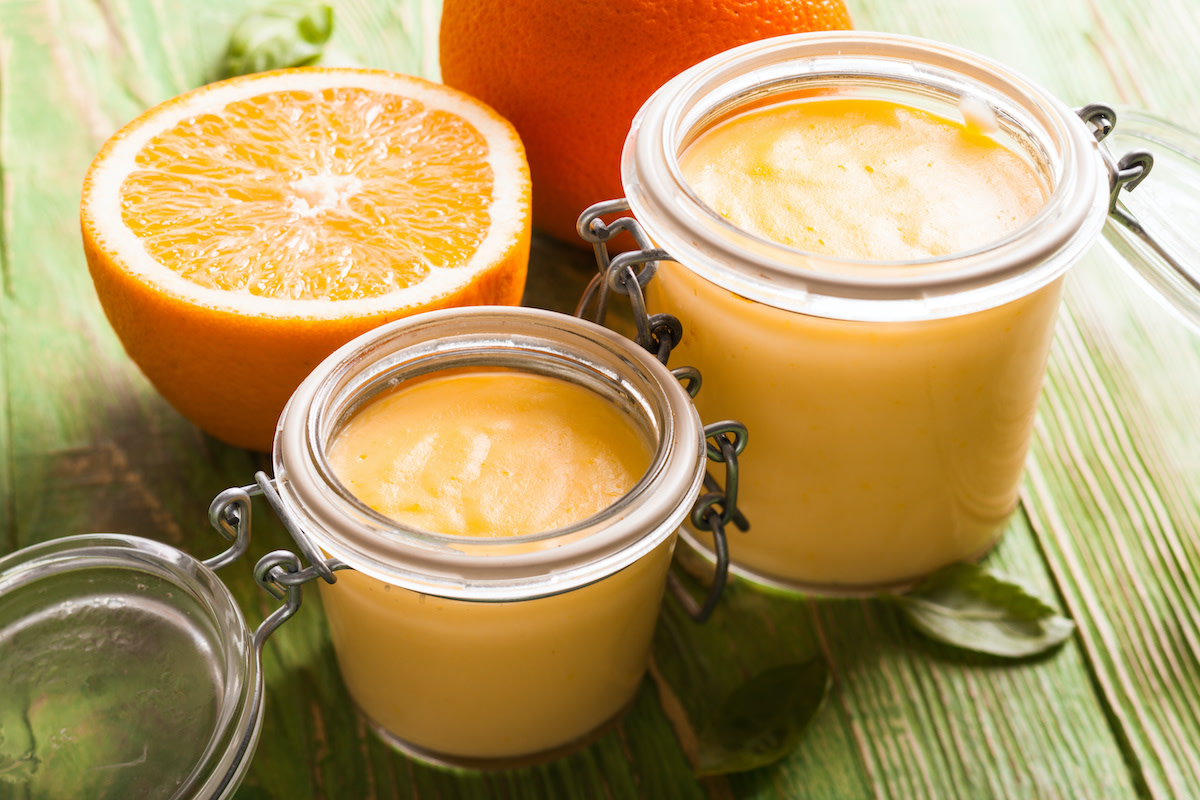
Orange Curd Recipe: 6 Uses for Orange Curd
Written by MasterClass
Last updated: Dec 2, 2025 • 3 min read
The mix of sweetness and tartness makes orange curd a flavorful addition to many baked goods. Learn how to make an easy orange curd in six steps.
Learn From the Best
What Is Orange Curd?
Orange curd is a thick and creamy mixture of fresh orange juice, eggs, sugar, and butter. The amount of sugar in citrus curd recipes varies depending on the sweetness of the fruit—lemon and lime curds require more sugar because they are tart and sour. Oranges vary in sugar content, so taste the orange juice for sweetness and adjust the sugar in your recipe accordingly. Sometimes fruit curd recipes use cornstarch to thicken the mix, but you can skip that ingredient in citrus fruit curds.
6 Uses for Orange Curd
Discover six ideas for how to add the aromatic treat to dishes:
- 1. Breakfast foods: Use orange curd on waffles instead of maple syrup for a sweet and tart topping—it mimics the flavor of adding fruit to the batter. For another breakfast option, fill crêpes with the fruit curd and top with powdered sugar or whipped cream.
- 2. Cake filling: Add orange curd between layers of a cake. The curd filling adds flavor and helps keep the cake layers moist. For cupcakes, cut a tiny hole through the center of the cupcake and fill the opening with orange curd, then top with buttercream frosting.
- 3. Cheesecake: Mix orange curd right into your cheesecake batter to flavor the batter. Curd suspends in the cheesecake batter and can retain its swirl, creating an attractive result.
- 4. Ice cream: Contrast the rich and creamy flavor of the icy treat with the tartness of orange curd. Mix orange curd right into homemade ice cream before freezing, or top ice cream with the curd and let it harden slightly on the surface of the frozen dessert.
- 5. Pavlova: Fill the middle of this baked meringue (made with whipped egg whites and granulated sugar) with fruit curd, fresh fruit, and sweetened whipped cream. Use orange curd as the bottom layer, add the sweetened whipped cream, and top with orange slices and fresh berries.
- 6. Scones: Clotted cream and lemon curd are traditional spreads for scones—switch out the lemon curd for orange for a twist on the classic topping.
4 Tips for Making Orange Curd
Here are a few practical tips to help you make orange curd:
- 1. Choose the right orange. You can use a variety of oranges for your curd. If using fresh-squeezed orange juice, opt for juicier oranges like navel oranges. For a pop of color, use blood oranges.
- 2. Store it properly. Like lemon or grapefruit curd, orange curd lasts in the refrigerator in an airtight container or covered securely with plastic wrap for ten days. You can also freeze orange curd in ice cube trays and transfer the cubes to a plastic freezer bag before storing them for up to a year; return to room temperature before serving.
- 3. Test the thickness. Use the wooden spoon method for testing the consistency of your orange curd. Coat the back of a spoon and run a finger through it—if the line remains, it is ready.
- 4. Use a double boiler. Make your orange curd in a double boiler for better temperature control. Add a couple of inches of water to a small saucepan and place a glass bowl just inside the saucepan. Make sure the bottom of the bowl hovers above the water. Bring the water to a boil and cook the curd in the bowl.
Homemade Orange Curd Recipe
makes
2 cupsprep time
5 mintotal time
20 mincook time
15 minIngredients
Note: The total time does not include 2 hours of inactive chilling time for the curd.
- 1
In a medium saucepan over medium or medium-high heat, bring the orange juice to a boil, then reduce the heat and simmer for about 5 minutes, or until it reduces by about half.
- 2
In a separate heatproof bowl, whisk together the orange juice, orange zest, sugar, eggs, egg yolks, and salt.
- 3
Place that bowl over another medium saucepan filled with a few inches of water, creating a double boiler. Bring the water to a boil. Whisk the orange juice and egg mixture constantly as it cooks until it starts to thicken, about 7 minutes.
- 4
Test the curd on a wooden spoon to see if it’s thick enough. Coat the back of the spoon and run a finger through it. If the line holds, the curd is ready.
- 5
Remove the curd from the heat and add in the butter, one cube at a time, whisking in between each addition.
- 6
Run the curd through a fine-mesh strainer to remove any lumps, then cover the curd with plastic wrap, ensuring it touches the surface of the curd. Refrigerate for 2 hours or up to 10 days.
Become a better chef with the MasterClass Annual Membership. Gain access to exclusive video lessons taught by the world’s best, including Alice Waters, Gabriela Cámara, Niki Nakayama, Chef Thomas Keller, Gordon Ramsay, Yotam Ottolenghi, Dominique Ansel, and more.
