How to Make Onigiri: 5 Tips for Preparing Onigiri
Written by MasterClass
Last updated: Jun 7, 2021 • 3 min read
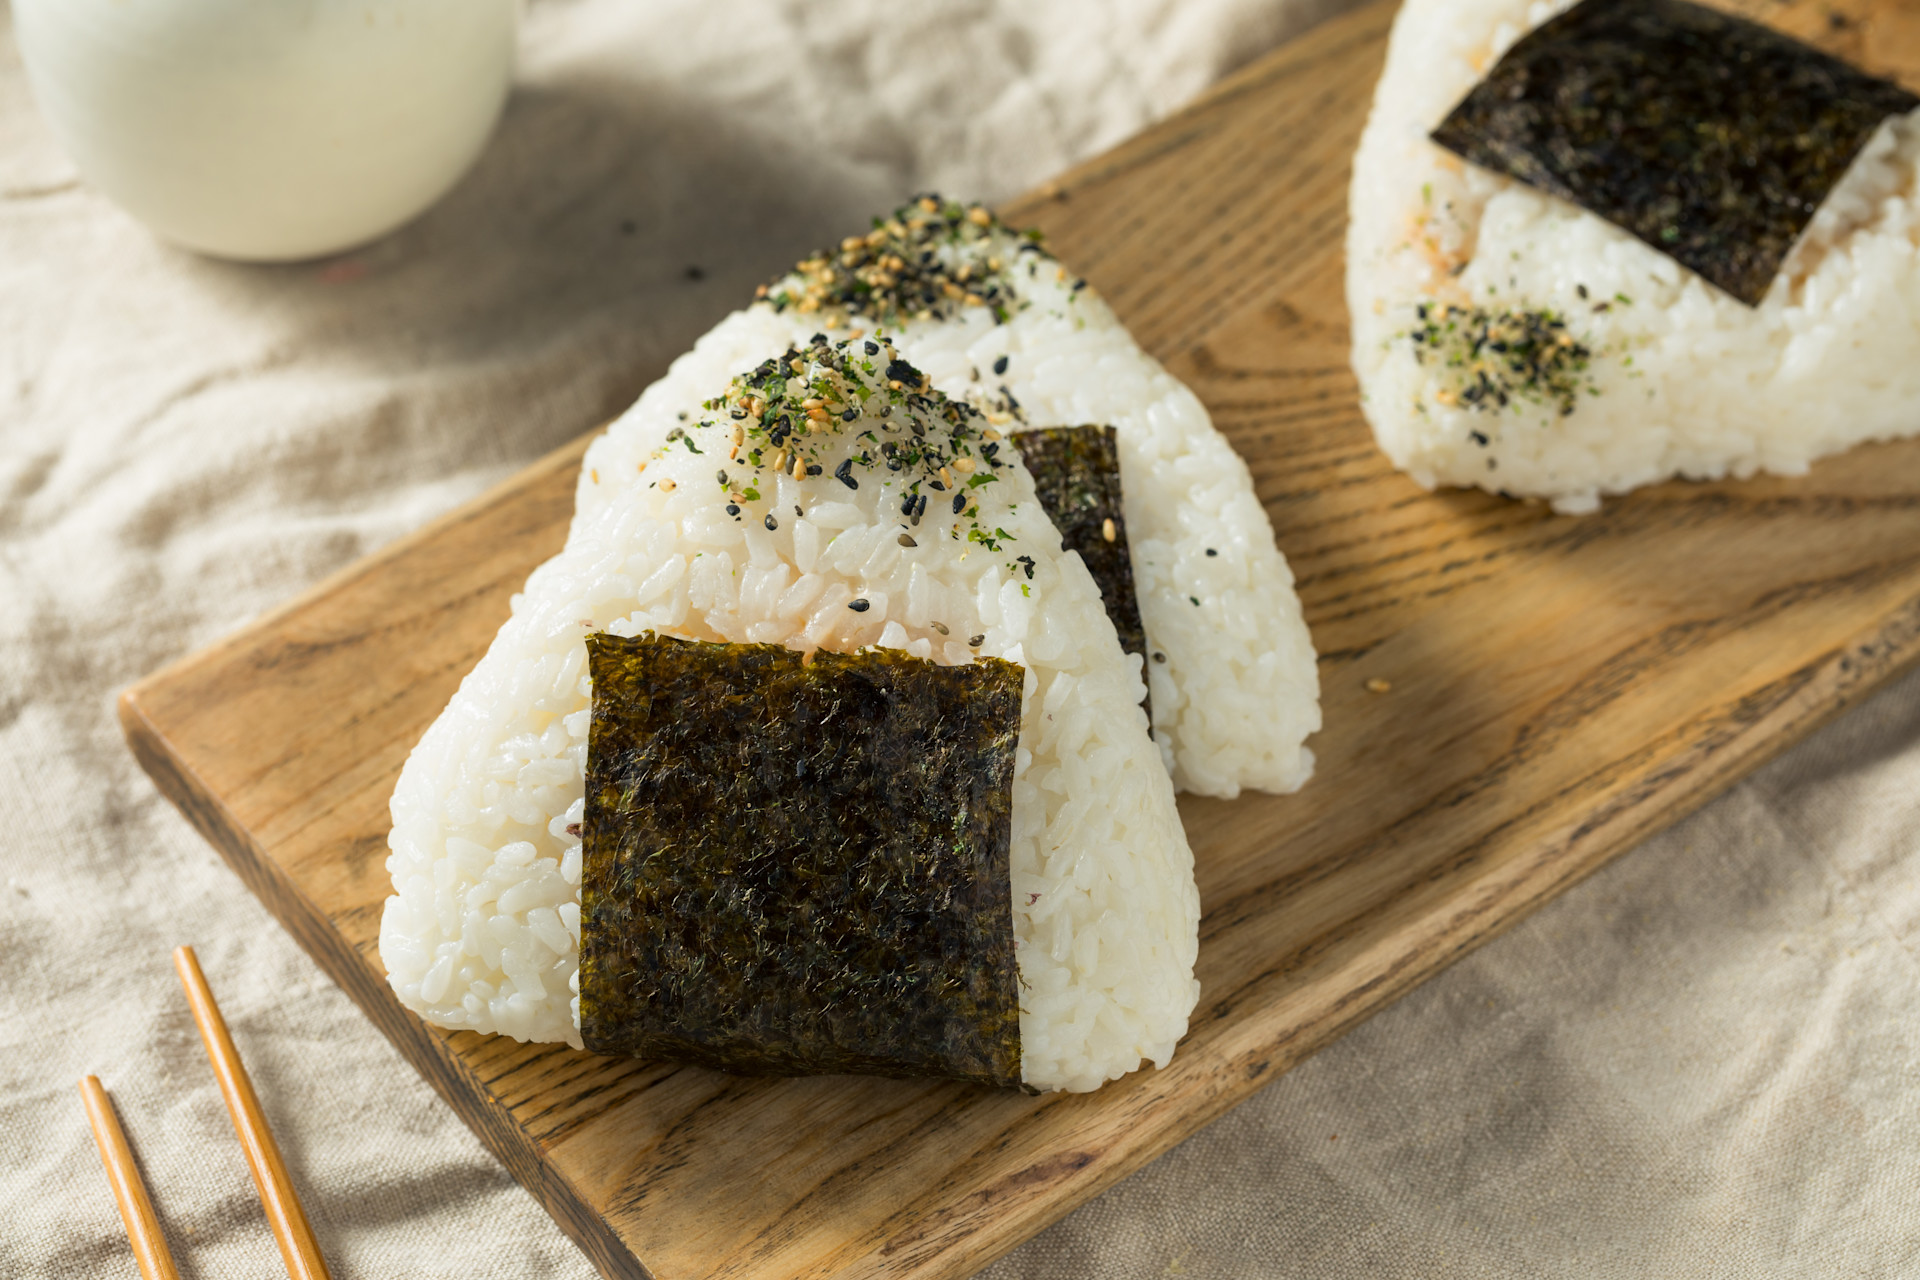
Onigiri, or Japanese rice balls—made fresh and stuffed with various ingredients, from tuna to pickled plum—are a staple, easy-to-eat snack in both Japanese-style lunch boxes (bento) and convenience stores (konbini).
Learn From the Best
What Are Onigiri?
Onigiri, also known as omusubi, are steamed rice balls that feature a savory filling. The rice balls are typically made from the same short-grain rice used for nigiri, but unlike sushi rice, it’s not seasoned with rice vinegar, salt, and sugar before shaping. You can also use glutinous rice or “sticky rice” to make onigiri. The savory rice balls sometimes feature an outer wrapper of nori (dried seaweed) for easier holding.
Onigiri are most commonly made into a triangular shape, which you can garnish with furikake rice seasoning or sesame seeds. A popular izakaya (Japanese gastropub) menu item is yaki onigiri (grilled onigiri), which pairs a crisped-up rice exterior with a brush of soy sauce.
5 Common Onigiri Fillings
With plain, cooked rice as the base, onigiri is a perfect way to highlight bright, salty fillings, which were initially intended as a preservative to help the rice last longer. There are many types of onigiri fillings, from bits of fried chicken and seaweed to soft, sweet red beans, which impart various flavors. Here are some of the most popular:
- 1. Tarako (cod roe): Soft, pink tarako adds a light, briny flavor.
- 2. Tuna mayo: A simple mixture of canned tuna with Japanese mayonnaise.
- 3. Okaka: Katsuobushi (dried bonito flake) moistened with soy sauce for doubly potent umami.
- 4. Sha-ke (salted salmon): Large flakes of cooked salmon.
- 5. Umeboshi (pickled plum): Puckering tart-sweet umeboshi paste.
5 Tips for Preparing Onigiri
Making onigiri is a straightforward process, but there are a few ways to make it simpler:
- 1. Wet your hands. Onigiri is easier to handle with moist hands. Place a small bowl of water near your work surface while you assemble the rice balls. Use the water to moisten your hands periodically, which will prevent the rice from sticking to them.
- 2. Salt your hands. After wetting your hands, sprinkle a few pinches of salt onto each of your palms. As you shape the onigiri, the salt will coat the rice and help it stay fresh longer.
- 3. Use plastic wrap. If you’re having trouble finding the right amount of pressure to help the rice keep its shape, a sheet of plastic wrap can make it easier: just place the rice on the plastic and pull it taut in either direction to mold.
- 4. Use a mold. Silicone onigiri molds, which you can find online or in some Asian grocery stores, allow for a variety of shapes with easy, quick assembly.
- 5. Invest in a rice cooker. You don’t need a rice cooker to make onigiri, but having fresh, fluffy rice on hand to work with will make the process a lot quicker.
How to Make Onigiri
When making onigiri, use freshly cooked rice, which should feel warm to the touch or just above room temperature.
- 1. Place about a ⅓ cup of rice in your palm and lightly shape.
- 2. Make a slight indentation into the center of the rice, then place a ½ teaspoon of filling in the space.
- 3. Use your hands to close the rice over the filling and gently but firmly press into a triangular shape, using your palms to apply light pressure. If using, adhere a cut piece of nori along the rice ball’s base and garnish with sesame seeds.
Want to Learn More About Cooking?
Become a better chef with the MasterClass Annual Membership. Gain access to exclusive video lessons taught by the world’s best, including Niki Nakayama, Gabriela Cámara, Chef Thomas Keller, Yotam Ottolenghi, Dominique Ansel, Gordon Ramsay, Alice Waters, and more.
