Kneading Techniques: 7 Methods for Kneading Dough
Written by MasterClass
Last updated: Jun 7, 2021 • 2 min read
Kneading is an important step for dough’s gluten development, and it can greatly influence the overall texture of the finished loaf.
Learn From the Best
What Is Kneading?
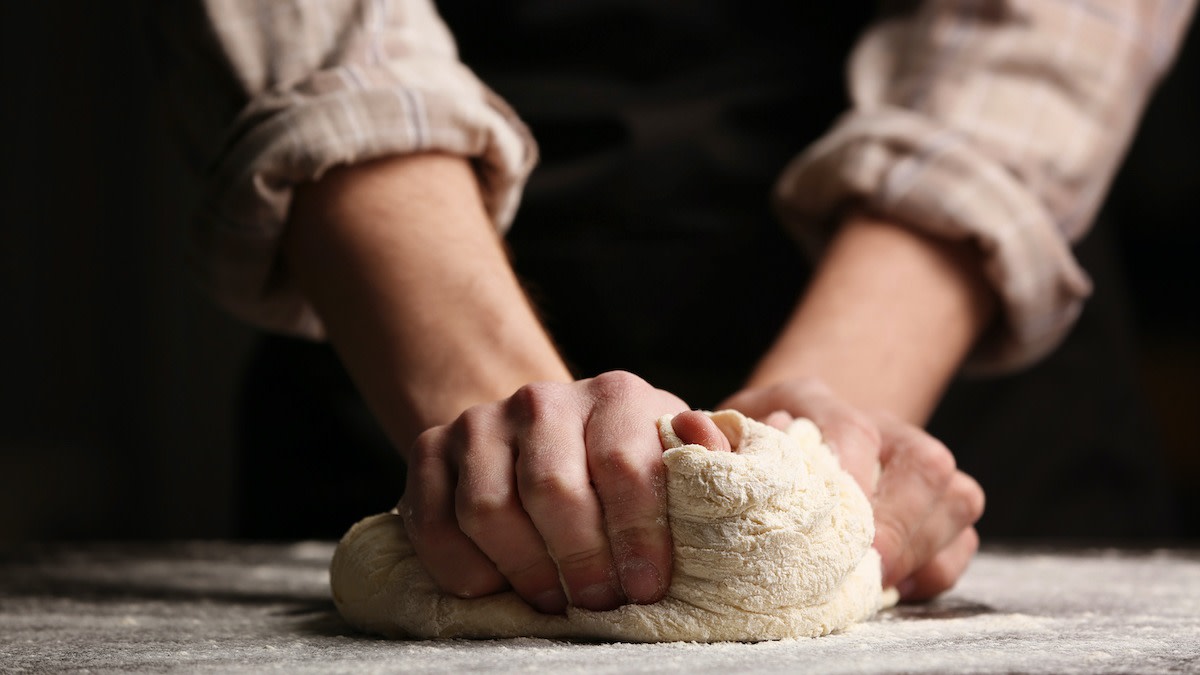
Kneading is the massaging of bread dough before baking. Kneading stretches the strands of gluten in the dough, allowing for more expansion during fermentation. Well-kneaded, elastic dough holds more air bubbles than dough that hasn't been kneaded, and the strong gluten network keeps those bubbles in place throughout the proofing and baking processes. Kneading also breaks up gas bubbles for a consistent crumb, distributes yeast equally, and evens out the temperature of the dough, allowing for uniform proofing and baking.
Although some breads (typically those made with enriched dough that includes sugar, butter, and eggs, which inhibit gluten formation) are best kneaded with a stand mixer fitted with a dough hook attachment, most breads can be kneaded by hand.
2 Benefits of Kneading Dough by Hand
There are two main advantages to hand-kneading over mechanical kneading.
- 1. First, by using your own hands, you'll get a feeling for your bread dough—its precise hydration level and elasticity. You'll have a better sense of when to stop the kneading process, and you'll be aware of any quirks your dough may have.
- 2. Kneading by hand also means you face little risk of over-kneading your dough. While a stand mixer can easily over-knead dough, your arms will probably tire out before the gluten bonds break down.
7 Techniques for Kneading Dough
If you want to be efficient when you knead your bread dough, use these tried-and-true kneading techniques.
- 1. Basic fold: If you're new to kneading, keep in mind that most bread doughs respond well to the simple motion of folding a dough round in half, then pressing the dough with the heels of your hands.
- 2. Claw method: For doughs that are kneaded right in the mixing bowl, try the claw method. Shape your hand into a claw, and use it to grab underneath the dough, bringing the dough up over itself. Turn your bowl 90 degrees, and repeat.
- 3. Dough scraper: Very wet dough (also known as high-hydration dough) can be almost impossible to knead since it sticks to the work surface or mixing bowl. Using a dough scraper to flip your dough around will help you avoid over-flouring your dough.
- 4. French fold: This method involves using both hands to stretch the dough toward you, then folding it back up over itself.
- 5. French method: This method involves slapping the dough on the counter, and it’s a great way to counteract stickiness since the rapid slapping motion prevents the dough from sticking.
- 6. No-knead method: If you want to cut your kneading time down to almost zero, try no-knead bread-making, which involves an extra-long fermentation. Gluten develops during this rest period, so you're left with hardly any work to do.
- 7. Windowpane test: No matter which technique you use, the windowpane test will tell you if the gluten in your bread dough has fully developed. If it has, you should be able to stretch the dough thin enough to see through it—like a window.
Bready for More?
We’ve got you covered. All you knead (see what we did there?) is The MasterClass Annual Membership, some water, flour, salt, and yeast, and our exclusive lessons from Apollonia Poilâne—Paris’s premier bread maker and one of the earliest architects of the artisanal bread movement. Roll up your sleeves and get baking.
