How to Whitewash Wood in 5 Simple Steps
Written by MasterClass
Last updated: Nov 11, 2021 • 3 min read
If you’re thinking of painting furniture or wood paneling to get that signature farmhouse look, try whitewashing. Whitewashing wood is an affordable and relatively easy DIY project that makes new wood look rustic and charming.
Learn From the Best
What Is Whitewashed Wood?
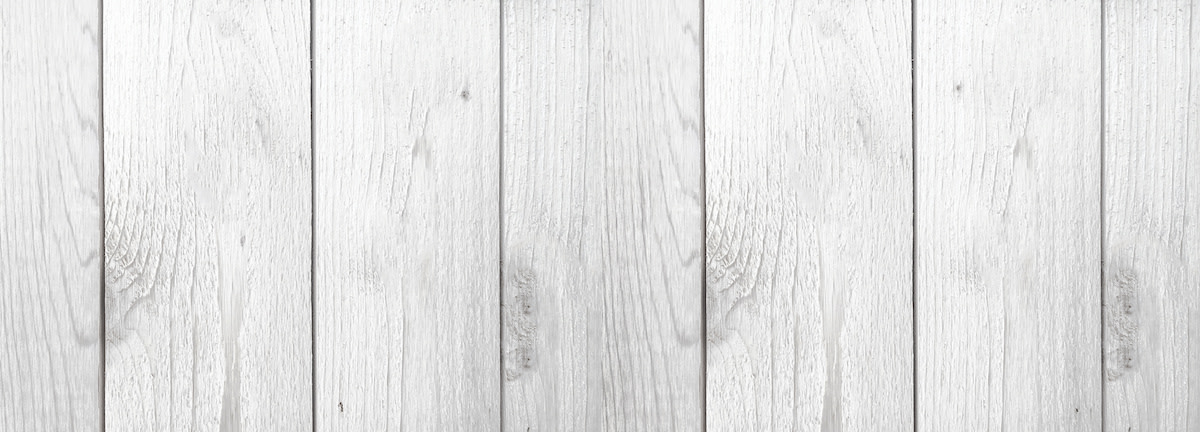
Whitewashing is a painting technique used to lighten the appearance of wood surfaces without hiding the natural beauty of the wood grain. The whitewash technique is perfect for giving wood paneling or a piece of furniture a charming, rustic look. Whitewashing works on many types of wood, but it is most effective on raw, unfinished wood.
Choosing Paint for Whitewashing Wood
You can purchase pre-made whitewash paint from your local home improvement store, or you can make your own at home. You can use several types of paint to achieve the whitewashed look—including latex paint and chalk paint—but the key to getting the perfect whitewash finish is to start with a water-based white paint with a matte finish. Avoid using oil-based paint as you will not be able to dilute it properly.
Create your own paint mixture by mixing equal parts water and paint. You can create a more saturated look by mixing one part water with two parts paint or a more subtle look by mixing one part paint with three parts water. Experiment with different ratios until you find the right mix for your purposes.
How to Whitewash Wood
Familiarize yourself with these step-by-step instructions before starting your DIY project.
- 1. Gather your materials. To whitewash wood, you will need water-based paint, water-based sealer, a paintbrush, fine-grit sandpaper, a spray bottle, water, a lint-free, damp cloth, a stir stick, and a bucket.
- 2. Prepare the wood surface. If you're whitewashing stained wood with an existing finish or varnish, use sandpaper to completely remove the finish. Once you’ve removed the finish, use fine-grit sandpaper to smooth out the surface. Clean the wood thoroughly to remove bits of dirt and dust. This will help the whitewash finish adhere to the wood evenly.
- 3. Make the whitewash mixture. For the standard whitewashed look, mix equal parts paint and water in a mixing bucket. Use your paintbrush to apply some of the mixture to a scrap piece of wood to see if you've achieved your desired finish. Add more water for a more transparent finish or more paint for a more saturated finish.
- 4. Brush on the whitewash. Use a paintbrush—not a roller—to apply the whitewash paint. Brush on the paint in the direction of the wood grain, working it into the grain to hide brush strokes. If paint build-up occurs, causing an uneven finish, simply use a damp cloth to wipe away the excess, working in the same direction as the grain until you're pleased with the look.
- 5. Apply a protective topcoat. Whitewash paint is not as protective as regular paint. Allow the first coat of paint to completely dry. Then, following the product's instructions, apply a layer of water-based polyurethane.
What’s the Difference Between Whitewashing and Pickling?
Whitewashing and pickling are often used interchangeably because they both involve applying a transparent white finish to wood. However, they are two separate techniques. Pickling involves applying a stain to the wood in order to lighten its appearance and bring out the texture of the wood grain. Whitewashing uses a paint mixture—not stain—to accomplish a similar effect.
Ready to Give Your Space a Chic Update?
Master everything from color theory to pattern mixing with the MasterClass Annual Membership and exclusive lessons from award-winning interior designers like Corey Damen Jenkins and Kelly Wearstler. From shopping for statement furniture to designing a lighting scheme to choosing the newest member of your plant family, the skills you’ll pick up are sure to make your house, apartment, or condo feel even more like a home.
