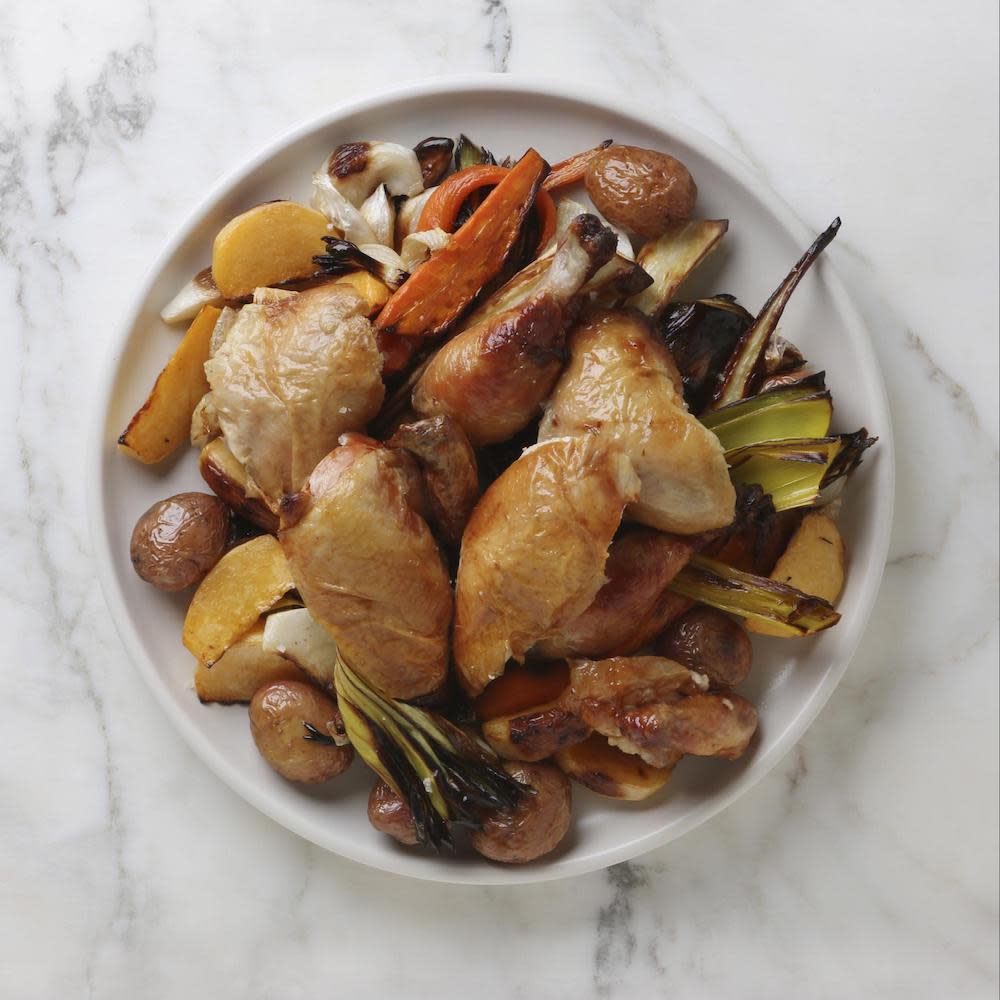
How to Truss a Chicken With Chef Thomas Keller: Step-by-Step Guide
Written by MasterClass
Last updated: Jul 30, 2021 • 2 min read
When roasting a whole chicken, many home cooks focus on the brining and cooking steps in the process. But there’s another very important step to getting the perfect roast chicken: trussing. In his roast chicken recipe, Chef Thomas Keller trusses his bird to achieve optimal results.
Learn From the Best
What Is Trussing?
Trussing refers to the technique of tying your chicken snugly with kitchen twine so that the wings and legs stay close to the body. Trussing your bird brown more beautifully and evenly, resulting in a flavorful, juicy roasted chicken with crispy skin. With any large roast or rotisserie, it’s essential to shape the meat into a uniform, compact package. This ensures that all parts of the meat cook evenly. (This technique works for grilling and bbq too.)
What Do You Need to Truss a Chicken?
To truss a chicken, you will need:
- A whole chicken, wishbone removed (giblets optional)
- Butcher’s twine (or kitchen twine)
- A clean, flat surface, like a cutting board
- Paper towels (optional, if you have previously brined the chicken)
How to Truss a Chicken: Step-by-Step Tutorial
Chef Thomas Keller’s method for trussing a chicken is as follows:
How to Remove a Wishbone
Chef Keller prefers removing the wishbone before the chicken cooks. This step, while not necessary, allows for more precise and efficient carving once the chicken is roasted.
- 1. Locate the V-shaped wishbone in the center of the chicken’s breast plate.
- 2. Pull back the breast meat and slide your knife tip across the wishbone.
- 3. Repeat on both sides of the wishbone.
- 4. Slide your thumb and index finger up to the tip, where the wishbone meets the breastplate.
- 5. Snap the wishbone loose and gently peel out.
Whether it’s your first time in the kitchen or you’re a seasoned cook, understanding how to properly handle proteins is a must for advancing culinary skills (and for practicing proper food safety!). From braising to deglazing, Chef Thomas Keller’s MasterClass covers the essential techniques for cooking meats and creating flavorful stocks and sauces as accompaniments.
