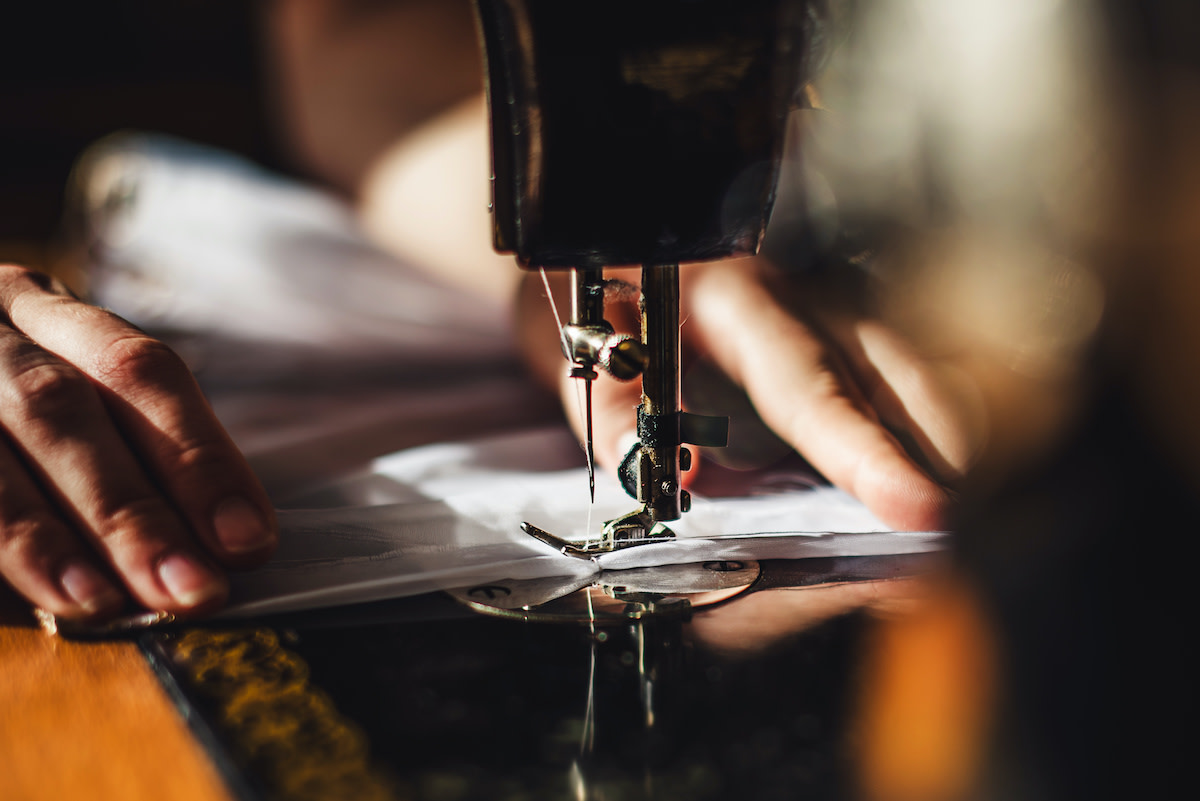
How to Thread a Sewing Machine: Step-by-Step Guide
Written by MasterClass
Last updated: Jun 7, 2021 • 3 min read
Before you make your first stitch, you’ll need to set up your sewing machine. While the initial set up of a sewing machine may seem overwhelming at first, don’t worry—after a few sewing projects, it’ll feel like second nature.
Learn From the Best
How to Thread a Sewing Machine
Threading your sewing machine is a process in which you load an upper thread and a lower thread into your machine. The machine will weave these two threads together in order to create stitches in your material. Every sewing machine is slightly different when it comes to threading, but there are a few general steps that most machines employ. Check your instruction manual when threading your sewing machine for the first time.
- 1. Wind a bobbin. The bobbin is the lower spool of thread for your machine. If you don’t already have bobbins wound with thread (either from a previous project or store-bought pre-wound bobbins), you’ll need to wind your own from an existing spool of thread. To do this, place a spool of sewing thread on your machine’s thread pin (at the top of your machine). Pull the thread to the left of your machine and wind it counter-clockwise around the pre-tension disc (attached to the thread guide). Then, thread the thread through the two small holes in your empty bobbin, and wind the thread several times around the center pillar of the bobbin. Place the bobbin on your machine’s bobbin winder pin (usually on the top right side, near the thread pin). Now, simply press your machine’s foot pedal, and the bobbin should begin winding. Wind it until it’s full, then trim the thread to detach it from your larger spool.
- 2. Load your wound bobbin. Once you have a wound bobbin, it will go in a little compartment underneath your needle (called the bobbin case) to supply the lower thread as your machine sews. To load your bobbin, lift your needle and presser foot to the highest position (your machine will either use a hand wheel or a button for this) and remove the bobbin cover. Place your bobbin in the round slot; your machine will have an arrow showing which way the bobbin should be placed to unspool correctly. Then, pull the end of the bobbin thread through your machine’s tension spring and replace the bobbin cover.
- 3. Place the spool. To set up the upper thread for your machine, first place a spool of thread on your machine’s thread pin (also called a spool pin or spool holder).
- 4. Thread through the thread guide. Pull the thread to the left of your machine and thread it through the thread guide.
- 5. Pull the thread through the U-shaped guide. Pull the thread down from the thread guide, into a deep groove on the front of the machine, and then bring the thread back up into the second deep groove just to the left.
- 6. Wrap the thread around the thread take-up lever. At the top of the machine’s second groove is a metal hook called the take-up lever. Wrap the thread around the take-up lever.
- 7. Thread the needle. Pull your thread down toward the sewing machine needle, and thread the eye of the needle from front to back. Keep pulling the end of the thread until there are several inches of thread through the needle. (Some machines will have an automatic needle threader instead—see your sewing machine manual for more instructions.)
- 8. Catch the thread. Once both your top thread and bobbin have been set up, you need to connect the two threads to be ready to sew. Using your needle position knob or button, lower the needle all the way down and back up again—when you do this, the needle will catch the bobbin thread and pull it back out in a loop. Pass a flat object like a ruler underneath the needle to grab both thread strands and position them away from where you’ll be stitching.
Learn More
Become a better fashion designer with the MasterClass Annual Membership. Gain access to exclusive video lessons taught by fashion design masters including Diane von Furstenberg, Marc Jacobs, Anna Wintour, and more.
