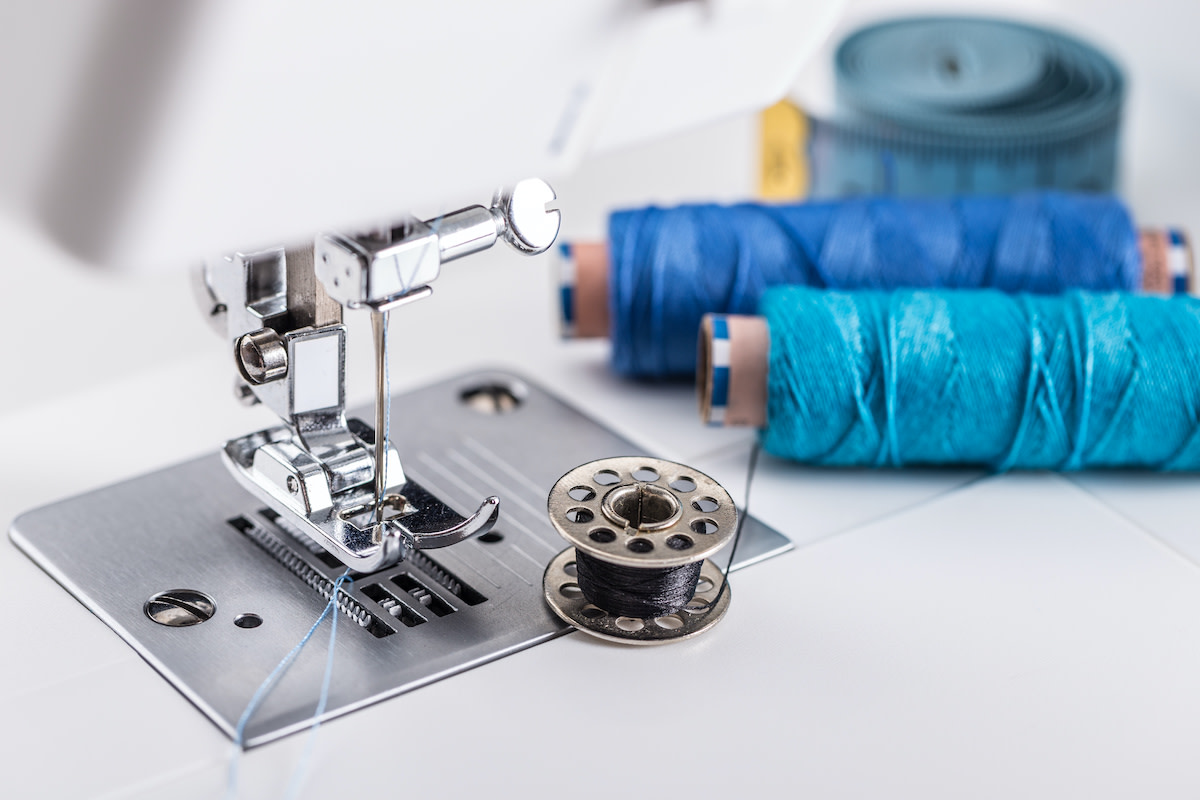
How to Thread a Bobbin on a Sewing Machine
Written by MasterClass
Last updated: Jun 7, 2021 • 3 min read
Perhaps the trickiest part of using a sewing machine comes at the very beginning: threading the sewing machine bobbin. Fortunately, there is a reliable method for getting your bobbin thread properly wound and spooling in the right direction so you can move forward with your sewing projects.
Learn From the Best
How to Thread a Bobbin
To wind a sewing machine bobbin, you will need to load an upper thread and a lower thread. The machine will weave these two threads together in order to create stitches in your material. Every sewing machine is slightly different when it comes to threading—for instance, a mini sewing machine may require a different threading procedure than a full-sized machine. Still, you can use this step-by-step guide to get you through the basics on any sewing machine.
- 1. Start with an empty bobbin and a spool of thread. Place your spool of thread on the machine's thread pin and hold it in place with a spool cap. Make sure you are using a bobbin that conforms to the dimensions of your sewing machine or embroidery machine, and never wind new thread on a half-full bobbin. If the bobbin is the wrong size, or if it uses the wrong tension, you'll run into issues with the bobbin holder or bobbin cover plate.
- 2. Begin passing thread into the bobbin winder. To do this, place a spool of sewing thread on your machine’s thread pin at the top of your machine. Pull the thread to the left of your machine and wind it counter-clockwise around the pre-tension disc (attached to the thread guide).
- 3. Secure the thread. Work the thread end through the two small holes in your empty bobbin, and wind the thread several times around the center pillar of the bobbin.
- 4. Insert the bobbin onto the bobbin winder shaft. This shaft is also known as a bobbin winder spindle or bobbin winder pin. On some machines, you will hear the bobbin click into place if you turn it clockwise.
- 5. Secure the bobbin. Make sure your bobbin winder is locked, then pull any excess thread through the slit in the base of the bobbin. Trim off the end of the thread while leaving a short thread tail that can run through the eye of the needle.
- 6. Begin winding. Turn on the machine and press the foot pedal to begin winding the bobbin. Wind several layers until the bobbin is full. Depending on the model of your sewing machine, you may have a fast-winding function, in which case you don't need a foot controller. Simply press the start button and let the machine do the work for you.
- 7. Confirm that your bobbin is tightly wound. If it isn't, the top of the bobbin might not fit into the bobbin case. Similarly, too much thread will prevent you from fully loading the bobbin. If you end up with excess thread, simply unspool it as needed and trim away the surplus.
- 8. Load your wound bobbin into its case. Once you have a wound bobbin, it goes in the machine's bobbin case to supply the lower thread as your machine sews. To load your bobbin, lift your needle and presser foot to the highest position (your machine will either use a hand wheel or a button for this) and remove the bobbin cover. Place your bobbin in the round slot; your machine will have an arrow showing which way the bobbin should face to unspool correctly. Then, pull the end of the bobbin thread through your machine’s tension spring and replace the bobbin cover.
- 9. When in doubt, consult the instruction manual. A sewing machine manual will contain diagrams that show the proper way to thread its particular bobbins, and it will inform you what model to choose when purchasing replacement bobbins.
Learn More
Become a better fashion designer with the MasterClass Annual Membership. Gain access to exclusive video lessons taught by fashion design masters including Diane von Furstenberg, Marc Jacobs, Anna Wintour, and more.
