How to Take Real Estate Photos: 6 Real Estate Photo Tips
Written by MasterClass
Last updated: Jun 7, 2021 • 4 min read
If you’re learning how to take real estate photos, the number one rule is to make the property look spectacular.
Learn From the Best
What Is Real Estate Photography?
Real estate photography is a type of commercial photography in which a photographer takes professional photos of a home that is for sale. Real estate agents or homeowners hire professional real estate photographers to help showcase the property they want to sell. These photographs then appear in online real estate listings or property catalogs to attract potential home buyers. It is the real estate photographer’s job to make the exterior and interior photos of a home look as appealing as possible to attract potential buyers.
What Equipment Is Used in Real Estate Photography?
There are four basic equipment needs any real estate photographer will want to consider.
- 1. Digital camera: The most important piece of equipment is your digital camera, so choose yours wisely. High dynamic range (HDR) or digital single-lens reflex (DSLR) cameras will give the highest-quality images, and come with standard functions such as exposure bracketing and the ability to trigger a remote flash.
- 2. Wide-angle lens: Consider a wide-angle lens especially when taking interior photos. Wide-angle shots make small and enclosed spaces appear more spacious, increasing the appeal for buyers.
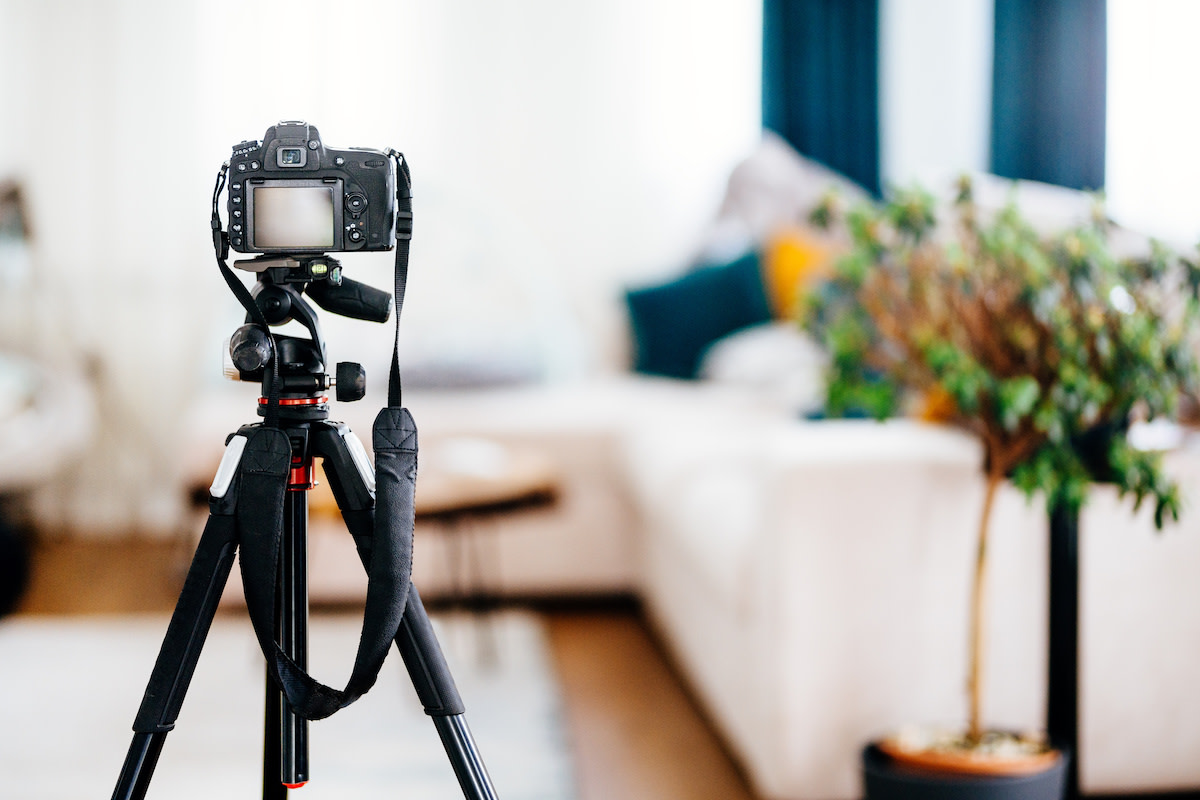
- 3. Tripod: A reliable and sturdy tripod will ensure that your photographs are level and give you greater control of your camera.
- 4. Lighting: Most cameras come with a built-in flash, but you can also invest in a remote flash to help eliminate any shadows in your photos.
4 Tips on Preparing for a Real Estate Photoshoot
Before you take your photos, follow these steps to prepare for the best real estate images:
- 1. Compile a shot list. Work with the real estate agent or homeowner to plan a list of exterior and interior shots that you want to capture before your shoot. Start with exterior photos and highlight any appealing features—like pools or patios—and capture at least five different angles of the front of the house. Work with the real estate agent to decide which rooms are most appealing, and capture at least three photos of each of those.
- 2. Prepare your equipment. A couple of days before your shoot, run down your checklist of equipment you will need for your shoot. If you have a new camera, make sure you can use the basic camera settings. Ensure that your camera batteries are fully charged and that there is enough room on your camera's SD card or internal storage.
- 3. Ask for a clean space. If you’re shooting a house that is still being lived in, ask the owners to clean and declutter the space to make it camera-ready.
- 4. Choose the right time of day. Consider scheduling your shoot for a time of day when the light is soft enough to eliminate the threat of glare but bright enough to see the features of the house. Early morning and late afternoon—about an hour before sunset—have soft light that will prevent your photos from looking oversaturated. Avoid shooting on overcast days because there may not be enough light to make your photos sharp.
6 Tips for Taking Real Estate Photos
Here are six tips for capturing quality photos if you’re considering becoming a real estate photographer.
- 1. Clear out any exterior obstructions. Exterior real estate photos are free of any distracting elements like telephone cables, trash bins, or passersby. Make sure to eliminate any of those variables from your shot, because a clean photo will enable your audience to imagine themselves in the home.
- 2. Make sure your interior photos are precise and clean. When photographing interior spaces, ensure that all vertical lines are perfectly straight up and down by orienting the bottom of your camera properly on your tripod.
- 3. Consider the height of your tripod. Shooting interiors from eye height, around 5.5 feet, keeps the room looking proportional and makes it easier to keep your vertical lines straight.
- 4. Use natural light. The best hours for shooting your exteriors are early morning or early evening when the light is softest. Shoot the property with the lights turned on so that it looks warm and welcoming. When photographing interiors, open the blinds and let in as much light as possible. Use your flash to eliminate shadows.
- 5. Showcase the set pieces of the home. Find a particularly attractive quality of the home—like a pool, new kitchen countertops, a living room fireplace, or large bright windows—and showcase these in your images.
- 6. Take plenty of photos. The more photos you take, the more options you have to choose from. Make sure to take multiple images of each room from a variety of angles and in different exposures. Having too many pictures to choose from is better than not having enough. You can use your digital editing software for some light post-processing to get the photos just right.
Ready to Learn the Ins and Outs of the American Housing Market?
All you need is a MasterClass Annual Membership and our exclusive video lessons from prolific entrepreneur Robert Reffkin, the founder and CEO of the real estate technology company Compass. With Robert’s help, you’ll learn all about the intricacies of buying a home, from securing a mortgage to hiring an agent to tips for putting your own place on the market.
