How to Skim Coat a Wall: 6 Steps to Skim Coating a Wall
Written by MasterClass
Last updated: Sep 28, 2021 • 4 min read
Returning your walls to the look and feel of a smooth plaster after years of wear and tear or texturing can seem like a challenge best suited for a professional. But with the right tools, materials, and methods, skim coating can be a cost-effective DIY project to make your interior look like new again.
Learn From the Best
What Is Skim Coating?
Skim coating is a common home improvement technique that uses a thin layer of joint compound to smooth out textured walls or repair damaged drywall to its original smooth surface. The clean, smooth finish can allow the true color of your paint to come through, without the shadowing effect that knockdown or orange peel drywall finish textures can create. Skim coating walls can include various techniques and materials, but it can be far less costly than renovations on a larger scale.
Tools and Supplies for Skim Coating
There are different methods you can use to skim coat walls, but here are some of the common tools you should have on hand before you get started:
- Drop cloth: Using paper or a drop cloth below your work area can protect your floor surface from drips between your mud pan and the wall. You can also use painter’s tape to frame your target surface with the drop cloth and protect your trim and molding. Additionally, using a drop cloth can ultimately reduce your cleanup time.
- Drywall compound: You can purchase either ready-mix or dry-mix drywall compound, depending on the surface area you need to cover or your price point preferences.
- Paint roller: Although a texture sprayer may be the most efficient strategy to achieve a thin layer of drywall mud on your wall surface, a paint roller may be the more cost-effective option. Furthermore, if you already know how to paint, the paint roller application will make for a more familiar experience.
- Paint tray or five-gallon bucket: You will need to mix up your drywall mud before application. To make sure you have enough mixture to complete an entire wall or section, prepare your mixture in a bucket or pan that you can easily move near your work area.
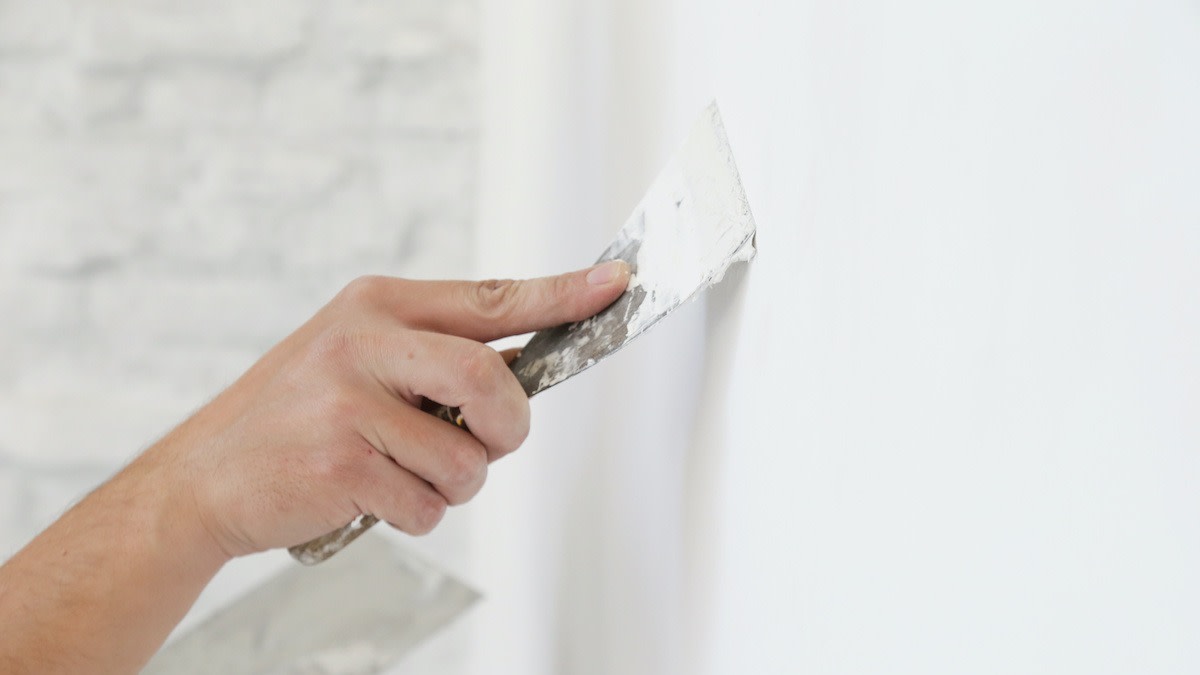
- Putty knife: After you apply your first coat of mud, you will use a squeegee-like tool to remove excess mud and fill in areas where the one coat has not yet filled in gaps or valleys between the nuances in texture. Using a putty knife or drywall knife can also help you address edges and corners where you might have made taping mistakes.
6 Steps to Skim Coating a Wall
After you collect all the required tools and materials for your project, you may want to practice on a small area of drywall or a cut-off piece of gypsum before you attempt to tackle a whole wall. Follow these step-by-step instructions to get the best results from your first skim coat.
- 1. Prepare your work area. Laying down butcher paper or drop cloths can save you time in the long run. Make sure you cover all nearby walking surfaces and tape off trim and outlets to protect them from overspray or drips.
- 2. Mix the drywall compound. To save time on mixing your joint compound to a thin, yogurt-like consistency, you can purchase a mixing attachment for a power drill. Keep in mind that this method can cause splashing, so use this tool in a prepped area.
- 3. Apply the first coat of mud. If you are using a thick nap paint roller to apply the first coat, it’s advisable to work on small sections of the wall at a time to ensure a consistent coat with similar drying times.
- 4. Light the work area at an angle. A common contractor trick to ensure that the skim coat is evenly applied and covering all unwanted texture is to place a light source at an angle to the target surface. Any bumps or peaks will appear prominently in shadow.
- 5. Trowel the first coat. Using an edged tool like a trowel or taping knife can help you smooth down the initial coat and fill the mud into any voids that the roller missed. It is important to use your squeegee tool in the same direction as you applied the mud when you used the roller.
- 6. Sand the wall between coats. The troweling step may develop noticeable lines where your strokes overlap. Drywall sanding between coats can be an easy fix for this after your first coat has dried. For hard-to-reach sanding areas, you can use a pole sander—this tool can extend your reach and help you smooth out your wall before you apply the second coat.
Ready to Give Your Space a Chic Update?
Master everything from color theory to pattern mixing with the MasterClass Annual Membership and exclusive lessons from award-winning interior designers like Corey Damen Jenkins and Kelly Wearstler. From shopping for statement furniture to designing a lighting scheme to choosing the newest member of your plant family, the skills you’ll pick up are sure to make your house, apartment, or condo feel even more like a home.
