How to Sift Flour: Step-by-Step Guide With Sifting Tips
Written by MasterClass
Last updated: Nov 17, 2021 • 2 min read
If your goal is airy baked goods and lump-free batters, you’ll need to learn how to sift flour. This simple kitchen technique involves pouring flour through a sieve to add air and break up lumps.
Learn From the Best
What Is Flour?
Flour is the powdery result of grinding wheat, corn, rice, or seeds (or dried roots like cassava). It’s used in various culinary applications, from breads, cakes, and pie crusts to roux for sauces and airy batters. Producers make most conventional flours from wheat kernels (or wheat berries), which consist of endosperm, a germ, and bran.
Why Sift Flour?
Sifting flour is important because it introduces air into batters, which helps bakers achieve a light and airy result in certain baked goods. Before modern advancements in commercially refined flour, home cooks sifted flour before baking and cooking to separate any debris left behind from the chaff and husk. Today’s flour— refined to eliminate any residues of the milling process—mostly only requires sifting to break up lumps and create light, aerated baked goods.
When to Sift Flour
Most modern recipes do not require sifting flour because producers refine modern commercial flours before shipping it to the supermarket, ensuring the removal of any unwanted debris from the flour-milling process before it arrives in your kitchen. (The exception is pastry.)
Some delicate desserts, like sponge cake, angel food cake, pound cake, and genoise, call for sifted flour for a light, airy texture and fine crumb. You can also use sifted flour to lightly dust a work surface and break up clumpy or tightly packed flour.
How to Sift Flour
You can sift flour with a specialized flour sifter, a sieve, or a fine-mesh strainer. If you don’t have access to one of these specialty kitchen tools, aerate the flour by adding it to a mixing bowl and using a wire whisk to incorporate air.
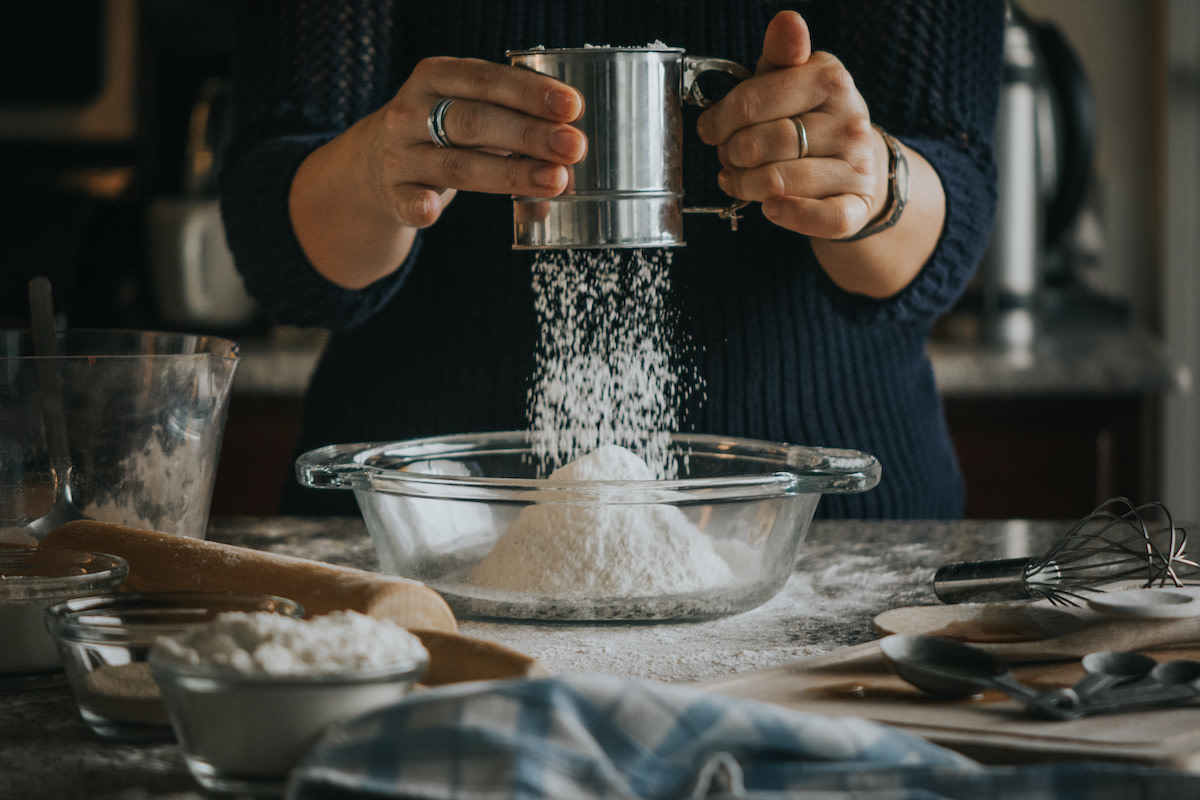
To sift with a tool, hold the fine-mesh sieve or sifter over a bowl and slowly pour the flour into the sifter. Tap the sides or rotate the hand crank—depending on the tool in use—until all flour has passed through.
4 Tips on Sifting
Bakers and home cooks of all levels are likely to encounter recipes that call for sifting at some point. Use these tips to master this simple process:
- 1. Determine whether sifting is necessary. Certain types of flour don’t require sifting, as they are lower in protein and therefore naturally lighter by design. Cake flour and pastry flour both fall into this category.
- 2. Pay attention to instructions. Most recipes don’t call for sifting. For recipes that measure flour by weight rather than volume, sifted flour will weigh less than unsifted flour. Attempting to use an equal portion of sifted flour could affect the overall texture of the dish, as recipe writers often develop recipes with unsifted flour in mind.
- 3. Measure the flour after sifting. When a recipe calls for a certain quantity of sifted flour, always measure the aerated flour after sifting, as the air added during the sifting process will affect the powder’s density. To take an accurate measurement, transfer the sifted flour to a measuring cup with a spoon and level it off at the top.
- 4. Sift other ingredients. Although sifting is most commonly associated with flour, you can sift other common dry ingredients, such as leavening agents (like baking powder and baking soda), sugars (like granulated sugar, brown sugar, and confectioners’ sugar), salt, and cocoa powder, for better distribution.
Want to Learn More About Baking?
Become a better baker with the MasterClass Annual Membership. Gain access to exclusive video lessons taught by the world’s best, including Dominique Ansel, Joanne Chang, Gordon Ramsay, Chef Thomas Keller, Mashama Bailey, and more.
