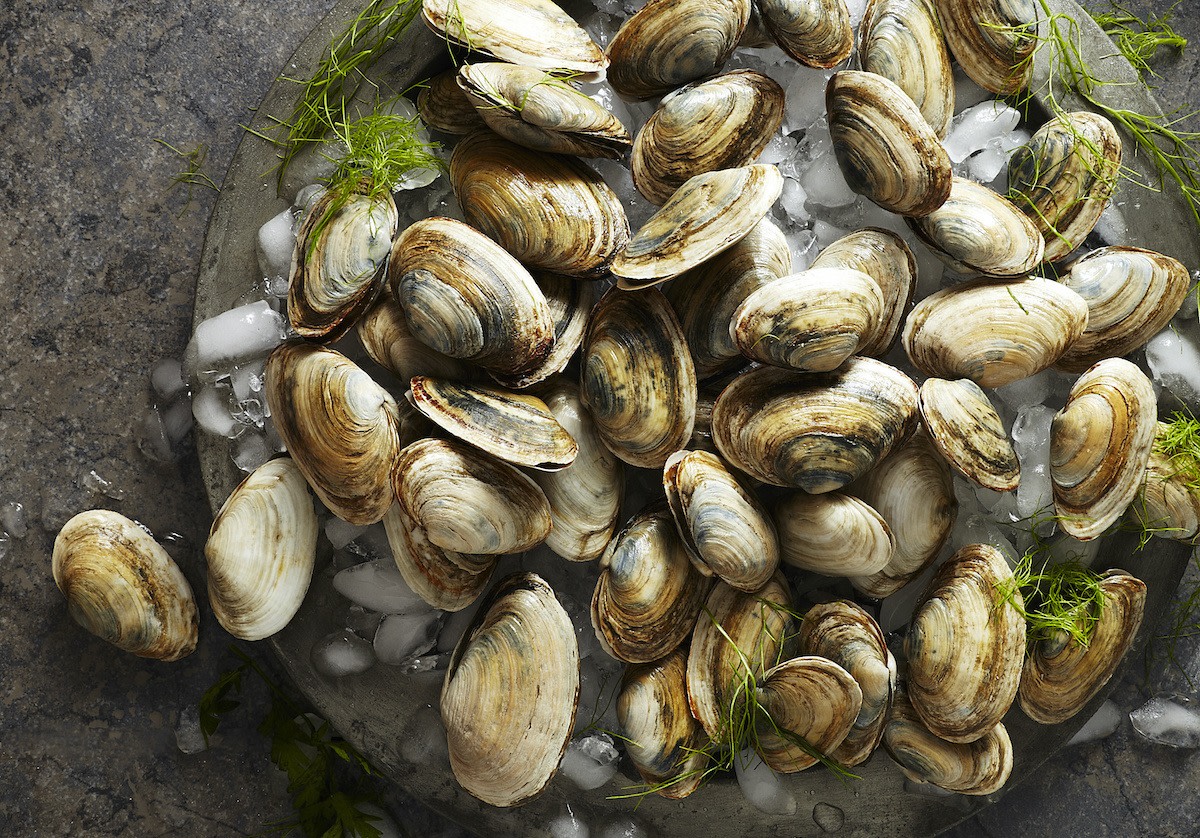
How to Shuck Clams: Best Tools for Shucking Clams
Written by MasterClass
Last updated: Dec 17, 2021 • 3 min read
Learning how to shuck clams can help you enjoy some of the freshest seafood possible. With the right tools and a little practice, you’ll be shucking like a pro in no time.
Learn From the Best
3 Tools You Need to Shuck Clams
Shucking clams is a challenging but manageable process. With the proper equipment, you can enjoy fresh clams within the confines of your kitchen. Here are the tools you’ll need:
- 1. A solid clam knife: Use a clam knife for shucking, rather than an oyster knife or a paring knife. It may seem like a trivial distinction, but oyster knives and clam knives have slightly different designs. The latter blade’s tip is round, so you can more safely handle it without risk of injury.
- 2. A thick glove or kitchen towel: To protect your hand as you open clams, use a glove or kitchen towel. If you’re using a glove, make sure it fits, and if you’re using a kitchen towel, make sure it’s not too thin, or the knife may pierce the material.
- 3. A bowl: Use a run-of-the-mill bowl from around your kitchen to catch any tasty clam juice that may escape from your clamshells for later use.
How to Shuck Clams
Before you start opening clams, there are a few steps that will decrease your odds of eating grit and make it easier to open up these tricky bivalves. Here’s how to ensure you wind up with a stock of cleanly shucked clams.
- 1. Check for open shells. When you cook clams (especially if you’re in the habit of eating raw clams), you should only shuck and eat clams with closed shells; discard any open ones, as they may be dead and unsafe to eat.
- 2. Scrub with a brush. Eating clean clams is a much nicer experience than eating gritty ones. Under running water, use a brush to scrub away any salt or sand from the outside of your clams.
- 3. Soak in saltwater. In addition to further cleaning your clams, giving them a soak in saltwater for fifteen to twenty minutes will make it easier to open them later.
- 4. Chill in the fridge or freezer. After draining your clams, put them on ice or in the fridge for about an hour. This step also makes it easier to open them.
- 5. Properly grip to shuck. When you’re ready to shuck, hold your first clam in your nondominant hand using a towel or glove. Nestle the clam’s hinge in the area where your thumb meets your palm.
- 6. Break the seal. Apply light pressure between the top shell and bottom shell using the edge of your shucking knife until you’re able to slip the knife inside. Next, carefully run the knife’s edge along the lower edge of the top shell to cut the clam’s adductor muscles.
- 7. Pop the clam open. Rotate your knife so that its tip is inside the clam, then twist the knife to separate the shells further.
- 8. Remove the top shell. Snap off the top shell, cutting any remaining sinews if necessary.
- 9. Finish the clams. Run the knife along the edge and bottom of the clam itself to separate any remaining fibers while maintaining the integrity of the clam meat. Put the clam to the side and repeat with your remaining clams.
- 10. Prepare the clams. You can now incorporate the clams into whatever clam recipes you’ve selected, whether raw on the half shell or incorporated into clam chowder or linguine.
Mise En Place
To perfect the mother sauces and make French cuisine at home, you must master essential cooking techniques. Discover Chef Thomas Keller’s approach to setting up a home kitchen and sourcing quality ingredients like fish and clams when you sign up for the MasterClass Annual Membership.
