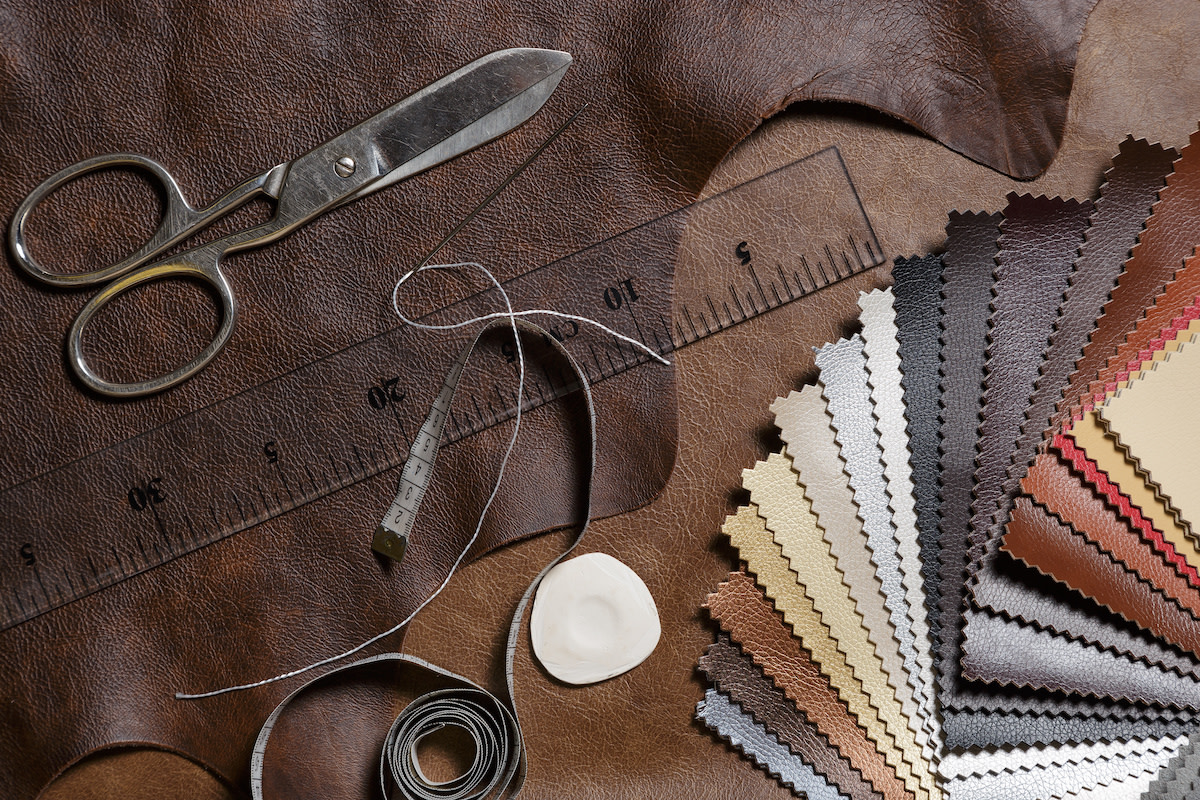
How to Sew Leather in 5 Easy Steps
Written by MasterClass
Last updated: May 5, 2022 • 4 min read
Leather is a tough material that can be tricky to work with. Follow these tips to learn how to sew leather by hand.
Learn From the Best
What Is the Best Stitch to Use on Leather?
The best type of stitch for leatherwork is a saddle stitch. Rather than connecting every other hole on alternating sides of your textile as you would with straight stitches, a saddle stitch connects every hole on both sides to create one long line of stitches without gaps.
Whether you’re hand sewing leather or using a regular sewing machine, both methods have advantages. Hand sewing allows you to create clean, precise saddle stitches in thick leather, ensuring that the fabric lays flat throughout the sewing process. A sewing machine saves time when sewing through thin leather or suede, but you will need a walking foot to guide the fabric through as you go.
7 Materials Needed for Sewing Leather
Leathercraft requires a few specific materials that you may not need for other sewing projects. Here are some materials that you’ll need.
- 1. Binder clips: Use binder clips instead of pins to secure your leather pieces in place as you cut and sew.
- 2. Leather: Whether you plan to hand stitch or use a sewing machine, prioritize working with a thin piece of leather for your first sewing project. It will be easier to work with thinner, rather than thicker, pieces.
- 3. Pattern: Use a sewing pattern explicitly designed for leather that includes proper instructions. Alternatively, find online designs for leather items that don’t require a pattern (like an easy leather bag or pouch).
- 4. Sewing machine and walking foot: If you choose to use a sewing machine, add a walking foot (or another type of presser foot) to guide the leather through the bobbin. Learn how to use a sewing machine.
- 5. Sharp cutting tools: Use very sharp scissors or a rotary cutter to achieve clean lines when you cut your material.
- 6. Stitching pony and awl: To hand stitch leather, use a stitching pony (a wooden device that clamps the leather upright) and an awl to poke stitching holes into your material before sewing.
- 7. Waxed thread and leather sewing needles: Since leather is a thick material, use a leather sewing needle (rather than a universal sewing needle) and thick, waxed thread.
4 Tips for Sewing Leather
Follow these tips to know what to expect during DIY leather projects.
- 1. Practice on scrap leather. Before starting your leather sewing project, buy extra fabric to practice stitching and using the awl—a tool that makes permanent holes in the material.
- 2. Stitch in a straight line. The most challenging part of stitching leather is making a straight line while keeping your fabric flat. Keep your fabric tightly clamped as you work through it, and don’t pull the thread too hard, which can crinkle the fabric. Check your progress and accuracy as you go.
- 3. Use extra-sharp sewing tools. Leather is a heavy-duty fabric that doesn’t have natural holes (like woven textiles) or flexibility (like knitted fabric). This makes it extra important to use extremely sharp tools that can easily penetrate the material without tearing.
- 4. Work slowly. Since sewing leather requires many sharp tools (including scissors, an awl, and leather needles), it’s essential to work slowly to prevent injury or damage to your work surface.
How to Sew Leather
Learn to hand sew leather with this step-by-step tutorial.
- 1. Gather materials and protect your space. Prepare your workspace. Lay down a cutting mat and gather your needles, thread, and any other supplies you need. Make sure that you have enough table space to lay your fabric out flat. Spread out a protective surface underneath your material to prevent damage to your workspace.
- 2. Cut and clip the fabric. If you’re using a pattern, cut out your pattern pieces and clip the appropriate layers of leather together with your binder clips to line up the edges. You can also use leather glue or double-sided tape for added security. Leave a small seam allowance on the sides you’re stitching together.
- 3. Use the awl to make holes. Make holes along the edge of your leather pieces. You’ll thread the needles through these holes, so make sure they match up appropriately.
- 4. Use the stitching pony and needles to sew. Clamp your fabric in the stitching pony, attach waxed thread to your first needle, and thread it through the first hole. Then, add a second needle to the other end of the thread. Alternate passing both needles through the next hole and repeat so that the needles are always on opposite sides of the leather. If you don’t have a stitching pony, use one needle and pass through the holes twice—go down the row of holes and then back—to achieve the same effect.
- 5. Finish the seam. When you’ve finished your saddle stitches, make a tight knot on either side of the leather. (Alternatively, try adding a backstitch). Cut the excess thread with your scissors or a sharp knife.
Want to Learn More About Fashion Design?
Become a better fashion designer with the MasterClass Annual Membership. Gain access to exclusive video lessons taught by the world’s best, including Laura Kim and Fernando Garcia, Diane von Furstenberg, Marc Jacobs, Tan France, Anna Wintour, and more.
