How to Rip Jeans: 6 Tools for Ripping Jeans
Written by MasterClass
Last updated: Mar 10, 2022 • 3 min read
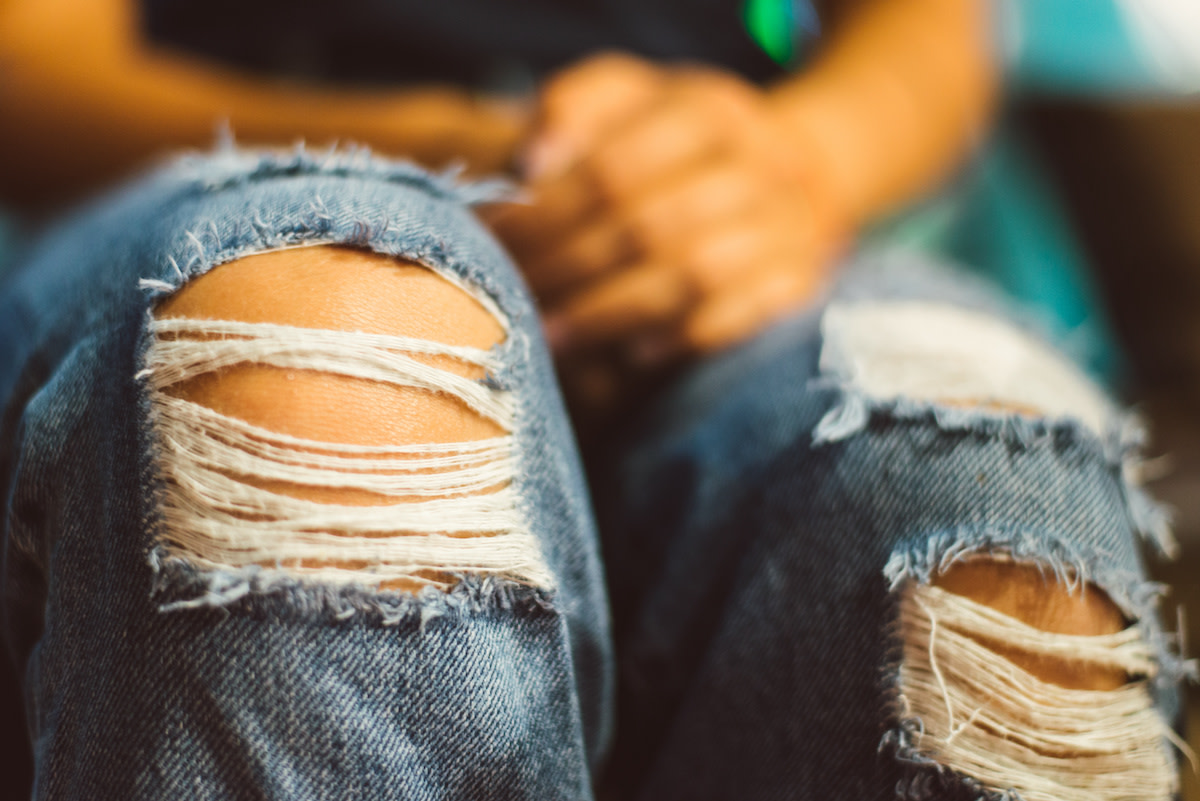
Ripped jeans are a timeless closet staple you can style for an edgy daytime look or flirty nighttime outfit. Learn how to rip jeans with a step-by-step tutorial, as well as some DIY hacks.
Learn From the Best
6 Required Tools For Ripping Jeans
To rip a pair of jeans, you’ll need the following tools:
- 1. Cardboard: Inserting a small piece of cardboard into your jeans—between the front and back leg panels—will prevent you from creating a hole in the back of the pants as you rip the front.
- 2. Chalk: Use thick chalk—which will rinse out with water—to mark the shape and where you want to rip your jeans.
- 3. Knife and scissors: A knife and pair of scissors are your main jean-ripping tools. The edge of the knife will loosen the fabric for the initial cut. The scissors will help you make the holes.
- 4. Ruler: Use a ruler to measure the length of your rips as you trace them out with chalk.
- 5. Sandpaper: You’ll need to soften your denim with sandpaper before you begin ripping, which loosens the fibers of the weave. In the absence of sandpaper, use a pumice stone or cheese grater to loosen the fabric.
- 6. Tweezers (optional): To create a frayed look and give the denim a worn-in quality, use tweezers to pull the ends of the ripped fabric and add long, white threads.
How to Prep Jeans Before Ripping
Putting your jeans through a wash cycle helps soften the fabric, making it easier to form clean rips. Follow these steps to prep your jeans for ripping:
- 1. Choose the right pair: Not all types of jeans are suitable for ripping. Cotton jeans work better than polyester or stretch jeans since cotton frays easily. Already-softened worn-in old jeans are ideal since they do not feel as stiff. Review the care label before ripping your jeans to check that you’re working with a pair of cotton jeans.
- 2. Wash: Freshly washed denim is easier to cut through than a pair of new, unwashed jeans. Start by washing your jeans in the laundry machine on a quick cycle to prime the denim. For a distressed denim look, run your jeans through a few wash cycles to naturally fade the material, or add some bleach to the wash cycle to lighten the color.
- 3. Dry: Hang dry your jeans before cutting and ripping them to remove any excess moisture that can impede ripping. Run your jeans through the dryer on a gentle cycle for no longer than ten minutes to speed up the drying process.
- 4. Lay flat: Lay your jeans on a flat work surface, such as a table or large counter, spreading the fabric out evenly to avoid any crinkles. You increase your chances at even cuts if you follow this step.
How to Rip Jeans
Creating DIY rips is a fun and simple way to remake and style an old pair of jeans. Here’s a step-by-step breakdown:
- 1. Mark your rips. Using white chalk or a pencil, outline your rip design by drawing straight lines for each small hole in every desired location. For a classic ripped jean look, draw a line for a hole one inch above the knee. Create lines up and down the leg—from just above the knee to mid-calf—for a trendy and edgy look. You can also place a hole on the knee of the jeans. If you do this, the hole will continue to expand from the knee bending. If you want your rips to match on both legs, use a ruler to measure the length of your lines and create symmetrical holes.
- 2. Insert the cardboard. Slip a piece of cardboard into each pant leg to prevent the scissors and knife from cutting through the back of the pants. Use a magazine or cutting board as a barrier in the absence of cardboard.
- 3. Soften the fabric. Before cutting along your rip design, loosen the denim with a piece of sandpaper. Rub the sandpaper across your marked hole lines to loosen the horizontal threads and soften the fabric.
- 4. Cut along the lines. With a knife or the sharp end of your scissors, make a tiny indentation along one of your lines. Use this opening to cut through the denim along your marked line with your knife or scissors.
- 5. Fray with tweezers (optional). Create a worn-in distressed jean look—similar to what you’d see in store-bought ripped denim—by fraying the edges of your holes with tweezers. Gently tug at the ends of the holes, using your tweezers to pull at the loose strings and fabric and create chic, holed-up, frayed jeans.
Want to Learn More About Fashion Design?
Become a better fashion designer with the MasterClass Annual Membership. Gain access to exclusive video lessons taught by the world’s best, including Laura Kim and Fernando Garcia, Diane von Furstenberg, Marc Jacobs, Tan France, Anna Wintour, and more.
