How to Reverse Sear a Steak: 3 Benefits of Reverse Searing
Written by MasterClass
Last updated: Oct 28, 2024 • 3 min read
Learn how to reverse sear a steak with this cooking technique, which can help you banish overcooked meat for good.
Learn From the Best
What Is a Reverse Sear?
The reverse sear method is a cooking technique in which a chef bakes a protein for most of its cooking time and finishes it in a hot skillet on the stovetop or grill to create a crust. The reverse sear is a counter technique to a traditional sear, in which a chef cooks a piece of meat on the stovetop over high heat and finishes it in the oven.
Though the reverse sear technique is most associated with steaks, you can also use it for cooking other kinds of meat, like chicken breast or pork chops. The low-and-slow approach of the reverse sear ensures that the meat cooks evenly and delivers the best steak possible: velvety soft on the inside, with a perfect, flavorful crust.
The secret to the reverse sear is cooking at a low temperature, much like sous vide, which involves placing food in a plastic sous vide bag, removing all of the air with a vacuum sealer machine, then cooking in a hot water bath at a precise temperature. Slowing the cooking process down lets you cook proteins more precisely, and you can do it using an oven or while grilling on a gas grill, which can be easier to regulate.
Types of Meat to Reverse Sear
Reverse searing is best suited to thick-cut steaks like ribeyes, tri-tip, T-bone, Porterhouse steaks, New York strip, and filet mignon. The key to a good reverse sear lies in the thickness of the particular cut: Ideally, the meat should be one-and-a-half to two-inches thick. (Anything thinner tends to cook too quickly, even at lower temperatures.)
Reverse searing eliminates uneven cooking and the uncertainty that accompanies most thick cuts: Once the center is that signature shade of pink, you may have already overcooked the rest of the meat.
3 Benefits of Reverse Searing
The benefits of reverse searing are well-documented among steak enthusiasts. They include:
- 1. An evenly cooked interior: Rather than sacrificing the meat nearest to the edges in search of a perfect medium-rare center, the reverse sear method gently cooks the steak in its entirety.
- 2. A browned, crispy crust: For many, the perfect steak marries a juicy, tender interior with a burnished, caramelized crust. Moisture is the foil to any Maillard reaction, the browning effect of proteins and sugars that creates a golden-brown crust on seared meat, pie crusts, and roasted vegetables. The reverse searing method dries out the surface of the steak in the oven, creating a thin outer coating that’s perfect for quick searing on a hot surface.
- 3. Flavorful pan drippings: As the steak cooks in the oven it releases flavorful, seasoned juices known as pan drippings. You can top the steak with these drippings to reinforce its meaty flavor or drizzle the juices across the veggies or starches that you are serving alongside the protein.
Reverse-Seared Steak Recipe
makes
prep time
5 mintotal time
37 mincook time
32 minIngredients
- 1
Pat the steaks dry with a paper towel. Season the steaks with salt and pepper and set them on a wire rack. Place the rack on a baking sheet, and refrigerate overnight.
- 2
About 20 minutes before you plan to cook, remove the pan of steaks from the refrigerator, and allow them to come to room temperature.
- 3
As the steaks come to room temp, preheat the oven to 250 degrees Fahrenheit.
- 4
Place the baking sheet in the oven and cook the steak until it just about reaches your preferred level of doneness. You can use a meat thermometer to gauge the temperature. For medium-rare, cook the steaks until an instant-read thermometer registers the internal temperature at 115 degrees Fahrenheit, about 30 minutes.
- 5
Heat oil in a cast-iron skillet or stainless steel pan over high heat. A hot pan is essential here, so wait for it to come to temp. Once the oil begins to smoke, the pan is ready. A cast-iron pan will take longer to come to temp because of the thickness of the material.
- 6
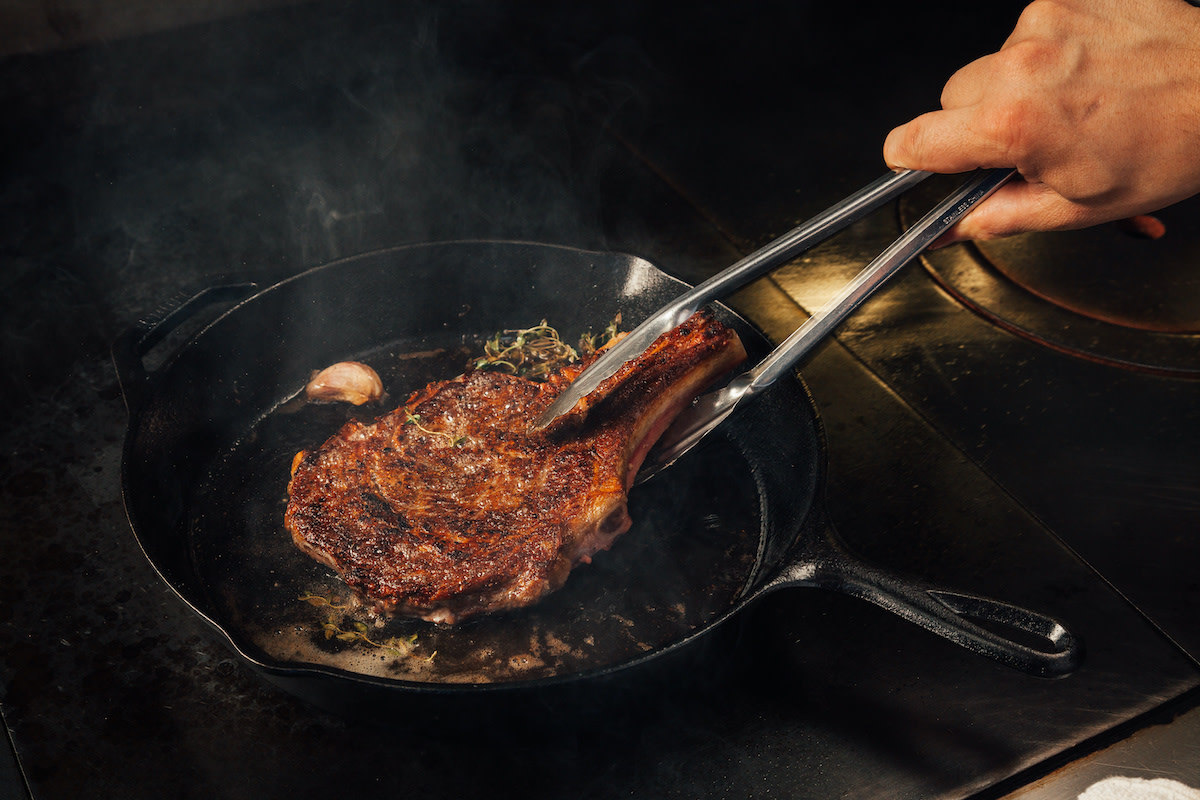
Use a pair of tongs to lay the steaks in the skillet, and sear for about 1 minute per side. Finally, sear the sides of the steak to cook down the white fat caps. Serve the steaks immediately.
Become a better chef with the MasterClass Annual Membership. Gain access to exclusive video lessons taught by the world’s best, including Aaron Franklin, Yotam Ottolenghi, Gabriela Cámara, Niki Nakayama, Chef Thomas Keller, Dominique Ansel, Gordon Ramsay, Alice Waters, and more.
