How to Remove a Popcorn Ceiling in 6 Steps
Written by MasterClass
Last updated: Sep 16, 2021 • 4 min read
Removing the popcorn texture from your ceilings is a great way to update the appearance of your home. The removal process can be time-consuming and messy, but with the right preparation and tools, popcorn ceiling removal can be a highly rewarding home improvement project.
Learn From the Best
What Is a Popcorn Ceiling?
A popcorn ceiling has sprayed drywall mud, styrofoam, or stucco bits embedded into the ceiling surface, giving the appearance of popcorn or cottage cheese. Popcorn ceilings can absorb noise and are sometimes called acoustic ceilings. However, they are no longer a popular choice in most new homes and are difficult to paint evenly. Old popcorn ceilings may pose a health risk as many of them contain asbestos. Before you remove popcorn ceilings in your home, use an EPA-approved test kit to check a small area of the ceiling for asbestos. Asbestos removal should only be performed by an abatement professional.
13 Tools and Materials for Removing a Popcorn Ceiling
Use these tools and materials for your removal project:
- 1. Ladder: Use a sturdy ladder to reach tall ceilings.
- 2. Sprayer: You'll need a spray bottle or garden sprayer to dampen the textured ceilings.
- 3. Drop cloths: Use drop cloths with waterproof backing to protect your floors.
- 4. Plastic sheeting: Protect walls, light fixtures, electrical outlets, ceiling fans, and vents with plastic sheeting during the removal process.
- 5. Painter's tape: Painter's tape is used for taping down plastic sheeting.
- 6. Scraper: Use a drywall knife or putty knife with a painter's pole attachment to scrape the texture from your ceilings.
- 7. Safety gear: You'll need to wear a dust mask and safety goggles to safely remove the ceiling texture.
- 8. Joint compound: Use joint compound or spackle to fill in gouges, dents, and holes left from the scraping process.
- 9. Sander: Use a sanding block to gently sand down your smooth ceiling before priming and painting.
- 10. Paintbrushes: Use a variety of small, angled brushes and roller brushes to paint your prepared ceiling.
- 11. Painting tray: You’ll need a clean paint tray for pouring paint. Ensure the tray is free of dust and dry paint remnants to avoid discoloring the new paint.
- 12. Primer: If necessary, apply primer before painting your scraped ceiling.
- 13. Ceiling paint: Ceiling paint is designed to reduce splatter, making applying a fresh coat of paint to smooth ceilings a lot less messy. However, flat paint or semi-gloss paint will work as well.
How to Remove a Popcorn Ceiling
Removing popcorn ceilings is a rewarding DIY project for homeowners looking for an affordable home makeover. Before starting this project, consider the steps you'll need to take to remove the popcorn texture from your ceilings.
- 1. Prepare the area. Start by removing all the furniture in the room, then tape plastic sheeting to the surrounding walls and doorways. Be sure to cover electrical outlets and air vents. If you have ceiling fans or light fixtures that could get damaged or dirty during the removal process, consider taking them down or covering them with plastic. Since you'll be spraying the ceiling with water, you'll need to temporarily shut off the power to the room you're working in to avoid the risk of electrical shock.
- 2. Spray the ceiling surface. Use a spray bottle or garden sprayer filled with warm water to lightly dampen the ceilings. Do not soak the ceiling as too much moisture could damage the sheetrock underneath the popcorn texture. Work in small sections no larger than a four-foot by four-foot area.
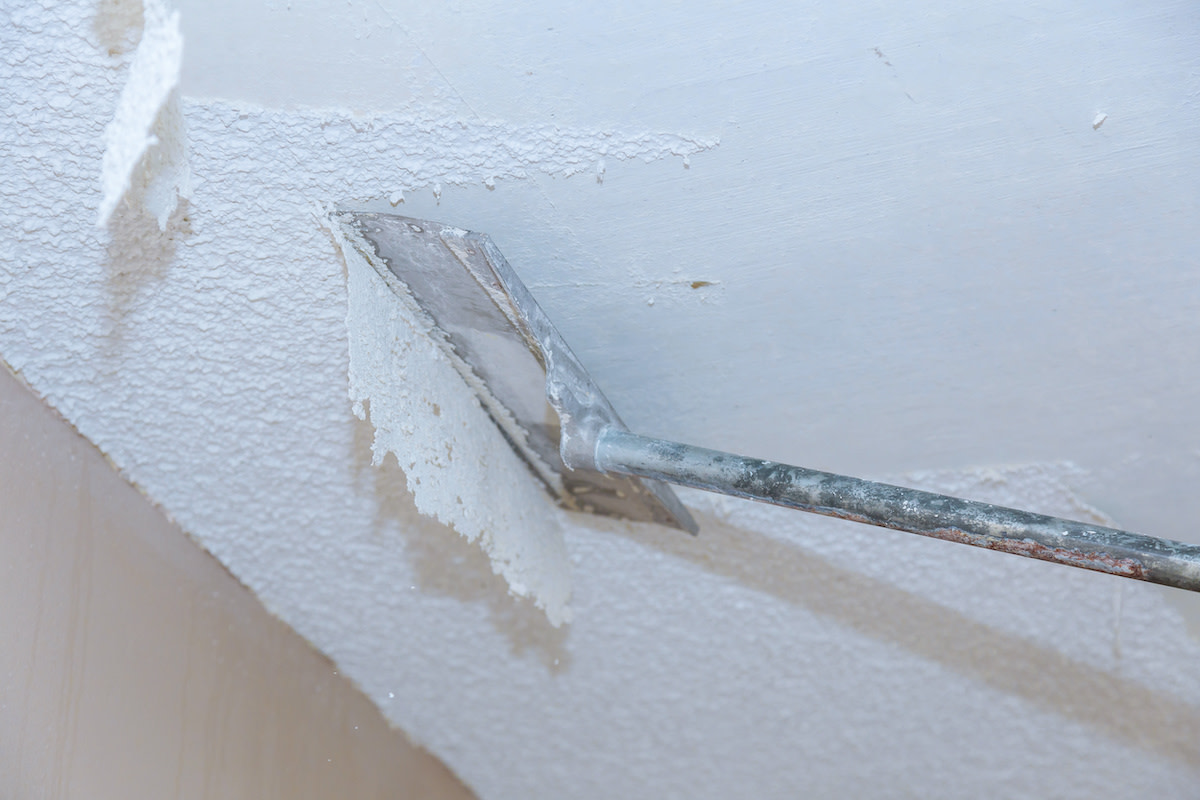
- 3. Scrape the ceiling. Once you have lightly sprayed a small section, start scraping. Hold the scraper at an angle and scrape off the texture, working in straight lines to avoid gouging the smooth ceiling underneath. Repeat the process in sections of four square feet at a time until the entire ceiling is smooth.
- 4. Patch any dents. Once you've scraped the entire ceiling, use a putty knife to patch gouges and imperfections with your joint compound or spackle.
- 5. Sand the patched areas. Lightly sand the patched areas and any other rough spots to ensure that the entire ceiling is smooth.
- 6. Paint the smooth ceiling. Depending on the paint you use, you may need to apply a layer of primer before painting. However, many ceiling paints come as a paint and primer in one. Pour some paint into your painting tray, then use an angled brush to paint the edges where the ceiling meets the walls. Then, use a roller brush to roll on a fresh coat of paint. Let the paint dry completely before painting additional coats, if necessary.
Ready to Give Your Space a Chic Update?
Master everything from color theory to pattern mixing with the MasterClass Annual Membership and exclusive lessons from award-winning interior designers like Kelly Wearstler and Corey Damen Jenkins. From shopping for statement furniture to designing a lighting scheme to choosing the newest member of your plant family, the skills you’ll pick up are sure to make your house, apartment, or condo feel even more like a home.
