How to Refinish Kitchen Cabinets in 9 Steps
Written by MasterClass
Last updated: Nov 25, 2021 • 3 min read
Jumpstart your kitchen makeover by sprucing up your cabinets with a DIY refinishing project.
Learn From the Best
What Is Refinishing?
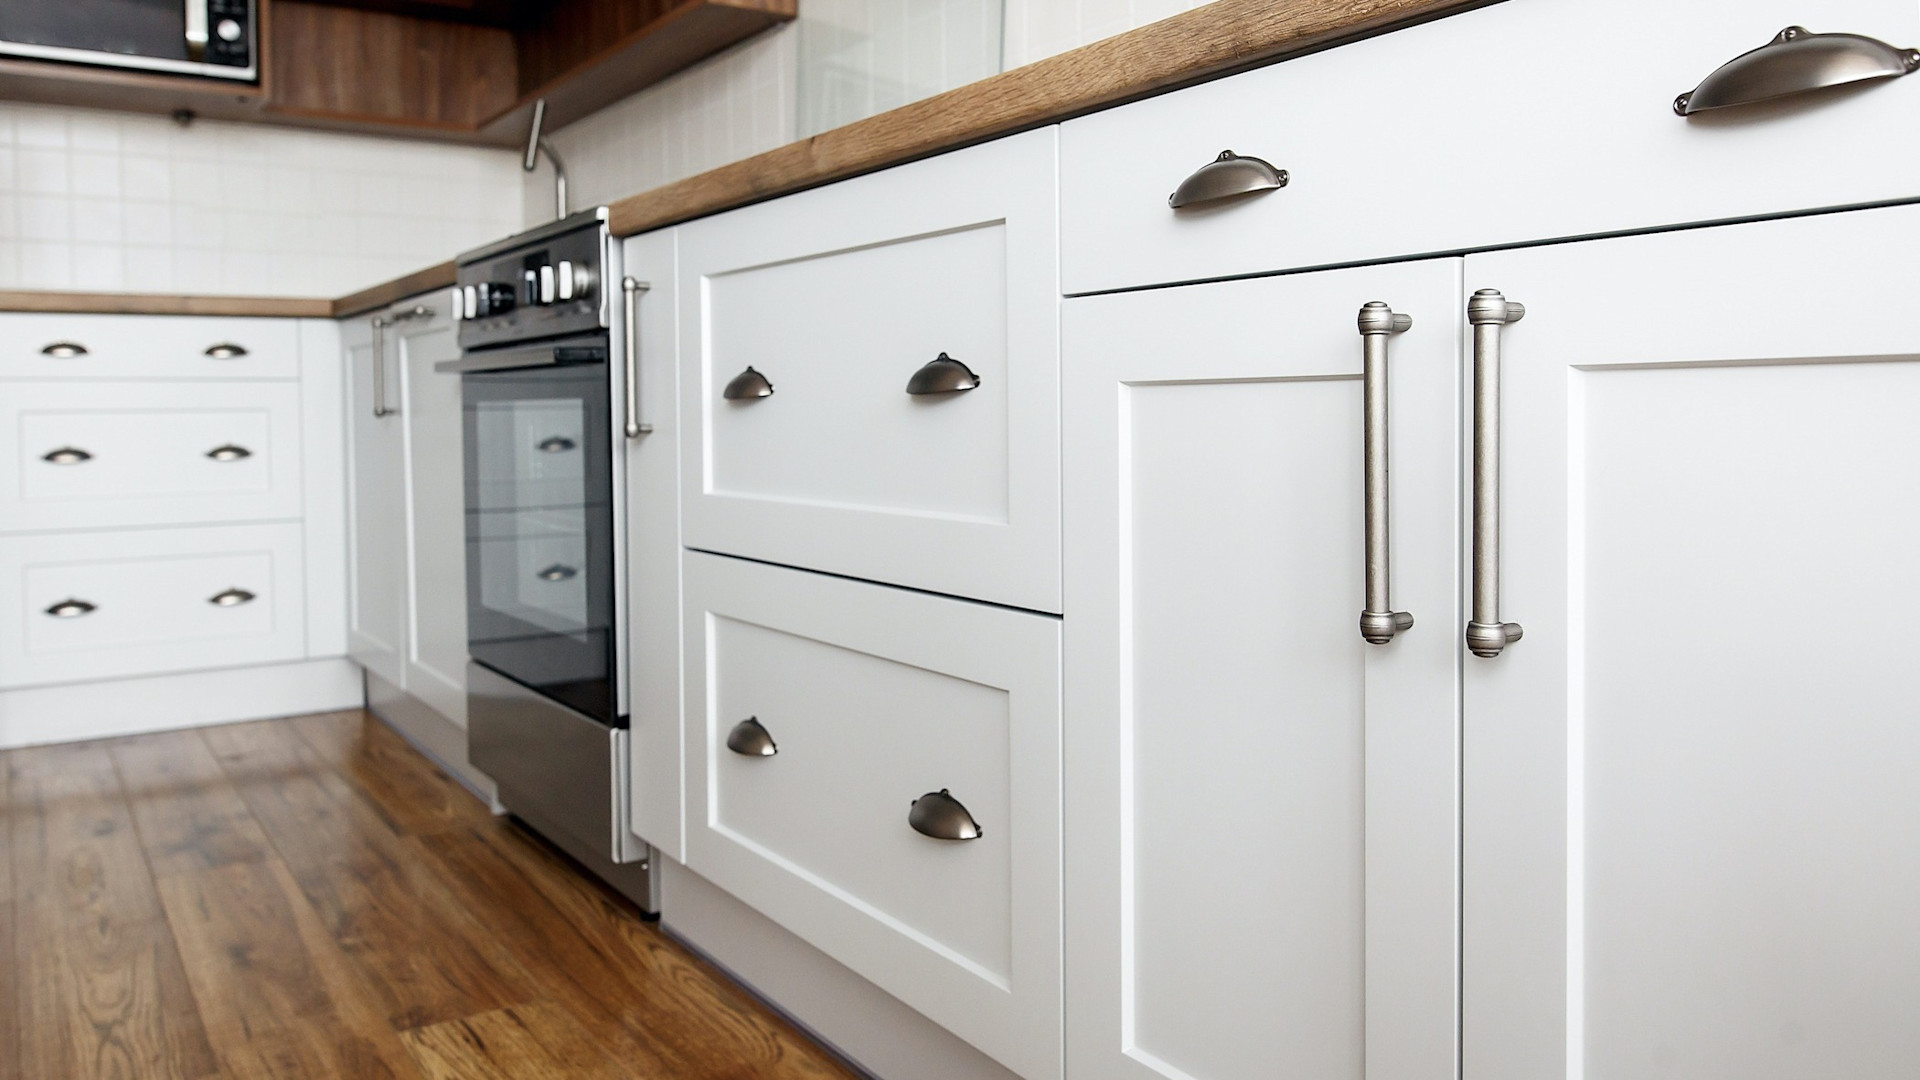
Refinishing entails taking an existing product and transforming its color and style through sanding, paint, lacquer, and other cosmetic materials. Refinishing kitchen cabinets is a typical home improvement project. The cost of installing new cabinetry can amount to thousands of dollars, while refinishing or painting cabinets to achieve a desired new look is much more affordable.
6 Essential Supplies for Refinishing Cabinets
Before homeowners jump into repainting their wood cabinets, they’ll need to assemble these materials to ensure an efficient process:
- 1. Paper towels or sponges: Before painting, you’ll want to give your cabinets a light cleaning, so the paint easily adheres. Take a damp paper towel or sponge, add a mild detergent, and wipe the cabinet doors, backs, and edges clean.
- 2. Drop cloths: To avoid paint drips staining your floor, lay down a large drop cloth in the work area.
- 3. Old clothes: When you paint kitchen cabinets, wear old clothes you don’t care about damaging or getting paint on.
- 4. Sandpaper: Sanding your cabinets with some grit sandpaper will eliminate their nicks and offer you a smooth surface to paint on. Also, you can roughly sand to give the surface some grit if you plan to refinish with wood stain.
- 5. Paint and paintbrushes: Most importantly, you’ll have to choose a paint (or multiple ones to mix) to coat your cabinets to your desired hue. Select a color that will work best on your surface, be it wooden, metal, or laminate. A primer will give you a blank canvas to work on, and painter’s tape will keep your edges neat.
- 6. Varnish: To complete your kitchen remodel, you can use varnish or lacquer (a clear, durable protective layer) that will keep your cabinets durable and easy to clean without sacrificing your paint job.
How to Refinish Kitchen Cabinets in 9 Steps
Cabinet refinishing is relatively straightforward, but given the number of steps and time for drying, give yourself two weekends to complete this DIY project. Follow these steps to prepare and refinish your cabinets:
- 1. Prepare and clean your cabinets. Before painting, you’ll want to remove any items from your cabinet doors or drawers, including cutlery, plates, and cups. Set items on countertops away from the paint job. Then, gently wipe your cabinets with a sponge or paper towel, so you have a clean surface to work.
- 2. Smooth the cabinet surfaces. Use a sander to smooth over your cabinets’ surfaces. Fine-grit sanding sponges can be helpful in corners. If your cabinets are in poor condition, use a simple wood filler and a putty knife to fill in holes and dents.
- 3. Label and remove the cabinet doors. Label each piece of your cabinet on painter’s tape to know where to return it when the process is complete. Remove your cabinet hardware—knobs, drawer pulls’ handles, dampers—so you can paint freely. Then, unscrew the doors and remove them from the cabinets.
- 4. Put down protective drop cloths. Vacuum the floors to remove any wood specs or dust from removing the cabinet doors. As you prepare for your first coat, put down drop cloths to keep your kitchen area drip-free.
- 5. Start with a primer. To properly reface your cabinets, you’ll want to begin painting with a white or off-white primer to wipe clean the old paint job and make way for the new. Open your windows to keep air flowing while you paint, and wait a whole day to let the primer dry.
- 6. Paint the frames and cabinetry. Give your cabinets a new look with a fresh coat of paint. Paint with the wood grain; a wide paint brush will work best on the cabinet boxes, and a roller or paint sprayer will prove most efficient on kitchen cabinet doors and drawers. Let the first coat of paint dry overnight.
- 7. Add a second coat. After the first coat of paint completely dries, add a second coat, so your cabinets exude the fully saturated color of the chosen paint. Let this fully dry overnight as well.
- 8. Seal with varnish. Finally, a top coat of lacquer or varnish from the hardware store can improve the longevity of your kitchen cabinets. You’ll want to choose the product that best suits your cabinet’s material.
- 9. Reassemble your kitchen hardware. After all of your various paint layers are complete, you can add your knobs and hardware to reassemble your new cabinets.
Ready to Give Your Space a Chic Update?
Master everything from color theory to pattern mixing with the MasterClass Annual Membership and exclusive lessons from award-winning interior designers like Kelly Wearstler and Corey Damen Jenkins. From shopping for statement furniture to designing a lighting scheme to choosing the newest member of your plant family, the skills you’ll pick up are sure to make your house, apartment, or condo feel even more like a home.
