How to Record and Use ADR: 5 ADR Recording Tips
Written by MasterClass
Last updated: Jul 27, 2021 • 2 min read
Film professionals use automated dialogue replacement, or ADR, to improve the sound quality of an actor’s dialogue after filming has ended. Recorded in a post-production studio, ADR tracks offer clean audio that is free from background noises or flubbed lines.
Learn From the Best
What Is ADR?
Automated dialogue replacement (ADR) is the process of re-recording an actor’s dialogue in a quiet environment, during post-production. During an ADR session, the performer watches a looped scene of themselves in order to dub new dialogue over the original production track. ADR is not a filmmaking requirement, but it can help you capture the highest quality audio for your film.
Why Do Filmmakers Use ADR?
Filmmakers use ADR for a variety of reasons: to improve audio quality, add voiceover, alter lines, add off-screen dialogue, or fix a performance. Sound editors can correct or enhance production audio, but sometimes the audio is beyond repair—that’s where ADR comes in.
ADR gives filmmakers an opportunity to capture nuance, change the tone of a scene, correct issues with sound, or fine-tune a line reading. ADR also allows filmmakers to reflect changes in the script or translate dialogue into different languages through dubbing.
How to Record ADR
You don’t need a big Hollywood studio budget, or access to a professional recording studio for ADR recording. With a quiet space and the right equipment, you can create your own ADR session.
- 1. Pick the scenes that need ADR. Prior to your first ADR session, you need to rewatch your movie and focus on the moments that can benefit most from ADR. Not every scene will need ADR, and it’s likely you won’t have the time or budget to recapture all of the audio in your film.
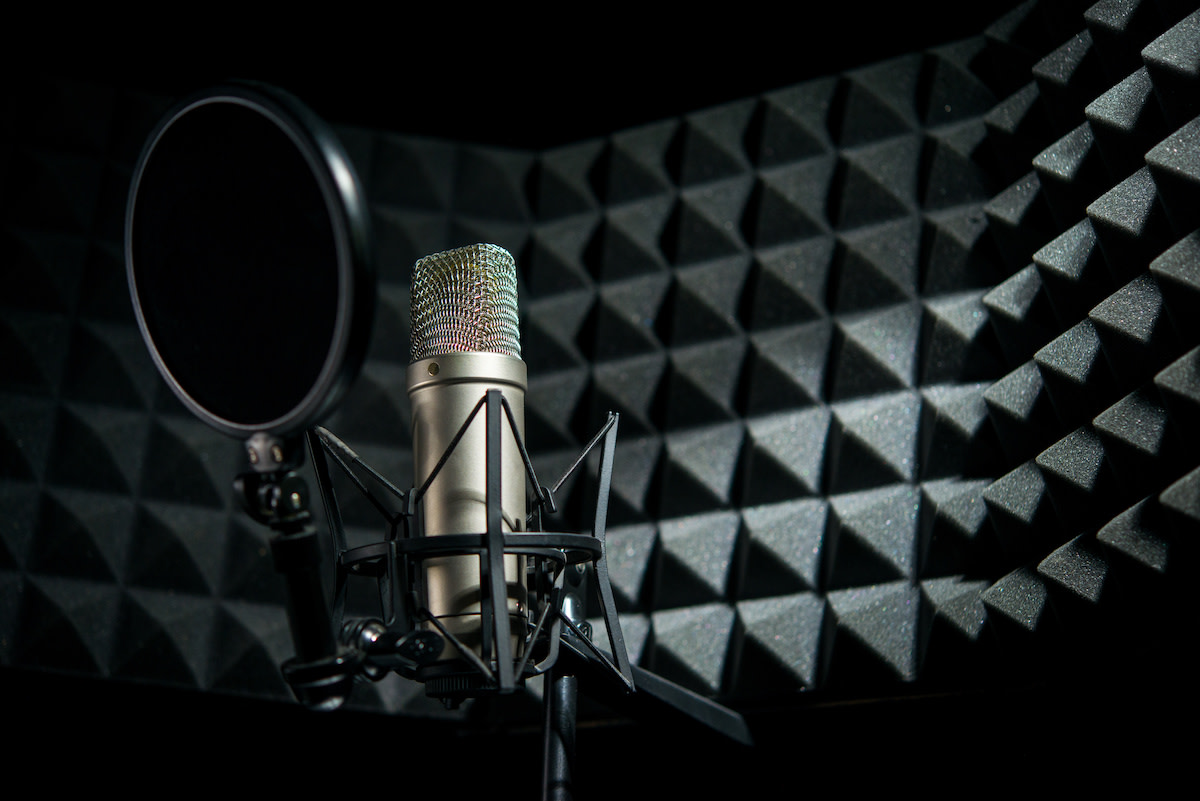
- 2. Soundproof the room. You’ll need a quiet room to re-record audio. Car horns, neighbors’ voices, or chirping birds can all interfere with your audio recording. Cover windows and walls with blankets to minimize echos. During the ADR session, consider providing performers with noise-canceling headphones to minimize distractions.
- 3. Get a quality microphone. Dialogue recording should be crisp and clear. You’ll need a microphone with broad dynamic range to capture the right quality of sound to match your production audio.
- 4. Get multiple takes. ADR allows you to capture multiple versions of additional dialogue with different tones and inflections from your performer, so use it to your advantage to get the best performance. Record multiple takes with varying degrees of intensity to give yourself a wide breadth of options to select for the final version of the film.
- 5. Add sound effects. Use the appropriate software to mix the sound, match the audio dialogue over the lip movements, and also layer in any room tone, or foley effects, to make the new dialogue sound as close to the original audio track as possible. The replacement audio should fit as seamlessly as possible into the production recording audio track.
Want to Learn More About Filmmaking?
Become a better filmmaker with the MasterClass Annual Membership. Gain access to exclusive video lessons taught by film masters, including David Lynch, Spike Lee, Jodie Foster, and more.
