Home & Lifestyle
How to Paint Trim: 8-Step DIY Painting Tutorial
Written by MasterClass
Last updated: Jun 9, 2021 • 3 min read
Painting trim is a great way to give any room an aesthetic makeover. You don’t need to hire a professional painter to paint the trim in your home—all you need are the right tools, prep work, and some patience.
Learn From the Best
What Materials Do You Need to Paint Trim?
You’ll need the following materials to paint your trim:
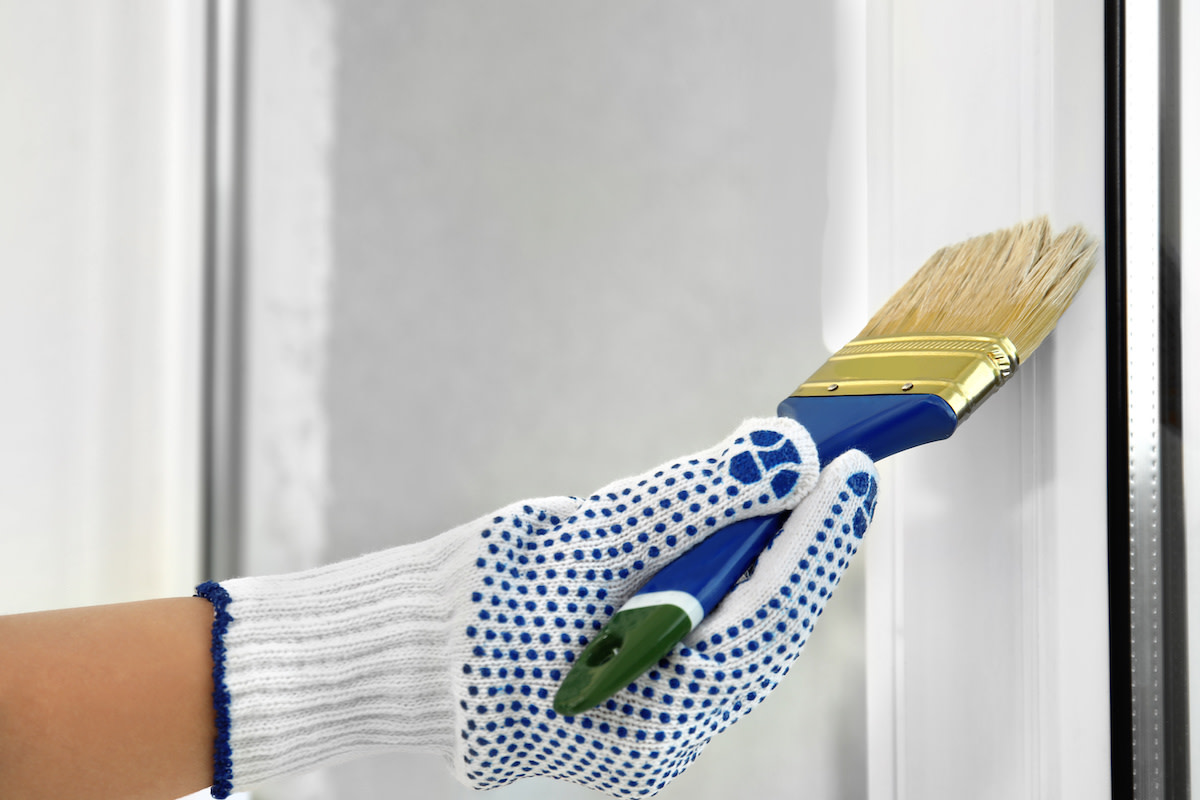
- Paintbrush. A paintbrush is an essential tool for painting trim. A short, angled brush is ideal for painting trim. The angled bristles can easily paint corners and fine lines.
- Painting tray. You’ll need a clean paint tray for pouring paint. Ensure the tray is free of dust and dry paint remnants to avoid discoloring the new paint.
- Painter’s tape. Painter’s tape helps you create crisp lines and edges and prevents paint from bleeding into unwanted spaces. This specialty tape has a weaker adhesive than conventional masking tape, which means it won’t leave behind any tape residue or peel off the paint it’s covering.
- Sandpaper. If your trim is worn, you’ll need 80-grit sandpaper and a sanding block to even out the surface.
- Caulk gun. A caulk gun seals the gaps between the trim and the wall.
- Paint. The type of paint you choose can affect the finish of your trim. When working with oil-based or latex paint, you’ll need to know how it applies when it’s wet, and how it will look when dry. Semi-gloss paint is a popular choice for painting trim because it is durable and easy to clean.
- Primer. Primer can help ensure a smooth application and sleek finish for your paint job. Select a dedicated primer that works with your water or oil-based paint.
How to Paint Trim
Once you have all the necessary materials, it’s time to start your DIY trim-painting project:
- 1. Prepare the painting area. Prepare the painting area by clearing out any furniture or obstacles. Line your floors with drop cloths or tarps to protect it from paint splatters and accidents.
- 2. Use your tape. Use painter’s tape to tape off the edges adjacent to the area you’re painting. To paint baseboards with carpeted floors, use a putty knife to wedge tape beneath the trim, so there’s a clear separation of areas.
- 3. Fill in the gaps. Use a spackling compound to fill in any holes or crevices. If necessary, use a caulk gun to seal off the gaps where the trim meets the wall. Sand down the trim after you fill the holes to ensure your painting surface is even.
- 4. Clean. Wipe down the painting area with a tack cloth or damp rag to eliminate any dust or residue. You can use dish soap and warm water to clean off heavily soiled areas.
- 5. Prime. Apply a layer of primer in long, straight lines, following the length of the trim. Gently lift your brush after each stroke to prevent splotches from forming.
- 6. Sand again. Once the primer dries, gently sand it down to remove the remaining brush strokes. Wipe down the trim with a damp rag.
- 7. Paint. Pour your paint into the paint tray, and dip about an inch of your brush into the paint. Wipe off the excess paint on the edge of the tray, and apply your first coat to the trim with multiple short strokes. After you cover one side of the trim, use one long brush stroke to eliminate your smaller brush marks. After it dries, add a second coat of paint. Repeat the process for each section of trim you’re painting.
- 8. Score. Once your paint fully dries, peel off the painter’s tape at a 45-degree angle. You can also use the putty knife to score along the wall, gently slicing the tape for easier peeling. Be gentle when removing the tape to avoid pulling off the new paint.
Learn More
Get the MasterClass Annual Membership for exclusive access to video lessons taught by masters, including Kelly Wearstler, Frank Gehry, Will Wright, Annie Leibovitz, Ron Finley, and more.
