How to Paint Kitchen Cabinets in 8 steps
Written by MasterClass
Last updated: Sep 15, 2021 • 3 min read
A fresh coat of paint on cabinet frames and doors can reinvent a kitchen. Follow these simple step-by-step instructions for a DIY painting project that will enliven your home.
Learn From the Best
What Are Kitchen Cabinets?
Kitchen cabinets are storage units for dishware, drinking glasses, ingredients, spices, and other culinary supplies. Cabinets are often located above and below countertops and other cooking areas. Kitchen cabinets are practical, and they also contribute to a home’s aesthetic via their color, patterns, and materials. As such, cabinets can match or compliment backsplashes and come in many different kinds—glass, shaker, inset, and wood cabinets are among the most common types.
How to Paint Kitchen Cabinets in 8 Steps
A popular DIY project, repainting kitchen cabinetry can give your home a stylish makeover. Jumpstart your paint job on metal, wood, and wood-laminate cabinets with these step-by-step instructions:
- 1. Cover all nearby surfaces. Before you upgrade your kitchen, you’ll first want to protect it. Use painter’s tape to adhere butcher’s paper to counter surfaces. The butcher’s paper can help you avoid scuffs when dismantling your cabinets. Cover your floors with drop cloths to ensure your paint job doesn’t leave any droplets. If you can paint outdoors, all the better; just make sure the weather is warm and without precipitation or disruptive wind.
- 2. Unscrew your cabinetry. Use a screwdriver to take apart your cabinets. Depending on what is visible, you may want to apply new paint to shelves as well, in which case you’ll need to remove all the items in your cupboards. Label each part of your cabinets with numbered painter’s tape so you can efficiently reassemble after the final coats of paint dry.
- 3. Clean the cabinet pieces. With a slightly wet sponge or a paper towel sprayed with an all-purpose cleaner, gently wipe the surfaces of your cabinet doors, shelves, and siding to allow for a smooth finish. Let the pieces fully dry.
- 4. Sand the cabinet. Sanding smooths out rough patches to create flat areas, making it easier for your new paint to adhere to your cabinet’s surfaces. For cabinets that have chipped old paint or are more worn from use, try tougher 100-grit sandpaper; for new cabinets, sand lightly with 120-grit sandpaper.
- 5. Set up your cabinet pieces. Get two sawhorses, connect them with a couple of parallel pieces of wood placed a few inches apart, and set your pieces down atop the bridging wood with some room between them. This setup will provide a sturdy and airy surface to safely paint your cabinetry while giving it the space needed to dry. Lay rags or cloth down on the ground to catch paint drippings.
- 6. Start with primer. Apply your primer with a foam roller or wider paintbrush. Priming operates as your first coat, protects the wood, and increases the durability of your DIY paint project. A stain-blocking primer can ensure quality, though simple oil-based or acrylic paint will work on its own. After the primer dries, add a second coat.
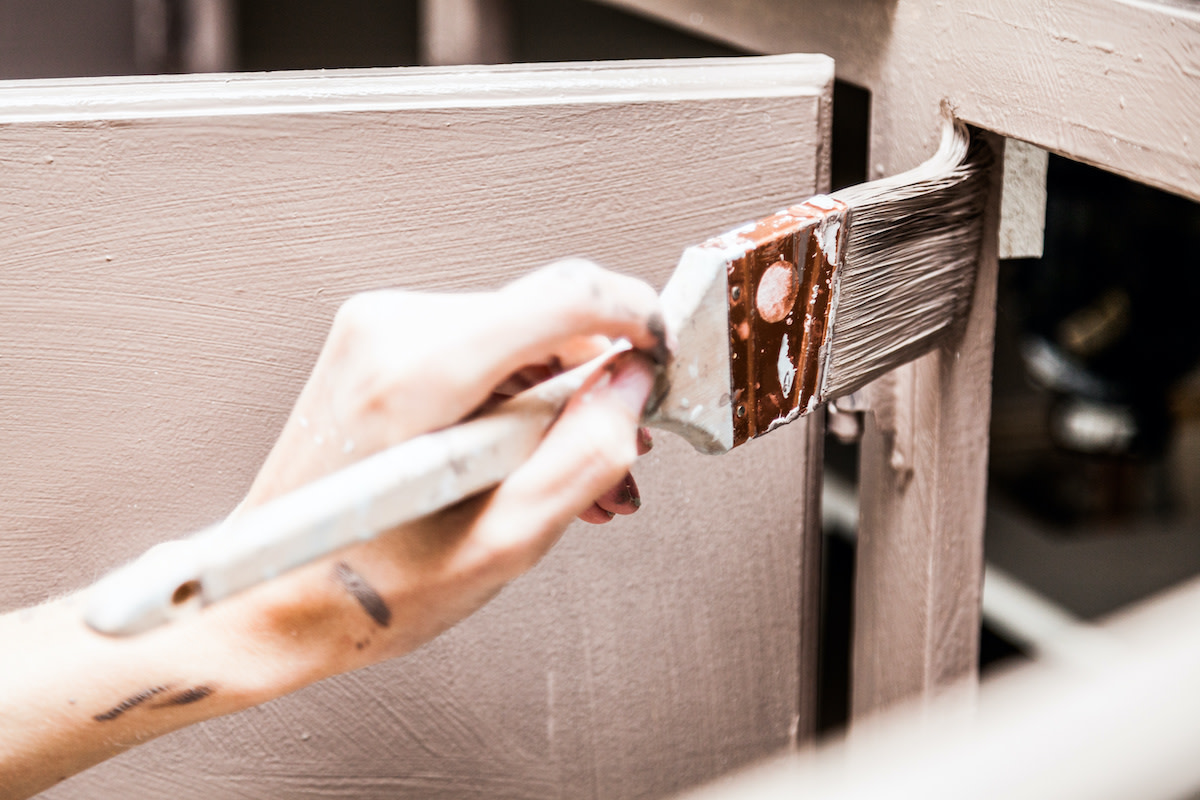
- 7. Paint your cabinets. After two coats of your primer have dried, sand your surfaces once more. Then, after selecting your color and type of paint, you’re ready to proceed with painting. Use a paint sprayer or roller for larger, smoother surfaces, and use a paintbrush for nooks and crannies. Once dry, add a second layer. Use quality paint for longevity and ease of cleaning.
- 8. Reassemble your cabinets. After all your cabinet pieces are properly painted and fully dry, reassemble by following the helpful numbers placed on each part.
Ready to Give Your Space a Chic Update?
Master everything from color theory to pattern mixing with the MasterClass Annual Membership and exclusive lessons from award-winning interior designers like Corey Damen Jenkins and Kelly Wearstler. From shopping for statement furniture to designing a lighting scheme to choosing the newest member of your plant family, the skills you’ll pick up are sure to make your house, apartment, or condo feel even more like a home.
