Home & Lifestyle
How to Paint a Ceiling: 5 Easy Steps for Painting Your Ceiling
Written by MasterClass
Last updated: Nov 12, 2021 • 2 min read
The ceiling is considered the fifth wall of every room. Give your ceilings a fresh paint job for an easy and rewarding DIY makeover.

Learn From the Best
9 Tools and Tools and Materials Needed for Painting a Ceiling
Gather these materials for your painting project.
- 1. Ceiling paint: Ceiling paint comes in a flat, matte finish. Matte finish is the best paint for the job as it helps hide imperfections in the drywall. If painting a high-moisture area, like a kitchen or bathroom, consider using a stain-blocking ceiling paint. Though white ceiling paint is most common, using a paint color can help make the room feel larger.
- 2. Paint tray: Pour your paint into a paint tray. Use a tray liner for quick clean up.
- 3. Paint roller: A paint roller will help you roll the entire ceiling with ease.
- 4. Roller cover: For a smooth ceiling, use a low-nap roller (nap refers to the thickness of the woven material). For textured ceilings, such as a popcorn ceiling, use a roller with a one-half- to three-quarter-inch nap.
- 5. Extension pole: An extension pole screws onto the end of your paint roller. It's necessary for reaching high ceilings, but can also help make quick work of standard height ceilings.
- 6. Stepladder: Use a step ladder when rolling paint and painting the edges of the ceiling.
- 7. Paint brush: For clean-cut lines, use an angled brush to paint around light fixtures and the edges of the ceiling.
- 8. Drop cloths: Lay down several plastic drop cloths or painter's tarps to protect the floors from paint drips and splatter.
- 9. Painter's tape: Use painter's tape to protect wall paint, windows, doors, and crown moldings as needed.
How to Paint a Ceiling in 5 Steps
Follow these steps for painting ceilings.
- 1. Prepare the space. Start by removing furniture from the space. Next, cover or remove lighting fixtures and ceiling fans. Finally, lay down drop cloths to protect your floors and trim from paint spatter.
- 2. Tape the walls. Expert painters may skip this step. But if you're new to home improvement projects, tape the tops of the walls to ensure that you don't get ceiling paint on your walls. If you’re painting the entire room, start with the ceiling and skip this step.
- 3. Prime (optional). If your ceiling has never been painted, or if it has stains, apply a latex paint primer before applying your ceiling paint.
- 4. Cut-in corners. Painting the edges of the ceiling is known as cutting the corners. For clean-cut lines, use an angled brush instead of a roller. Working your way around the entire room, apply smooth, long strokes along the edges of the ceiling.
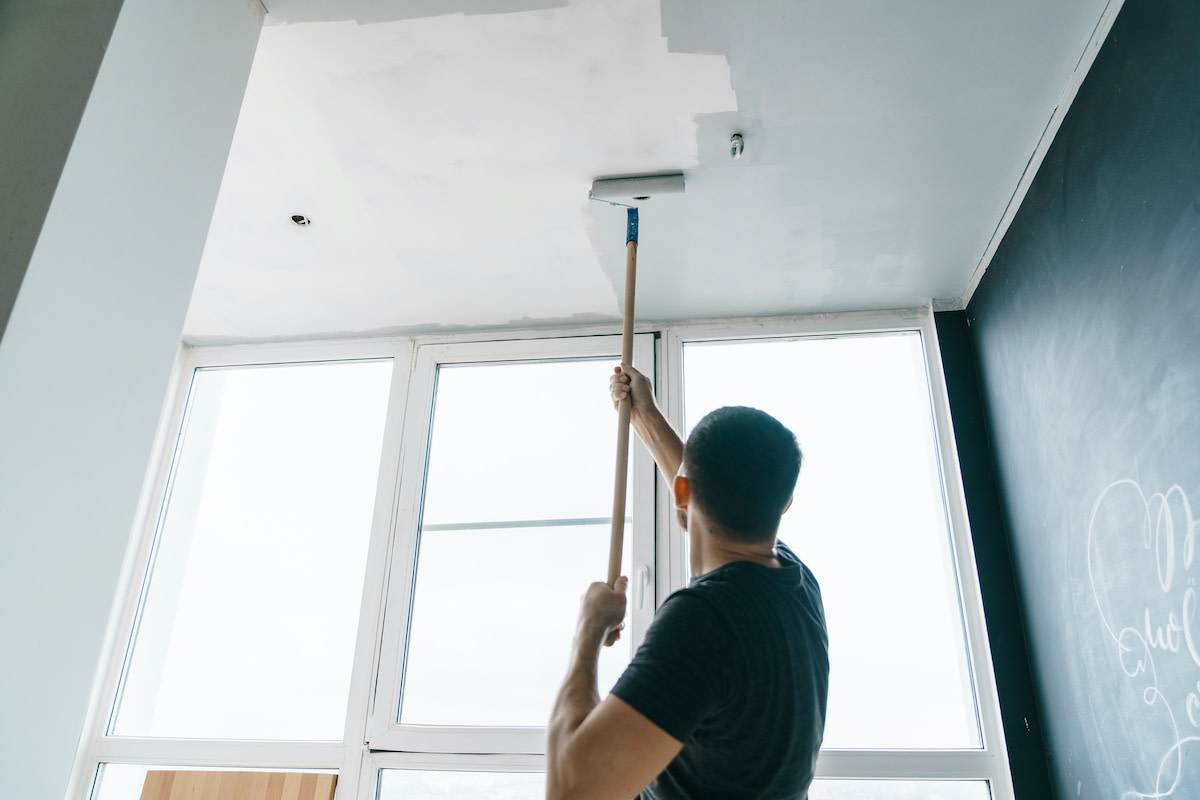
- 5. Roll on paint. For the best results, roll on paint in sections of four square feet at a time. Start painting the next section by rolling over the wet edge of the previous section to avoid leaving obvious paint lines. Let the first coat of paint dry. Follow the same painting tips for applying a second coat, if necessary.
Ready to Give Your Space a Chic Update?
Master everything from color theory to pattern mixing with the MasterClass Annual Membership and exclusive lessons from award-winning interior designers like Corey Damen Jenkins and Kelly Wearstler. From shopping for statement furniture to designing a lighting scheme to choosing the newest member of your plant family, the skills you’ll pick up are sure to make your house, apartment, or condo feel even more like a home.