How to Paint a Bathroom: 10 Supplies for Painting a Bathroom
Written by MasterClass
Last updated: Sep 17, 2021 • 4 min read
Learn how to paint a bathroom with the right supplies and paint finish.
Learn From the Best
10 Supplies for Painting a Bathroom
Before beginning your home improvement project, make sure you have the right supplies for your paint job.
- 1. Paintbrush: Use a paintbrush to paint around the trim and doorway in your bathroom. A sash brush is the best option for this type of painting.
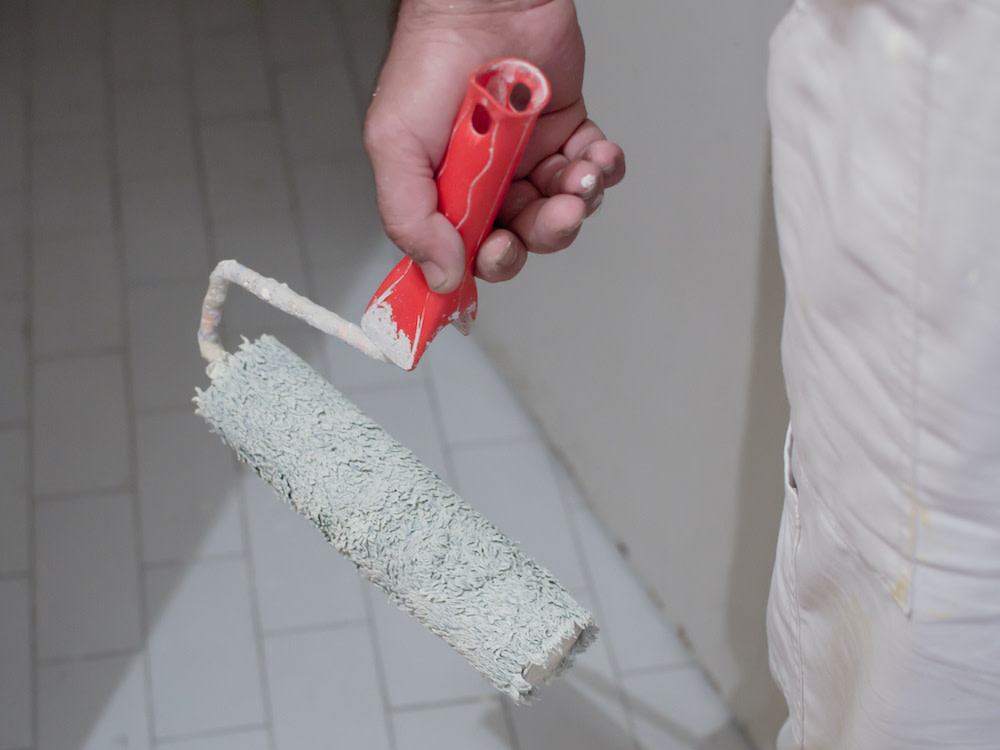
- 2. Paint roller: Use a paint roller for the majority of the paint job.
- 3. Paint tray: A paint tray will help you get the right amount of paint on your roller brush.
- 4. Screwdriver: Keep a screwdriver handy to remove any obstructions on the walls.
- 5. Cleaning products: Before painting, clean your bathroom walls thoroughly. Products with trisodium phosphate are effective for removing mold and mildew.
- 6. Painter’s tape: Similar to masking tape, painter’s tape protects your trim and tiles from excess paint.
- 7. Plastic sheeting: If you’re worried about paint getting on countertops or floors, lay down plastic sheets or drop cloths.
- 8. Spackle: You may need spackle to fill in holes and dents in your bathroom walls.
- 9. Sandpaper: Consider using sandpaper to file down filled holes or peeling paint on your bathroom walls.
- 10. Bathroom paint: There are many types of paints to choose from. Select a paint suitable to your bathroom’s style and needs. The best paint for bathrooms typically includes mildew-resistant additives. You may also choose to get a can of primer to improve the quality of your paint job.
How to Choose the Right Paint for a Bathroom
There are a few factors to consider when choosing interior paint for your bathroom or powder room.
- 1. Mold prevention: The best bathroom paint is mold-resistant and moisture-resistant paint. Read the labels on the paint cans at your local hardware store and seek out a paint that has mildew-resistant additives.
- 2. Finish: Flat finishes like an eggshell finish or matte finish are common in low-traffic areas like dining rooms, while semi-gloss, satin, and high-gloss finishes are typically ideal for bathrooms. While using a paint with a high-gloss or satin finish won’t prevent mold, it will make for easier clean-up if something splatters on the walls.
- 3. Color: While the best bathroom paint colors depend on your tastes, it’s generally a good idea to test a few colors before making your final decision. Get a few gloss paint samples of different colors or different shades of the same color and use them to paint small test patches on your bathroom walls. Observe how the colors look as the light changes throughout the day.
How to Paint a Bathroom
Painting is a relatively easy DIY project to remodel your bathroom and give it a fresh new look.
- 1. Choose your paint. Research what paint color and paint finish will work best for your bathroom. Look for higher-quality paint with mildew-resistant additives.
- 2. Gather supplies. Once you’ve chosen the type of paint you want to use in your bathroom, collect the necessary supplies and the correct amount of paint.
- 3. Remove objects on walls. Remove mirrors, outlet covers, wall art, and your toilet tank, if possible.
- 4. Clean the walls. Use cleaning supplies like bleach to remove existing mildew and mold in your bathroom.
- 5. Tape and cover everything besides the bathroom walls. Use painters tape around your bathroom vanity, bathroom cabinets, countertops, bathtub, and baseboards. Lay a plastic sheet on the floor to protect your tile. Place drop cloths over any remaining surfaces that you don’t intend to paint.
- 6. Fill in any holes or knicks in the wall. Before you begin your painting project, use spackle to fill any existing holes in your bathroom’s drywall. Use sandpaper to smooth out dry spackle and remove peeling paint.
- 7. Paint a primer coat if necessary. Priming can improve the results of your paint job if you are painting over a dark color with a light color.
- 8. Paint the trim. Use a brush to paint areas close to the tape as well as corners and other tight spaces where the roller cannot reach.
- 9. Paint the first coat. Paint the walls of your bathroom with your paint roller. Move the roller with wide, angled strokes that resemble the shape of a W to ensure you coat the walls evenly. Decide whether you will also give your bathroom ceiling a fresh coat of paint.
- 10. Paint the top coat. Wait at least two hours before applying a second coat of paint. Use your sash brush to paint the edges again before moving on to the roller brush.
- 11. Clean up. Allow your paint to dry completely. Remove tape carefully and replace objects on walls.
Ready to Give Your Space a Chic Update?
Master everything from color theory to pattern mixing with the MasterClass Annual Membership and exclusive lessons from award-winning interior designers like Kelly Wearstler and Corey Damen Jenkins. From shopping for statement furniture to designing a lighting scheme to choosing the newest member of your plant family, the skills you’ll pick up are sure to make your house, apartment, or condo feel even more like a home.
