How to Make a DIY Shadow Box
Written by MasterClass
Last updated: Jul 15, 2021 • 4 min read
A shadow box is a simple DIY project that allows you to display keepsakes, mementos, and other objects in a way that complements your home decor.
Learn From the Best
What Is a Shadow Box?
A shadow box is a small decorative box with a transparent front that acts as a display case. Typically, a shadow box displays keepsakes, collectibles, or other trinkets. They can be completely sealed or can have a front door so that you can open to access your belongings. Making your own shadowbox at home can be easy. All you need are a few common items you can buy from any hardware store.
Materials Needed to Make a Shadowbox
You can make a simple shadowbox at home from materials you may already have on hand. If you don’t have them on hand, you can pick them up from a local hardware store. Here are some of the things you need to make your own DIY shadowbox.
- 1. Picture frame: You will need a picture frame to make the front of your shadowbox. This will allow you to avoid the hazard of cutting glass yourself, and it means that you have fewer pieces of wood to cut. You can use wooden, metal, or acrylic frames depending on the look you’re going for. Consider using old picture frames you have lying around, or find a unique one from a thrift store.
- 2. Wood and woodworking materials: You will need a piece of plywood for the back of your shadowbox, and one 1x4 piece of wood to fashion the sides and shelves for your box. Make sure you have sandpaper, wood glue, and a handsaw on hand as well.
- 3. Binding materials and hardware: You’ll need a small hinge with screws and a box of one-inch nails to fasten the pieces of your shadowbox together. You’ll also need a hammer and hot glue gun.
- 4. Paintbrush and paints: Have a few paintbrushes and a selection of paints on hand so that you can customize your shadowbox.
How to Make a Shadow Box
Making your own allows you to customize it to fit the exact items you want to showcase. A shadowbox can add a personal accent to your bookshelf setup or you can use it as wall art. Follow this simple step-by-step tutorial to learn how to make a DIY shadowbox at home.
- 1. Cut out the back panel of your shadowbox. Set the glass from your picture frame aside and discard the back of the frame. Lay your wooden frame onto your piece of plywood and trace the shape of the frame onto the plywood. This will become the back of your shadowbox. Cut the back panel for your shadow box using a handsaw.
- 2. Cut the wooden edges. Measure the width of your plywood back panel using a tape measure at its top and bottom edges. Cut two pieces of your 1x4 for the top and bottom of your shadow box, matching the length and width to the measurements of the top of your back panel. Measure the height of your plywood for the side pieces. You will need to subtract the thickness of the top and bottom pieces from your side-pieces of wood so that they will fit flush together inside your box frame. Smooth out any rough edges or surfaces on your wooden pieces with sandpaper.
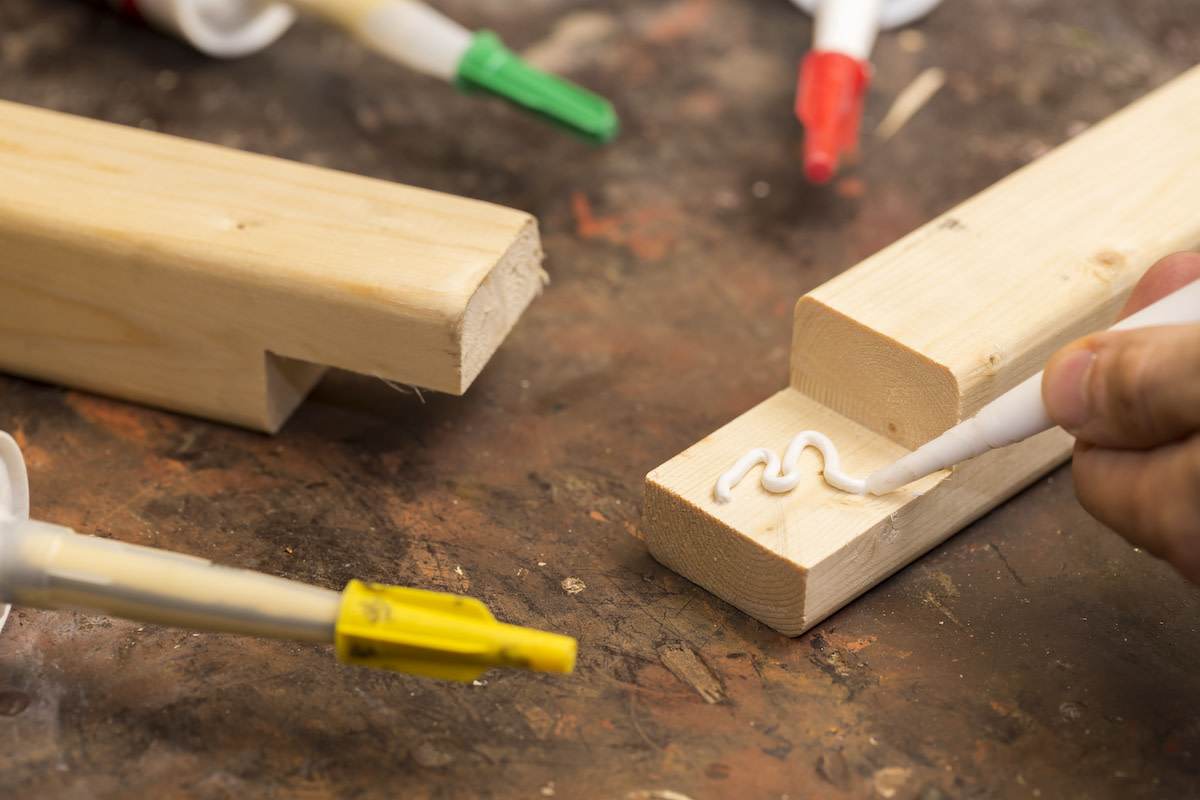
- 3. Glue down the sides of your shadowbox. Apply a line of glue along the top edges of the plywood back panel with your wood glue or hot glue gun. Press the edges of your shadowbox sides against the back panel to create a basic frame for your shadowbox. Leave the glue to dry.
- 4. Nail your frame to your back panel. Flip your shadow box over so that you’re looking at the backside of your back panel. Hammer your nails along the edges of the box and secure the sides to the back panel.
- 5. Paint your shadowbox. Choose a color for your shadow box that complements your decor. White or black are the simplest and often most effective colors to use for a shadow box. Apply at least two coats of paint to your box to give it a solid finish.
- 6. Add the front of your shadowbox. If you're making a shadow box that is completely sealed, you can now add the front onto your box. Place whatever item you want to display in your shadow box, securing it in place with glue if necessary. Replace the glass in your picture frame and glue it down using hot glue, and leave it to dry. Seal the picture frame onto the shadow box using more wood glue. If you want to be able to open your shadow box, you can follow the steps above with a couple of modifications. Instead of using wood glue to seal the front of the shadowbox, screw two small hinges onto your shadowbox frame and onto the back of the picture frame. Then you will be able to change whatever you want to be displayed in your shadow box any time.
Ready to Give Your Space a Chic Update?
Master everything from color theory to pattern mixing with the MasterClass Annual Membership and exclusive lessons from award-winning interior designers like Kelly Wearstler and Corey Damen Jenkins. From shopping for statement furniture to designing a lighting scheme to choosing the newest member of your plant family, the skills you’ll pick up are sure to make your house, apartment, or condo feel even more like a home.
