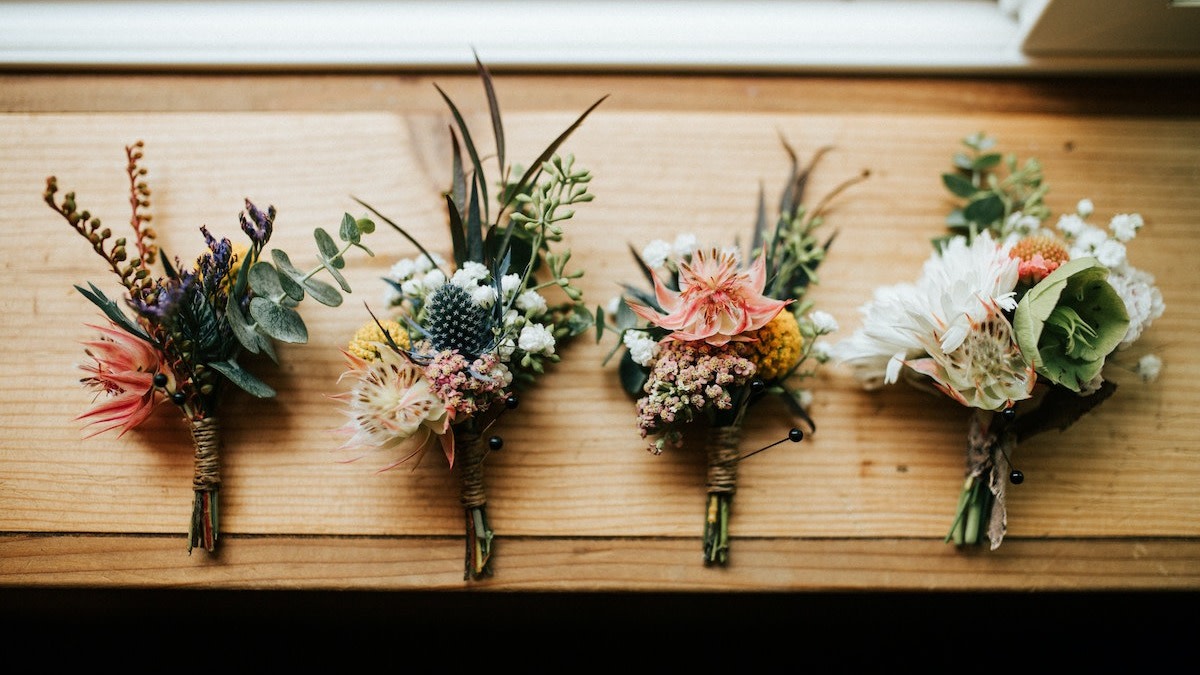
How to Make a Floral Bouquet in 6 Simple Steps
Written by MasterClass
Last updated: Jun 7, 2021 • 2 min read
Whether you’re arranging flowers for an occasion like Mother’s Day, Valentine’s Day, or a wedding, a bouquet is an elegant accent that livens up any space. The best floral arrangements look effortless, but make no mistake—a beautiful DIY bouquet requires some planning.
Learn From the Best
3 Tips for Picking Flowers for a Bouquet
A beautiful bouquet starts with the right flowers. Some helpful tips for choosing flowers for your bouquet are:
- 1. Stick to a color scheme: Use the color scheme of your event space or home as a reference point when you’re choosing the flowers for your bouquet. Choose flowers that incorporate similar or complementary colors to where the bouquet will live. Also, make sure that the colors within the bouquet complement each other.
- 2. Check the seasons: In-season flowers are fresher and more affordable than off-season flowers, so you may want to consider choosing flowers for your bouquet that are in season. For example, flowers that are grown year-round—like Hydrangeas—make for an affordable accent in your DIY flower arrangement.
- 3. Choose hearty flowers: To make sure that your flowers look fresh as possible for as long as possible, use hearty flowers like daisies, succulents, and chrysanthemums. Strong, durable flowers are especially important if you’re arranging a bridal bouquet which you’ll be carrying around all day.
How to Make a Floral Bouquet
Follow the step-by-step instructions below to make a beautiful DIY bouquet for any special occasion—or just a regular dar.
- 1. Choose the best flowers. Consider the color scheme, season, budget, and scent when you’re picking your flowers. Make sure your flowers are fresh, sturdy, and complement each other in both color and scent. You can find fresh flowers at your local florist, at the grocery store, or grow them yourself.
- 2. Remove any leaves and thorns. Especially if you’re working with roses, be sure to trim off any sharp thorns. Use your hands or a pair of shears to strip any remaining foliage from your plant stems.
- 3. Start with a focal flower and build around it. Choose your most interesting or favorite flower as the focal point of your bouquet. Hold it upright, and add your supporting flowers around it, rotating the bouquet as you build so that the flower heads sit at different angles.
- 4. Add filler flowers. Smaller flowers and accent greenery can add contrast to your floral design, and give it a more natural aesthetic. Once you’ve arranged all your flowers, choose a few fillers like baby’s breath, myrtle, wax flowers, or eucalyptus to spruce up the arrangement and add some volume.
- 5. Wrap the stems. Once you’ve arranged your bouquet, firmly tie your stems together using floral wire, tape, or hot glue. Start wrapping your wire right underneath the flower heads to keep the bouquet from separating. Use matching floral tape to secure the flowers without drawing too much attention away from your arrangement.
- 6. Add any finishing touches. Embellish your bouquet with ribbon or decorative wrap for a nice finishing touch. Keep the ribbon parallel with the floral tape, and if you’re making a wedding bouquet, leave enough space at the bottom for the bride to hold it.
Ready to Give Your Space a Chic Update?
Master everything from color theory to pattern mixing with the MasterClass Annual Membership and exclusive lessons from award-winning interior designers like Kelly Wearstler and Corey Damen Jenkins. From shopping for statement furniture to designing a lighting scheme to choosing the newest member of your plant family, the skills you’ll pick up are sure to make your house, apartment, or condo feel even more like a home.
