How to Knead Dough: Basic Kneading Techniques
Written by MasterClass
Last updated: Jun 7, 2021 • 3 min read
Learn how to transform soft, sticky bread dough into a strong, elastic structure with these kneading techniques.
Learn From the Best
What Is Kneading?
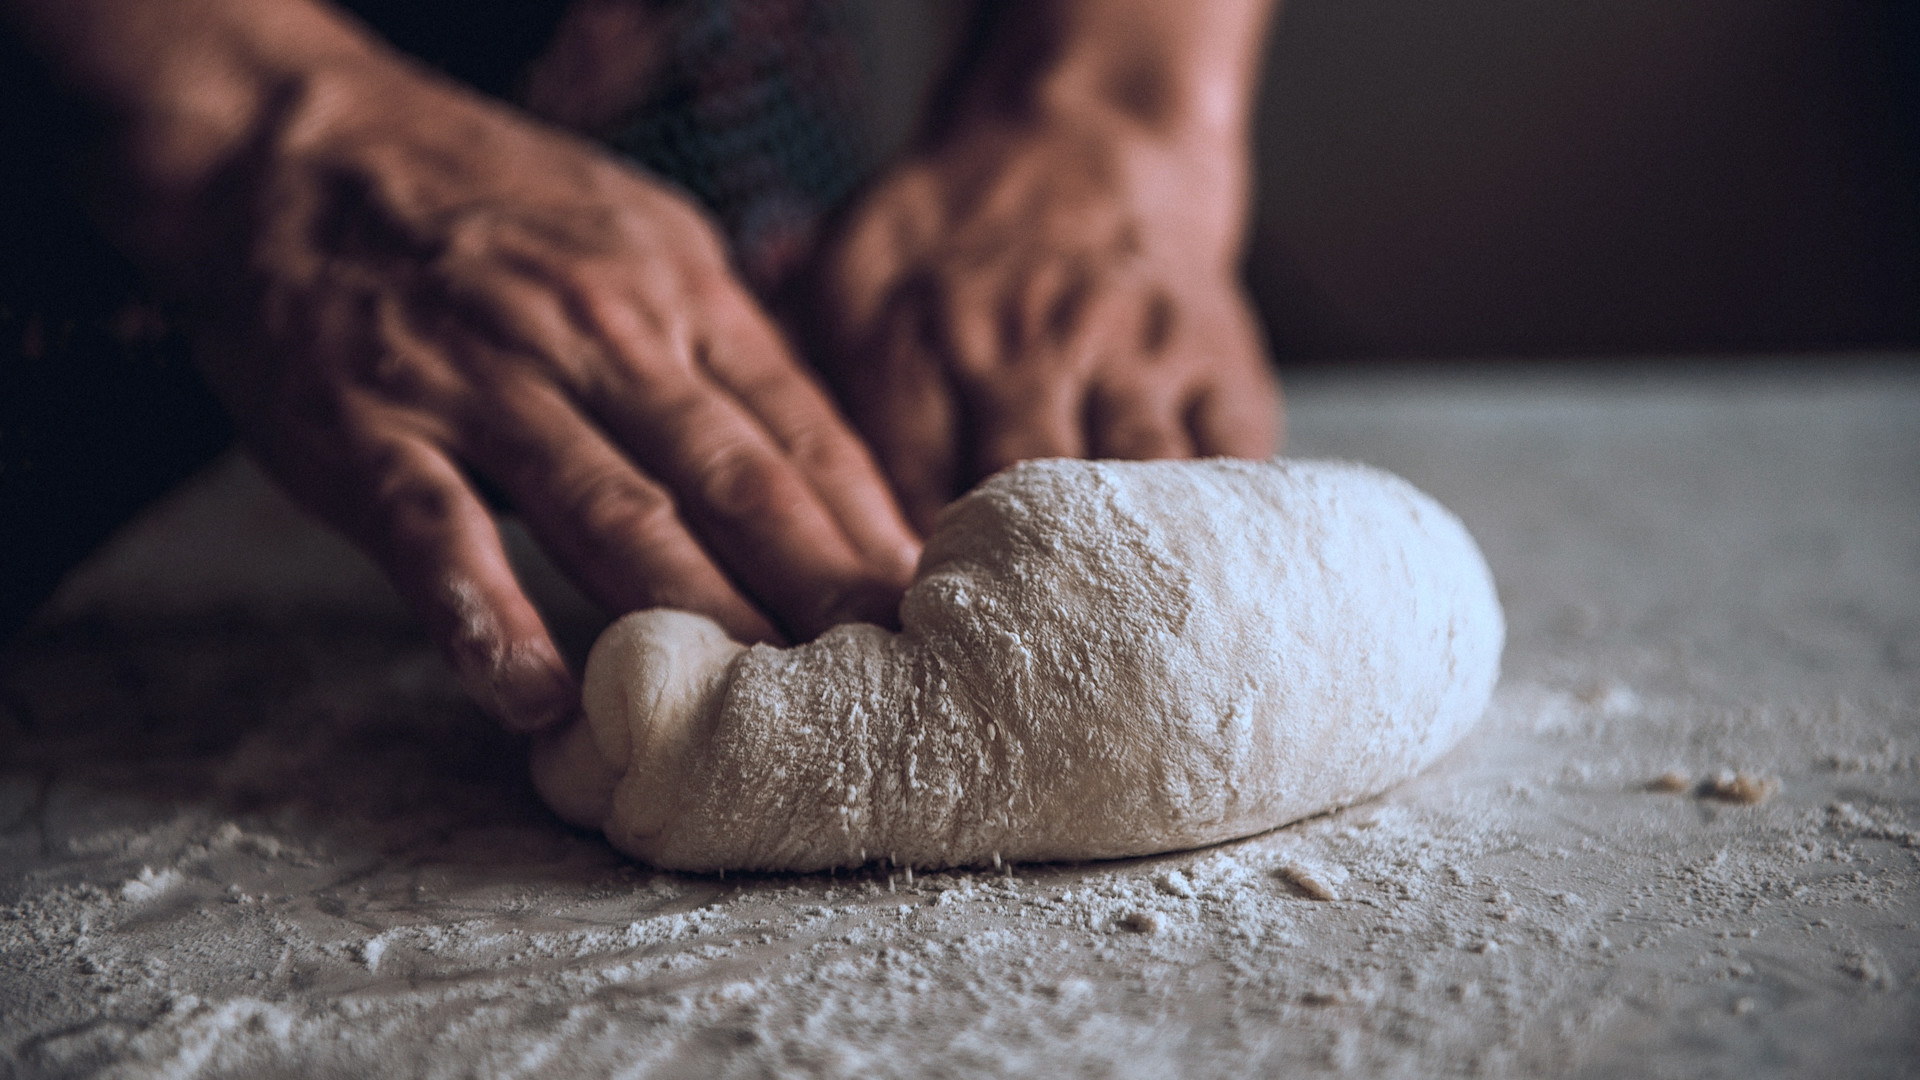
Kneading is the massaging of bread dough before baking. Kneading stretches the strands of gluten in the dough, allowing for more expansion during fermentation. A well-kneaded, elastic dough will hold more air bubbles than a dough that hasn't been kneaded, and the strong gluten network will keep those bubbles in place throughout the proofing and baking process. Kneading also breaks up gas bubbles for a consistent crumb, distributes yeast equally, and evens out the temperature of the dough, allowing for uniform proofing and baking.
How Long Should You Knead Bread Dough?
The ideal kneading time for any loaf depends on the desired outcome. Many types of bread dough should be kneaded until their gluten structure is fully developed. The kneading process generally takes around 10 minutes by hand, but you’ll notice the gluten structure developing right away: The dough becomes harder to work with and looks shiny.
Some breads require only brief kneading—or none at all. No-knead and low-knead breads will still rise, but they may require a longer fermentation time to get there. These breads will taste more tender and have a more open crumb structure.
Is It Possible to Over-Knead Bread Dough?
There is such a thing as over-kneading. If you continue to work dough after its gluten structure is fully developed, the gluten bonds will start to break down. The dough will begin to feel sticky rather than smooth, and it won't rise properly. For most breads, over-kneading is only a risk when using a stand mixer. But for breads with an open crumb, like a ciabatta or some artisan sourdough breads, over-kneading can happen more quickly. If you knead these breads too much, they'll still rise, but they will develop a tight crumb rather than the large air pockets of an open crumb.
Kneading by Hand vs. Using a Stand Mixer
You don't always have to knead by hand. If you have a stand mixer with a dough hook attachment, you can let it do the work for you. Mechanical kneading is recommended for recipes that call for prolonged, gentle kneading—like brioche. A sourdough boule, on the other hand, benefits from hand kneading, which allows you to check your bread's hydration level and avoid over-kneading. When kneading bread with a stand mixer, keep the speed between low and medium to mimic the action of human hands.
How to Knead Dough in 3 Steps
Kneading increases the elasticity of dough, and you have to rely on your sense of touch to decide when the dough is ready. A good bread recipe should give you some guidance, but these general tips will help you build kneading confidence.
- 1. Use a folding motion. If you're new to kneading, keep in mind that most bread doughs respond well to the simple motion of folding a dough round in half, then pressing the dough with the heels of your hands.
- 2. Slap your bread. Slapping your bread down on the work surface (a technique known as the French method) is useful for bread dough that is too wet to be folded. Once your dough becomes a bit more elastic, you can try the folding technique.
- 3. Apply the windowpane test. The windowpane test is a classic technique for testing if a dough's gluten structure is sufficiently developed. Pinch off a small piece of dough and stretch it between your fingers into a sheet. The dough should be able to stretch thin enough that you can see through it. If the dough breaks, go back to kneading.
Want to Learn More About Cooking?
Become a better chef with the MasterClass Annual Membership. Gain access to exclusive video lessons taught by the world’s best, including Gabriela Cámara, Chef Thomas Keller, Massimo Bottura, Dominique Ansel, Gordon Ramsay, Yotam Ottolenghi, Alice Waters, and more.
