How to Install Peel-and-Stick Wallpaper in Your Home
Written by MasterClass
Last updated: Jan 7, 2022 • 4 min read
Learn how to install peel-and-stick wallpaper to add character and a bold aesthetic to your home décor. Learn how to install peel-and-stick wallpaper to add character and a bold aesthetic to your home décor.
Learn From the Best
What Is Peel-and-Stick Wallpaper?
Peel-and-stick wallpaper is nearly identical to traditional wallpaper except that you can install it with one side of self-adhesive. This adhesive helps the wallpaper attach to the wall surface with a firm hold. You can remove peel-and-stick wallpaper much easier than traditional wallcoverings since you do not glue it directly to the wall surface. This versatility allows homeowners to quickly complete a home improvement remodel or provides renters with the opportunity to customize their home décor in a temporary living space.
3 Pros of Peel-and-Stick Wallpaper
This style of wallpaper has a few benefits due to its temporary nature:
- 1. Customizable designs and textures: You can find numerous designs of peel-and-stick wallpaper that will match your interior design aesthetic, such as classic shiplap designs, wall murals, trendy patterns, and others. Since peel-and-stick styles are temporary, you can change your wallpaper as frequently as you wish for less of a financial investment than you would otherwise have to spend on traditional wallpaper.
- 2. Easy installation and removal: Peel-and-stick paper installation requires significantly fewer tools and materials than traditional wallpaper. Furthermore, the process is easy to learn, so you likely can forgo purchasing a wallpaper calculator. It might simply be enough to study the instructions that come with the product or to watch an online video tutorial for step-by-step directions. If you’re unhappy with the results or wish to remove the wallpaper later, you can simply pull the wallpaper from the bottom corner of the wall and continue pulling with steady, consistent pressure until it comes completely free.
- 3. Wall protection: Peel-and-stick wallpaper options can protect your walls from minor wear and tear or natural fading from direct sunlight. Additionally, peel-and-stick wallpaper adhesive will not damage paint or wall finish when you attempt to remove it, unlike when you remove wallpaper with traditional adhesive. These factors make temporary wallpaper more renter-friendly than traditional wallpaper.
3 Cons of Peel-and-Stick Wallpaper
Consider the downsides of choosing removable wallpaper for your DIY projects.
- 1. Lower durability than traditional wallpaper: Any wallpaper will deteriorate over time in a moisture-rich environment like a bathroom wall or backsplash above kitchen countertops. However, peel-and-stick adhesive is significantly weaker than traditional wallpaper glue and will tear or peel much sooner. Furthermore, some manufacturers produce low-cost peel-and-stick options with thinner material construction. These budget alternatives will likely be less resilient against everyday scratches and dings.
- 2. Higher cost than traditional wallpaper: Peel-and-stick wallpaper options sell for twice the price of traditional wallpapers. Although, depending on your accessibility to necessary tools or your level of experience, you may need to seek out professional installation for traditional wallpaper. If this is true in your case, weigh the added cost of professional labor to decide which option is more cost-effective.
- 3. Specific wall requirements: Peel-and-stick wallpaper requires a clean, smooth wall surface. If your target wall has drywall texture, you will need to smooth the wall surface by scraping or sanding it down. This extra step could slow down your room makeover project considerably, especially if you plan similar upgrades for the entire room.
How to Install Peel-and-Stick Wallpaper
Follow these simple tips and hacks to make your DIY wallpaper installation a quick and easy process.
- 1. Ensure your wall surface is clean and smooth. Peel-and-stick wallpaper adhesive requires a dry surface for adequate adhesion to the wall. Dust, wall texture, or damaged paint can cause gaps or bubbles between the wall and wallpaper strip. A few of these common mishaps will blend into the wall, but major bubbles and folds in your wallpaper will ruin the overall aesthetic and cause your strips to veer off the straight line that you intended.
- 2. Use a measuring tape and a utility knife to cut strips of wallpaper. Use a tape measure and knife to trim your wallpaper roll into uniform strips that will match up and fully cover the wall. Begin your measurement on the outer-left side of the wallpaper sheet and pull it to your right side until you reach your decided measurement. Mark this spot lightly with a pen or pencil and use a utility knife to cut your strips.
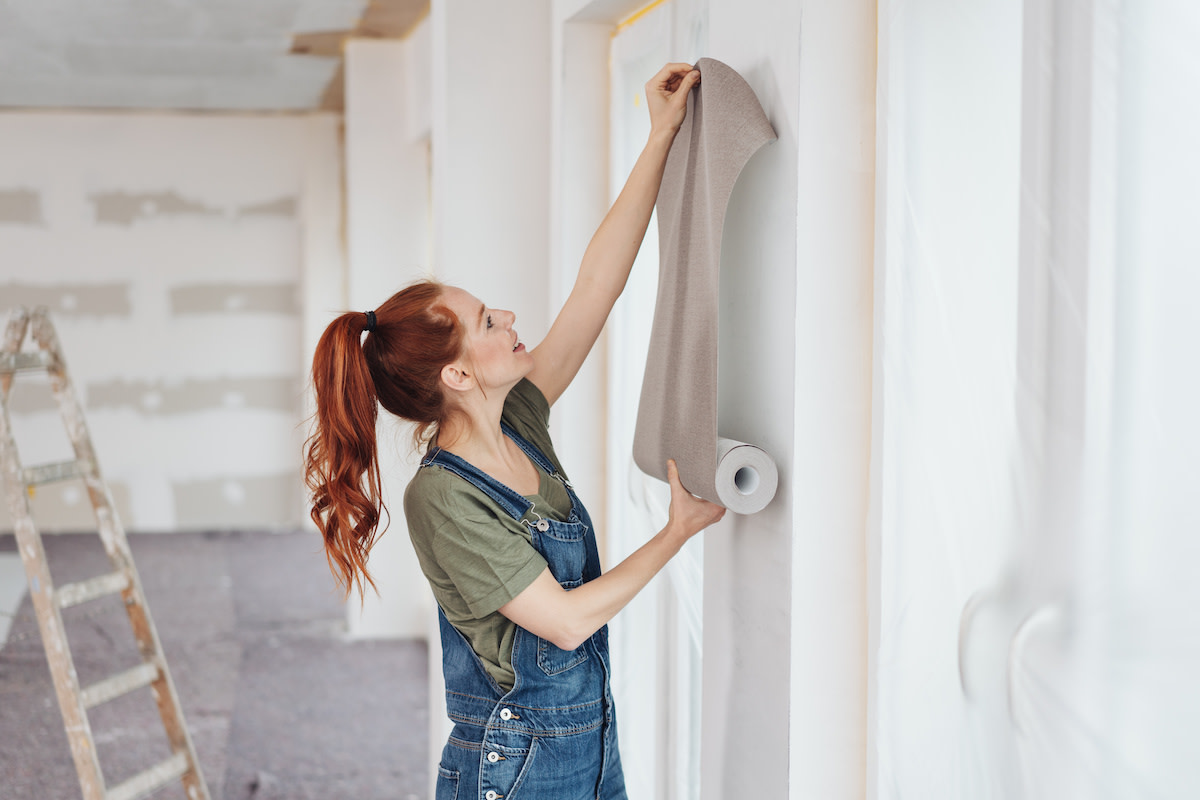
- 3. Install your first strip of wallpaper in the top corner of the wall. Install each subsequent strip at the top of the wall, where it meets the ceiling or molding, and keep it flush against the previous strip. This top-down technique will simplify your installation process since gravity will keep the strip stationary while you press the adhesive into place. Remove any material overlap on adjacent walls or the baseboard.
- 4. Use a squeegee or builder’s level to reduce air bubbles. Press down the wallpaper, eliminating any air bubbles in the process, starting from the top and moving toward the bottom. Once you reach the bottom, start again at the top, this time moving from left to right as you make your way down the wallpaper.
Ready to Give Your Space a Chic Update?
Master everything from color theory to pattern mixing with the MasterClass Annual Membership and exclusive lessons from award-winning interior designers like Corey Damen Jenkins and Kelly Wearstler. From shopping for statement furniture to designing a lighting scheme to choosing the newest member of your plant family, the skills you’ll pick up are sure to make your house, apartment, or condo feel even more like a home.
