How to Hang a Door: Steps for a DIY Slab Door Installation
Written by MasterClass
Last updated: May 20, 2022 • 4 min read
Replacing an existing door or installing a prehung door can be a simple, straightforward task for most weekend warriors. Hanging a door against a new frame, however, can produce unforeseen challenges and frustrations. Learn how to hang a door in your home so the process can go as smoothly as possible.
Learn From the Best
A Brief Overview of Hanging Doors
There are numerous ways to hang a door, and the method you choose largely depends on the type of door, the given space, and the scope of the project.
Replacing an existing door can be as straightforward as removing the hinge pins with a flat head screwdriver and a mallet before swapping in the new door. Simply shim the door and remove the pin from the bottom hinge before working your way up to the top hinge.
Modern commercial projects will typically use a prehung door for most internal doors. Manufacturers produce this type of door and frame together so each door package is simple to produce, transport, and install. If a building’s framing meets the average standard, prehung interior door installation will only require minor modifications to the framing and door template.
How to Hang a Door
The installation method you choose for your door should be compatible with the type of door, the doorway, and your desired outcome. One common style of door that works with most doorframes is a slab door—a wooden rectangle that comes without any attached hardware. Here are the general steps for a DIY slab door installation:
- Measure the dimensions of the rough opening. In a new home or building, ensure the framers or finished carpentry professionals have constructed the door opening to fit the door and frame. If your doorframe matches the dimensions of your door, installation will be much easier. Use a tape measure to check the opening from the header to the floor. Measure vertically along each side of the doorframe and vertically directly in the center of the doorframe. Then measure horizontally at the top, middle, and bottom of the door. If there are significant differences between the measurements of the doorframe and your door, it will be necessary to fix any framing issues first.
- Confirm the door opening is level and plumb. Use a four-foot level to confirm the doorframe does not lean or twist. A common example of this is when an old door no longer latches due to the tilted door stop molding. If your door opening twists at the bottom, you can often use a reciprocating saw with metal blades to sever a few fasteners holding the bottom plate framing in place. Lightly bump the bottom plate with a sledgehammer and a small block of wood (set against the area you hit to disperse the impact of the hammer face against the wall) until it shifts your wall studs into a plumb position. Remember to resecure the bottom plate before you continue.
- Test the door. Place or “dry fit” the door into the frame to ensure the door fits. Place spare materials, such as drywall stirrers or paint stirrers beneath the door to hold it level and in the correct position. Use shims to prop the door up until you obtain at least a one-eighth-inch gap around the edge of the door.
- Trim the door to fit. If the door is tight or does not fit into the finished opening, use a sharp pencil to mark where you will trim the top of the door. Use a combination square or a framer’s square to help you draw a straight edge. Use a circular saw or handsaw to shave off excess material. If you need to remove less than one-quarter inch of material, use a belt sander to avoid trimming off more than you intended.
- Lay out your hinge positions. Once you center the door in the doorframe, mark the top and bottom of each hinge on the door and the new frame. Confirm your door swing and choose a hinge side that will allow the door to open in the intended direction. Use a utility knife to cut along your hinge layout lines—this will reduce excessive chipping as you chisel the edge of the door.
- Chisel the mortise. Use a sharp chisel and rubber mallet to cut out a recessed area for your hinges and strike plate so they lay flush with the door and doorframe. If your door does not already include a hole for your doorknob or handle, use a hole saw to create a clean, accurate entry point for your door hardware.
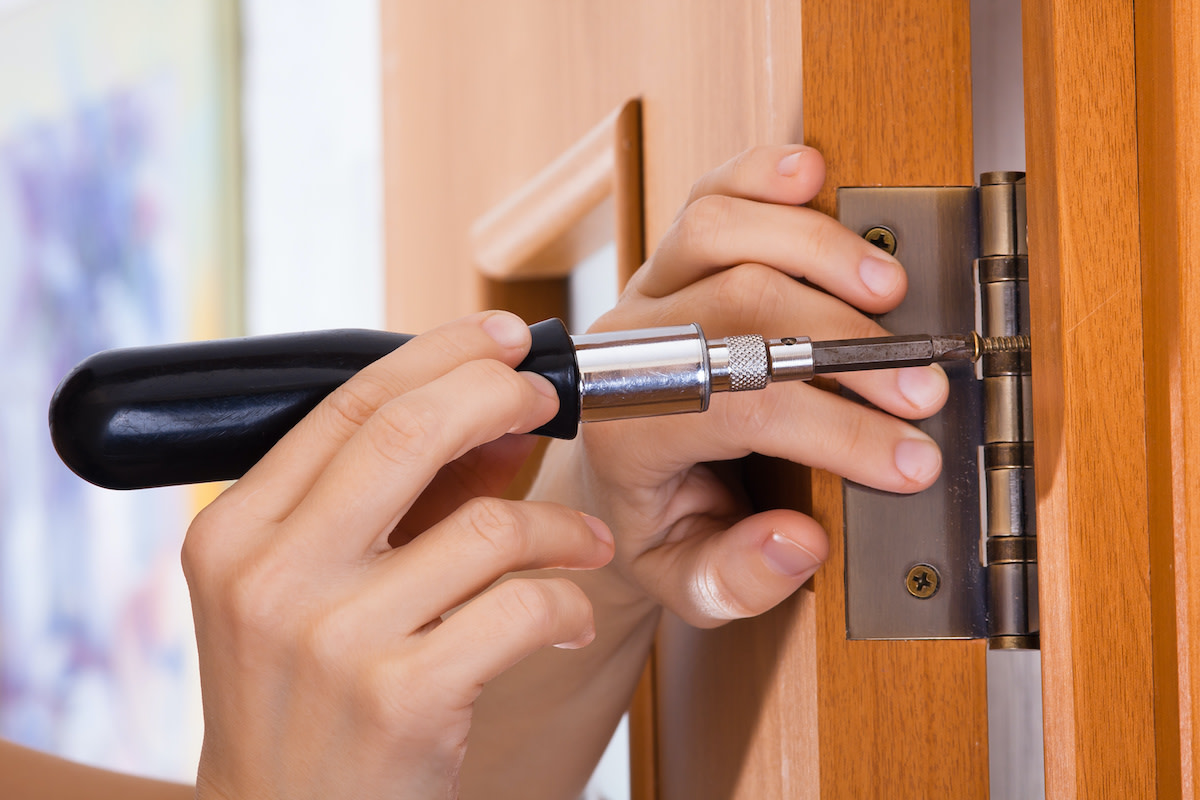
- Install the door hardware. Mount the lock set, door handle, and strike plate on the latch side with a cordless screwdriver or impact drill. Choose to attach the hinges to the door jamb or the edge of the door. Either way, use a thin drill bit to drill pilot holes for your screws. These screw holes should be a smaller diameter than your fasteners to reduce the risk of splitting the edge of your door.
- Confirm the door closes and latches properly. A building can shift slightly or expand and contract with fluctuations of temperature. Check your door installation occasionally and use a piece of fine-grit sandpaper to smooth down any minor tight spots between the door and doorframe.
Ready to Give Your Space a Chic Update?
Master everything from color theory to pattern mixing with the MasterClass Annual Membership and exclusive lessons from award-winning interior designers like Corey Damen Jenkins and Kelly Wearstler. From shopping for statement furniture to designing a lighting scheme to choosing the newest member of your plant family, the skills you’ll pick up are sure to make your house, apartment, or condo feel even more like a home.
