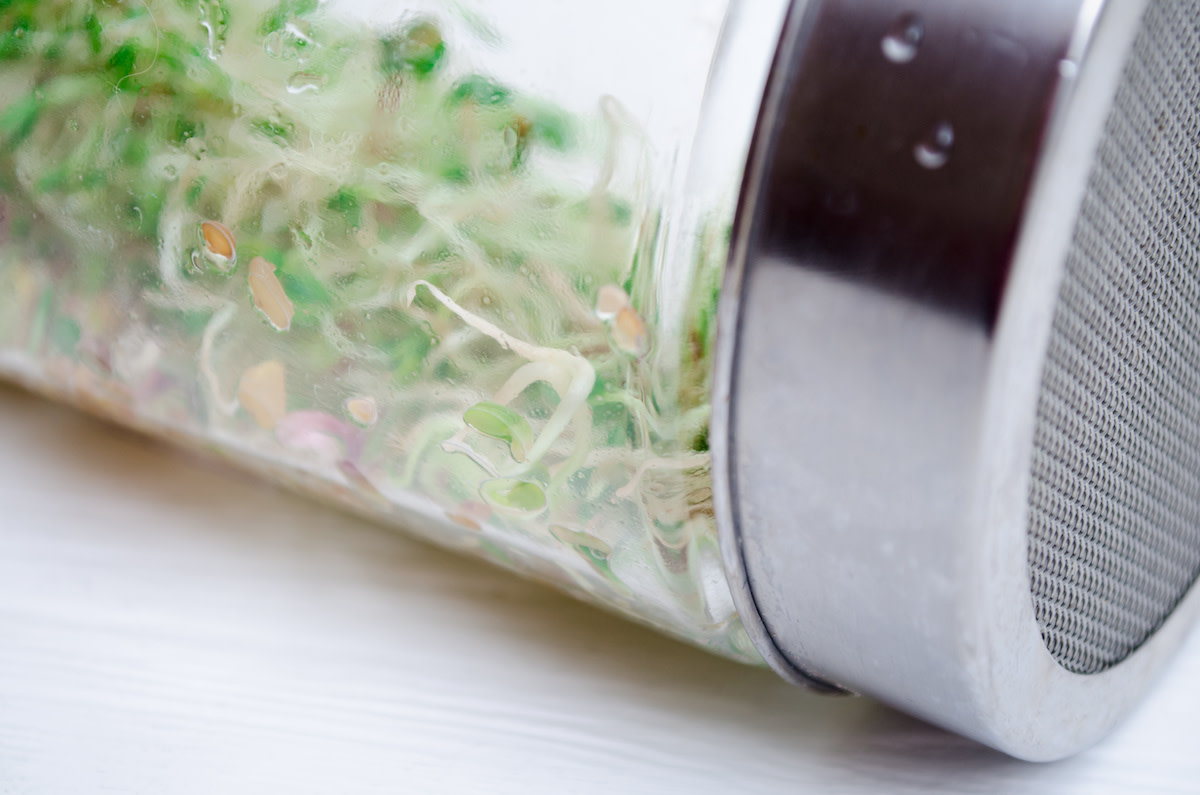
How to Grow Sprouts in a Jar in 5 Steps
Written by MasterClass
Last updated: Oct 11, 2021 • 3 min read
Sprouting your own microgreens in a jar is a simple process that can yield a bounty of healthy, fresh, and crunchy food.
Learn From the Best
What Is Sprouting?
Sprouting is the process of germinating seeds, beans, or legumes into their initial growth stage to eat them. Seed sprouts are also known as microgreens. You generally sprout seeds for consumption using plants you can eat the stems and leaves of, like alfalfa sprouts and mung bean sprouts. Plenty of seed varieties can produce fresh sprouts, such as chickpeas, lentils, peas, and radishes. You can even make broccoli sprouts.
4 Materials You Need to Grow Sprouts in a Jar
Growing sprouts at home is a simple process that requires only a few items that you might already have, including:
- 1. One to two tablespoons of seeds: Look for non-GMO, certified organic sprouting seeds, which you can find at most health food stores and some grocery stores. Depending on the size of your jar, you may be able to sprout up to half a cup of seeds. For the first time, consider starting with a smaller quantity of seeds. Make sure the seeds you purchase are specifically for sprouting and not for growing.
- 2. A one-quart jar or container for soaking: You can use a mason jar, canning jar, or wide-mouth container. You’ll sprout your seeds inside of this jar.
- 3. A sprouting lid or cover: Your container will need a sprouting lid, which is a lid that has many fine holes in the top. You can purchase a pre-made sprouting kit that includes a sprouting jar and sprouting lid, or create a DIY seed sprouter by simply covering your container with cheesecloth and securing it with a rubber band. You can also cut out a circle of needlepoint mesh to top your container to serve as a sprouting lid.
- 4. A strainer: You can use a colander or any strainer with very fine holes that can catch the sprout seeds.
How to Grow Sprouts in a Jar
Growing your own sprouts is more cost-effective than buying pre-prepared sprouts from the grocery store. Better yet, they grow to an edible size within a few days. Here is a step-by-step guide for growing sprouts at home:
- 1. Soak the seeds. Fill your container or glass jar with either cool or warm water. Pour your desired amount of the seeds into your container, ensuring they have at least one inch of water above them. Cover the jar with a sprouting lid or cheesecloth. Place the jar in a location that’s not in direct sunlight but will keep the sprouts at room temperature.
- 2. Leave for 24 hours. Allow the seeds to soak in the water undisturbed for a full day.
- 3. Drain and rinse the sprouts. After your sprouts have sat for a day, drain the water they’ve been soaking in. Strain the water out of the container using the cheesecloth as a strainer. If there is some water left over, use a strainer to drain your beans. Put the seeds back in the container and give them a good rinsing with cool water a few times. Set the jar with your drained and rinsed beans somewhere in your kitchen out of direct sunlight. Store the jar on its side to give your beans some breathing room.
- 4. Repeatedly soak and rinse. Repeat the rinsing and draining process for up to five days. Germination should begin by the first day, and the sprouts should grow larger and longer with each successive soaking. Rinse your beans at least once a day, but you can do so up to four times a day.
- 5. Remove the hulls. Add the raw sprouts to a large bowl of fresh water and use your hands to push down on them gently. You should see the brown hulls rise to the top, and you can easily skim them off. Repeat until very few hulls rise to the surface. You don’t have to worry about getting all of them. Once you remove the hulls, you can eat the sprouts.
Learn More
Grow your own garden with Ron Finley, the self-described "Gangster Gardener." Get the MasterClass Annual Membership and learn how to cultivate fresh herbs and vegetables, keep your house plants alive, and use compost to make your community—and the world—a better place.
