How to Grow Shallots in Your Home Vegetable Garden
Written by MasterClass
Last updated: Jun 7, 2021 • 4 min read
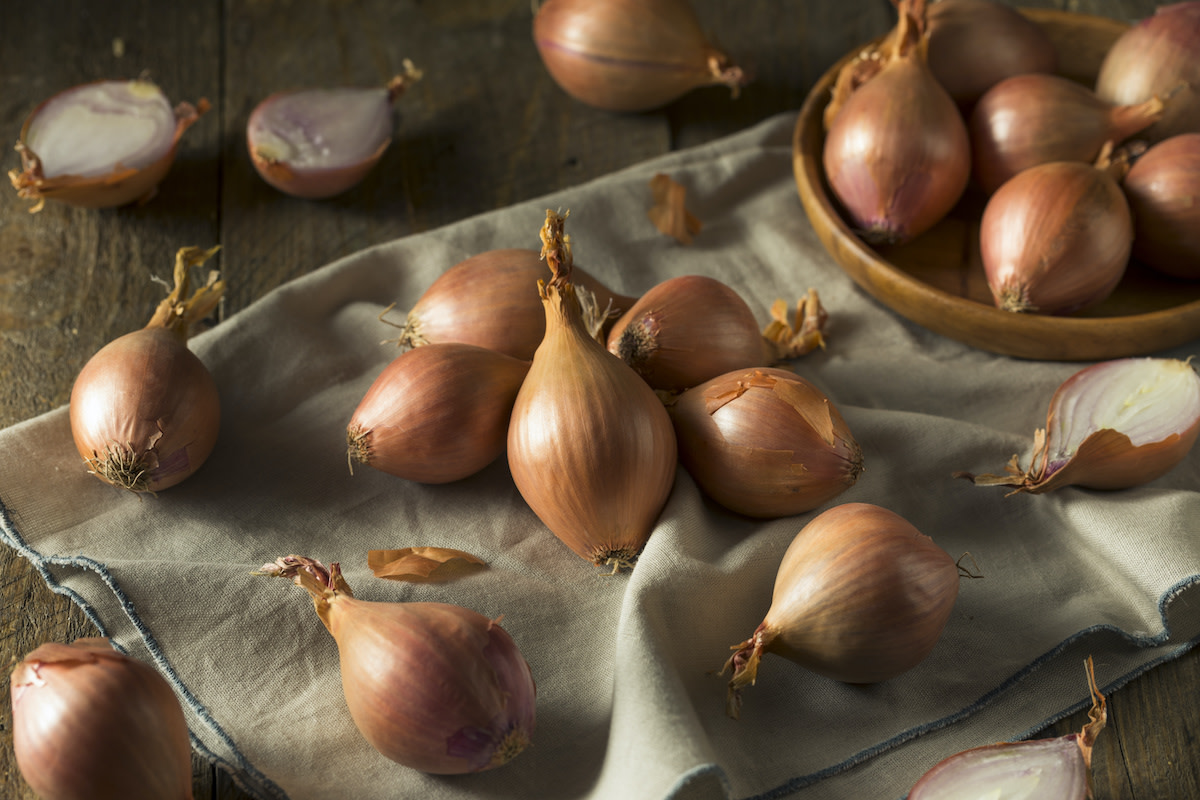
Shallots are a member of the allium plant family and a popular culinary ingredient. You can add shallots to numerous dishes, from soups and salads to stir-fries and sautés. Although shallots are available to purchase at most grocery stores, their versatility in the kitchen makes them a wonderful option to grow yourself in your home garden.
Learn From the Best
How to Plant Shallot Bulbs
Shallots (Allium cepa) are typically grown from shallot bulbs (also known as shallot sets) which contain a handful of smaller separate cloves, similar to garlic. Planting shallot bulbs is a straightforward process as long as you know the proper guidelines.
- Decide whether to plant your shallots in spring or fall. If you live in a cooler climate, plant your bulbs about five weeks before the last frost in early spring for a mid- to late-summer harvest. If you live in a warmer climate, plant your shallot bulbs after the first fall frost for an early summer harvest. Fall planting allows the bulbs to experience vernalization—an accelerated germination process due to prolonged exposure to cold temperatures—and results in a more robust crop. In moderate climates, it’s possible to plant shallots in both spring and fall, so choose whichever season you prefer.
- Pick a sunny location. Shallots grow best in a full sun environment, but they also tolerate partial shade.
- Grow shallots in well-drained soil rich with organic matter. The ideal pH range for shallots is between 5.0 and 6.8. If your existing soil isn't suitable, try growing your shallots in a raised garden bed to give yourself total control over your soil’s components.
- Enrich your soil with nutrients. Work aged compost into your soil before planting to improve your soil quality, especially if it contains high amounts of clay. Your goal is to create a loamy soil that is rich in nutrients.
- Break up your bulbs into individual cloves and plant each clove. Bury your cloves two inches deep with the thin tip pointing upward, almost sticking out from under the soil surface. Space the cloves in rows six inches apart with at least one foot between rows.
- Water only once in the first month. Shallots require a one-month dry dormant period, so water immediately after planting and wait a month before watering again. Use only enough water to moderately moisten the soil.
- For fall plantings, add a layer of organic mulch over the soil. Mulch made of leaves, straw, or wood chips will safeguard your bulbs over the long, cold winter months.
How to Grow and Care for Shallots
Follow these basic principles to provide the best growing conditions for your shallots and increase the chances of a bountiful harvest.
- Water modestly to keep the soil moist. Shallots need water to thrive during the growing season, but bulbs immersed in oversaturated, sopping wet soil can rot. For fall plantings, you can completely refrain from watering over the entire winter season.
- Prevent your shallots from contracting rot diseases. The only diseases that typically affect shallots are white rot and neck rot. White rock infects the shallot bulb's roots and base, while neck rot infects the bulb's neck and leaves. To prevent these diseases, avoid overwatering, and make sure you don't plant your shallots where other alliums have recently grown. Both white rot and neck rot are soil-borne diseases, so if your shallots do get infected, you'll have to refrain from growing shallots in that location for five years and two years, respectively.
- Monitor for weeds and remove them promptly. Since shallots have shallow roots, weeds can wreak havoc on their root systems. Carefully remove them as soon as they appear.
How to Harvest Shallots
Follow these simple rules when harvesting shallots, but know that while shallot bulbs take 90 to 120 days to mature, their leafy green tops develop much quicker. You can harvest the green tops at any point during the growing season and cook with them as you would scallions.
- When to harvest: Shallots are ready to harvest once a papery skin appears on the bulbs and their green tops start to turn yellow and wither.
- How to harvest: Gently pull the shallots from the ground and clean off as much soil residue as possible. If you're only cutting the leafy tops to use as green onions (instead of taking the full bulb), make sure you leave some of the main stem intact to allow new growth to develop.
- How to store: Store shallot bulbs in a shady, cool (35 to 45 degrees Fahrenheit), dry place for up to six months. A dry environment is essential in order to prevent your shallots from sprouting or developing mold. If placed in your refrigerator, shallots will last for about a week. You can also chop up their green tops and freeze them to use as a chives substitute.
Learn More
Grow your own food with Ron Finley, the self-described "Gangster Gardener." Get the MasterClass Annual Membership and learn how to cultivate fresh herbs and vegetables, keep your house plants alive, and use compost to make your community - and the world - a better place.
