How to Grow Microgreens: Guide to Growing Microgreens
Written by MasterClass
Last updated: Oct 19, 2021 • 2 min read
Learn how to grow microgreens to have ready-to-eat garnishes for entrees and nutritious, flavorful additions for sandwiches.
Learn From the Best
What Are Microgreens?
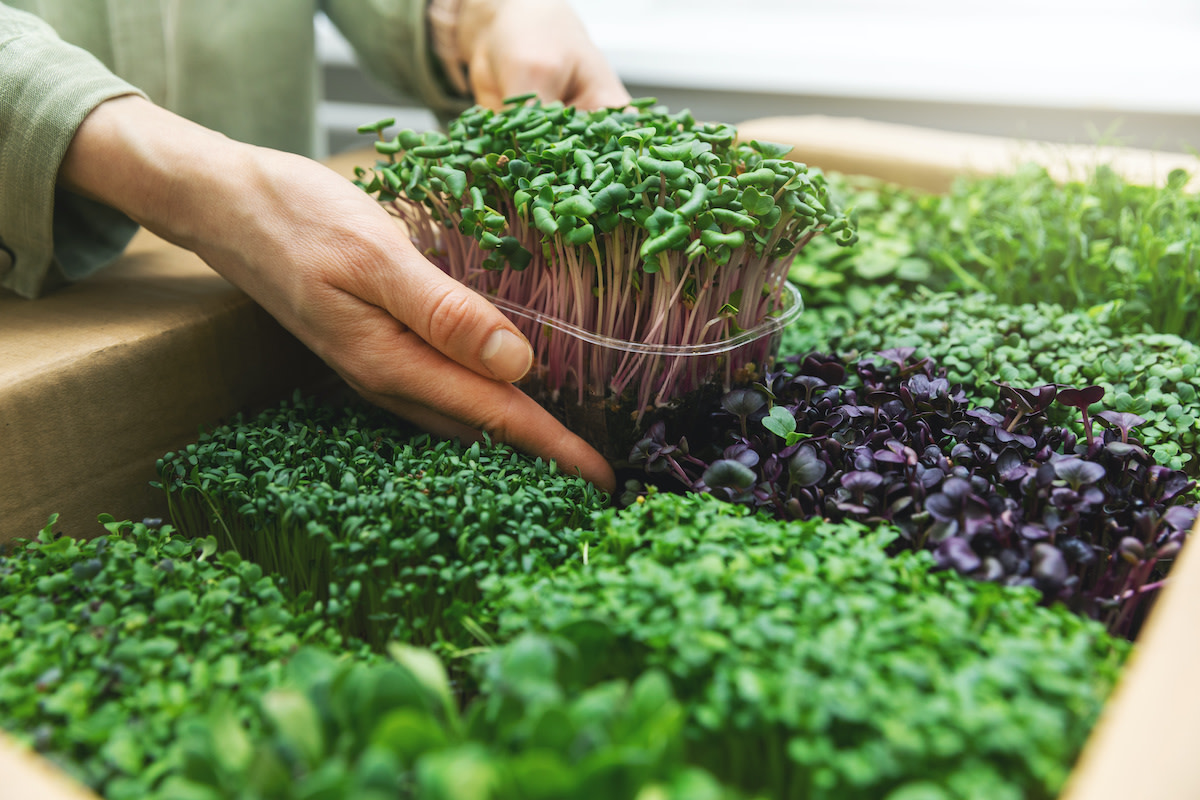
Microgreens are young vegetables harvested after growing their first set of true leaves. Microgreens can grow one to three inches tall within a span of two to three weeks. There are a wide variety of microgreens to choose from, including salad greens and herbs. A simple indoor gardening option for beginners, microgreens work well as garnishes for main courses as well as flavorful additions to stir-fries, salad mixes, soups, and smoothies. Microgreens are highly nutritious vegetables that can offer more health benefits than mature plants.
Which Seeds Work Best for Growing Microgreens?
Commercial microgreen seeds often include preservative chemicals. Look for organic seeds that grow vegetables with more nutritional value than commercial microgreen seeds. Some popular types of microgreens include amaranth, radish, kohlrabi, red cabbage, arugula, wheatgrass, and buckwheat. Although they can take slightly longer to grow, herbs like cilantro, chia, fennel, and fenugreek are also good options for your microgreen home garden.
How to Grow Microgreens
Learn how to grow your own microgreens by following these simple steps.
- 1. Collect the necessary materials. Buy organic seeds, soil, shallow containers with drainage holes, and a grow light if your living space lacks access to a sunny windowsill.
- 2. Soak your microgreen seeds. Depending on the type of seeds you chose for your microgreen garden, you may need to soak your seeds in water overnight.
- 3. Plant your seeds. Fill your growing trays with one to two inches of growing medium—preferably a potting soil with a mixture of coconut coir, peat moss, and perlite. Spread your microgreen seeds across your potting mix. Press the seeds gently into the potting mix before scattering a thin layer of soil on top of them.
- 4. Water your seeds. Keep your potting soil moist with a spray bottle or watering can during the germination process. Cover the growing trays with plastic wrap or another shallow tray until you have sprouting seeds.
- 5. Place your microgreens in a bright location. Once the germination process is complete—typically within two to three days—remove the covering and place the growing trays near a sunny windowsill, ideally a south-facing window. If you don’t have access to a window with bright light, place a grow light above your growing trays.
- 6. Harvest your microgreens. After two to three weeks, your microgreens will be ready for harvesting. With a pair of scissors, harvesting microgreens is easy. Simply snip right above the soil line and collect your microgreens. Fresh microgreens can typically last for around one week when kept in a plastic bag between damp paper towels in your refrigerator.
Learn More
Grow your own garden with Ron Finley, the self-described "Gangster Gardener." Get the MasterClass Annual Membership and learn how to cultivate fresh herbs and vegetables, keep your house plants alive, and use compost to make your community—and the world—a better place.
