How to Grow Hops at Home: 4-Step Planting Guide
Written by MasterClass
Last updated: Jun 7, 2021 • 3 min read
For homebrewers with an adequate amount of space, growing your own hops can be an incredibly rewarding part of the homebrewing experience.

Learn From the Best
What Are Hops?
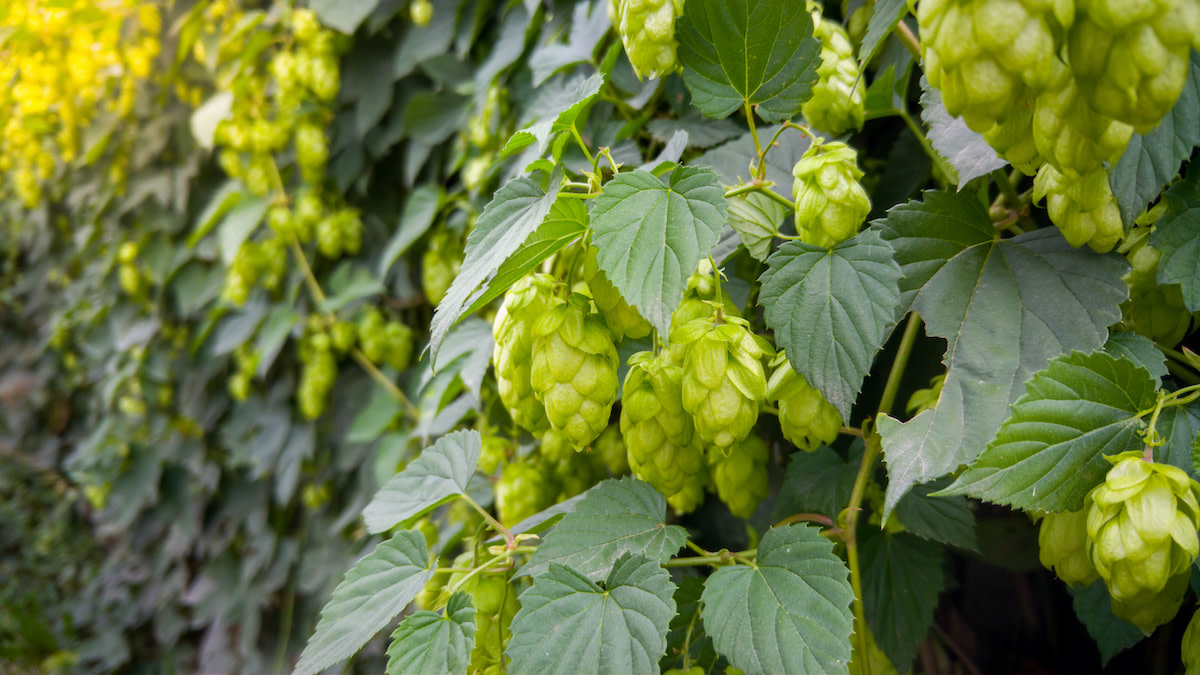
Soft, green hop cones are the flowers of the hop plant (Humulus lupulus), a perennial plant cultivated as far back as the ninth century. The alpha acids present in hops are the primary bittering agent in beer; a compound in the cones called lupulin informs the aromatics and flavor notes in the finished brew, such as pine, citrus, or banana. The oil extracted from lupulin glands also suppresses bacterial growth, allowing yeast to flourish.
There are hundreds of hop varieties favored by today’s homebrewers, but fresh, piney, Cascade, Chinook, and Willamette are still among the most popularly grown varieties in the United States.
How to Plant Hops
Hop plants thrive in USDA hardiness zones 3 and above. The growing season for hop plants runs from early spring into late summer, when the mature cones are removed from their stems—known as bines—and dried for use. (Home growers can do this with a food dehydrator, or by placing the hop plants on a windowscreen in full sun.)
- 1. Pick the site. Hops require direct sunlight, loamy soil, and lots of water. Select a spot in your garden with good drainage, full sun, and loamy soil.
- 2. Prepare the site. Hops are considered heavy feeders, particularly when it comes to nitrogen. Depending on the contents of your soil, you may need to amend it with a nitrogen-rich fertilizer or organic matter like compost or manure before planting, and again in late spring to give the plants a boost.
- 3. Establish a trellis. Hop vines are vigorous climbers, so they’ll need a support system: Traditionally, this is done with lengths of strong twine fastened to a sturdy overhead trellis. New tendrils called hop bines climb these vertical pathways, and flourish into columns which together are called either a hop garden or hop yard. Attach bines to their twine when they’ve reached an inch high.
- 4. Plant. Plant hop rhizomes (woody bits of rootstock) in early spring. Place in holes 4–5 inches deep, with any buds angled toward the surface of the soil. Water deeply to establish the plant, and top with loose soil.
How to Care for Hops
In the first year, your hop plant’s growth will be considerably slow as the root system establishes itself, but you may still be able to harvest some cones. Expect increasing harvests in consecutive years, with full production around year three.
- Water. Hops require consistent watering to thrive. To ensure an even flow of water and lower the chances of damaging dry spells, consider using a drip irrigation system, or a soaker hose, to deliver at least an inch and a half of water per week to your hop plant.
- Mulch. Early in the season, mulch can serve as protection against an unexpected last frost. During warmer months, mulching can help regulate soil temperature and aid in moisture retention.
- Control pests and disease. Hops can be a target for aphids and spider mites, and these pests can be a challenge to control. Depending on the scale of the infestation, a misting of insecticidal soap may be necessary, but typically a strong blast of water can ward off pests while the plants are young. Ensuring good air circulation between rows can help to prevent fungal diseases like powdery mildew and downy mildew. Watering earlier in the day gives the leaves time to dry off before mildew forms.
Learn More
Grow your own food with Ron Finley, the self-described "Gangster Gardener." Get the MasterClass Annual Membership and learn how to cultivate fresh herbs and vegetables, keep your house plants alive, and use compost to make your community - and the world - a better place.