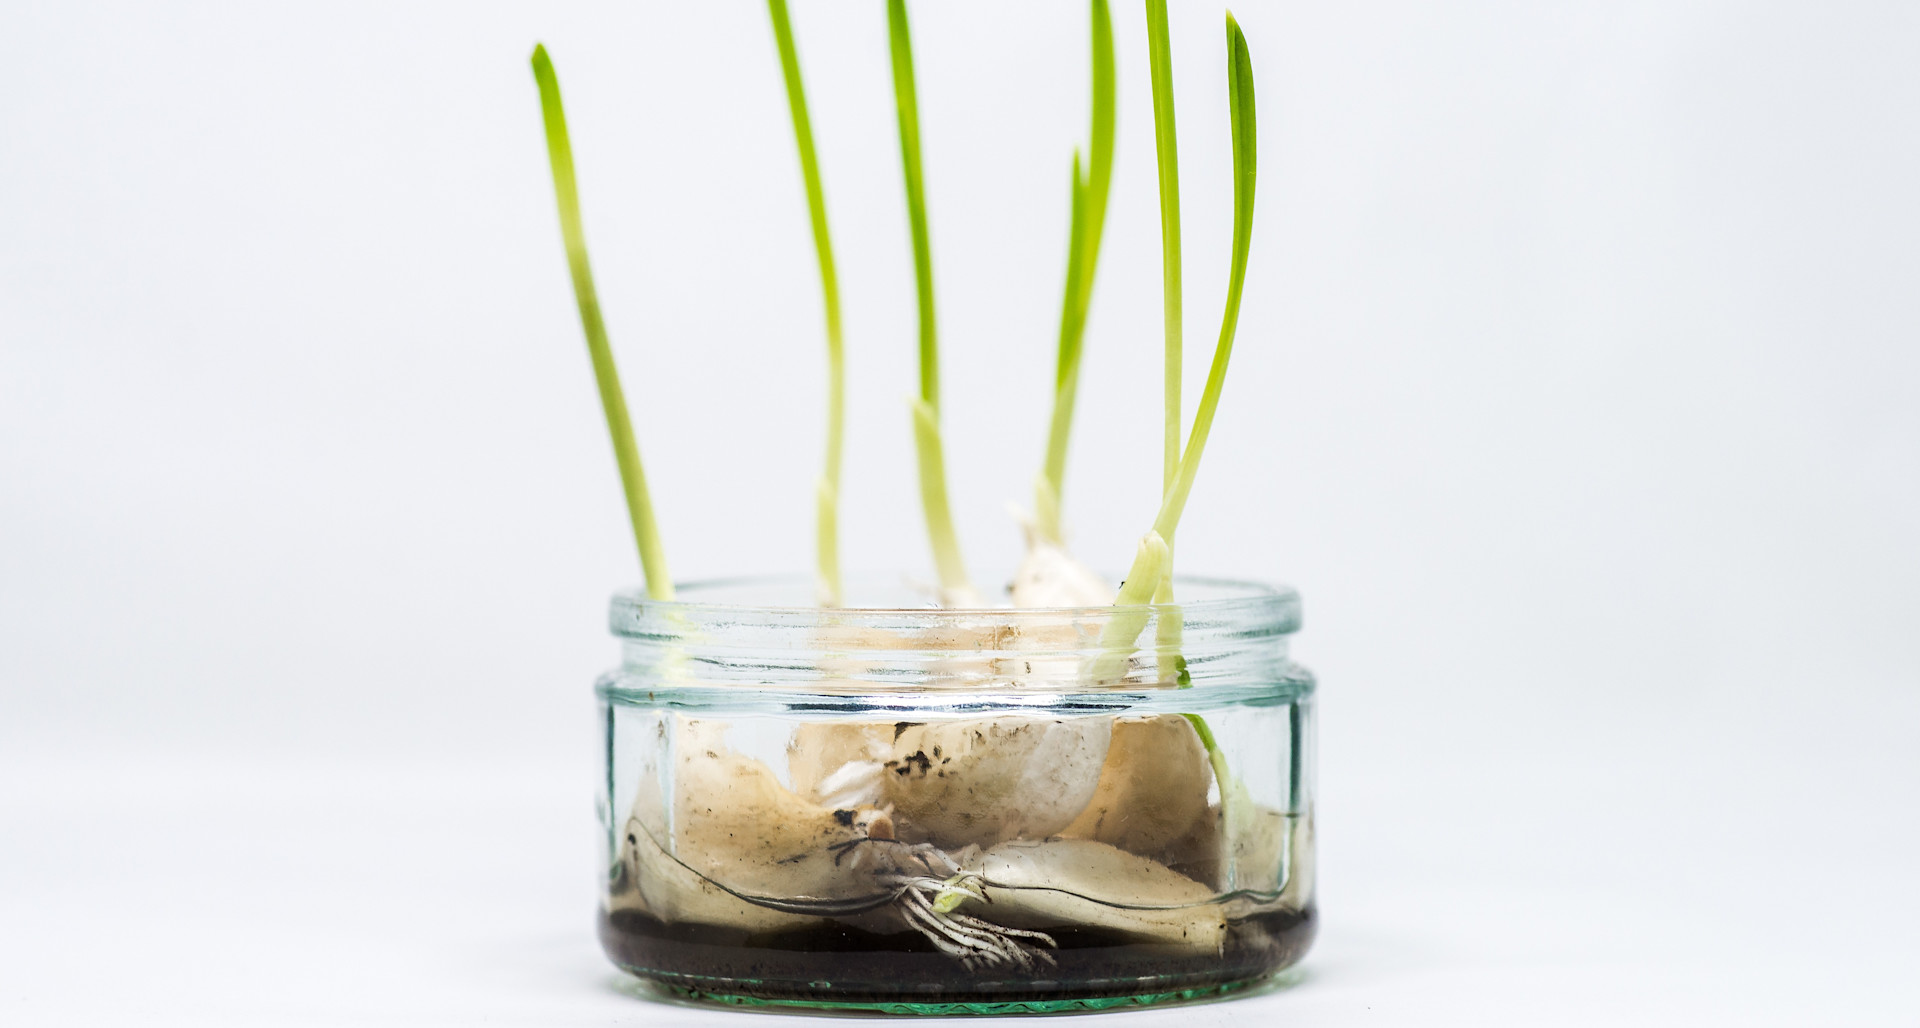
How to Grow Garlic Greens in Water
Written by MasterClass
Last updated: Jun 7, 2021 • 3 min read
It’s surprisingly easy to plan garlic indoors without even using potting soil. The method for doing this involves a glass container and a little bit of water, and it’s the perfect way to grow garlic greens year-round. What are garlic greens, exactly? Also known as baby garlic or garlic sprigs, garlic greens are the shoots that emerge from a garlic clove before the bulb forms. They're a less-mature version of garlic scapes, they taste similar to garlic chives, and they bear a close resemblance to scallions or green onions.
Learn From the Best
3 Common Varieties of Garlic
There are three main garlic varieties you can choose to grow at home. Softneck garlic is your best choice for growing garlic greens, while hardneck varieties are best for growing garlic scapes.
- 1. Softneck: Softneck varieties like Silverskin are ideal for storage (the soft stems that give them their name are easy to braid together when curing). Common softneck varieties are Korean Red, Duganski, German Red and Spanish Roja.
- 2. Hardneck: Hardneck garlic can be identified by its single ring of cloves and its milder flavor profile, while softneck garlic most likely includes the garlic bulbs at the grocery store, featuring multiple layers of cloves, and has a stronger, more traditionally “garlicky” taste.
- 3. Elephant: Great-headed garlic, also known as elephant garlic, is not typically one of the recommended varieties for gardeners. Elephant garlic tastes closer to other alliums like leeks, without much of a punchy garlic flavor.
How to Grow Garlic in Water
Growing garlic in water indoors is much easier than planting garlic plants outdoors. You don't have to worry about soil type, weather conditions, mulch, weeds, or pests—all you need is a garlic clove, a glass of water, and some sunlight.
- 1. Sprout a garlic clove. Purchase a garlic bulb from your local farmers’ market or grocery store and remove one or more individual cloves (make sure to keep the cloves inside their papery white skin). Sprouting garlic is a simple process: Just wrap your cloves in a damp paper towel and place them in a warm location. After about two days, your cloves should begin to sprout.
- 2. Place the sprouted clove in a clear container. You want the pointy sprouted end facing upward. A shot glass is the perfect size for an individual clove. For multiple cloves, a drinking glass or jar works well.
- 3. Fill a container with water. The water level should cover a little less than half of the garlic sprout. Room temperature water is ideal.
- 4. Place the container on a sunny windowsill. Ensure that the location you choose gets eight to 12 hours of sunlight per day. If the tops of your sprouting garlic cloves start to wilt, they may be receiving too much light, and you should remove your container from the windowsill for one to two days.
- 5. Replenish the water periodically. If the water turns a cloudy shade of brown, pour out the dirty water and replenish it with the same amount of clean water.
- 6. Harvest garlic greens after a week. Throughout the week you should notice green shoots growing upward and roots growing from the base of the clove. You'll know your garlic greens are ready to harvest once the shoots are between four and seven inches tall. When harvesting garlic greens, snip off the top third of the shoot; garlic greens are more bitter near their base. Make sure to only harvest what you're ready to eat; fresh garlic is more flavorful than garlic greens stored in the refrigerator.
- 7. Chop your garlic greens and add to your favorite dish. Garlic greens make a great seasoning for many soups, sauces, stews, pasta, and stir-fries, and they are also a great alternative to chives on a baked potato.
Learn More
Grow your own food with Ron Finley, the self-described "Gangster Gardener." Get the MasterClass Annual Membership and learn how to cultivate fresh herbs and vegetables, keep your house plants alive, and use compost to make your community - and the world - a better place.
