How to Grow Black Beans in 9 Steps
Written by MasterClass
Last updated: Jun 7, 2021 • 3 min read
Growing black beans at home is a simple process that can yield a full crop within about three months.
Learn From the Best
What Are Black Beans?
The common black bean—also referred to as a turtle bean because of its hard shell—is a versatile legume that is grown from the common bean plant known as Phaseolus vulgaris. They can be grown at home in either pole or bush varieties. Black beans grow best with warm temperatures so their growing season is during the warm summer months. Black beans take between 90 and 140 days to yield a harvest.
Black beans are a staple food of Mexican and Creole cuisine. Black beans have a variety of uses in dips (like black bean hummus), spreads, salads, and soups much like other beans such as garbanzo beans, pinto beans, or kidney beans.
When to Grow Black Beans
Black beans thrive best in warm climates. You’ll want to wait to plant them until the last frost has passed—usually around late spring—and the soil temperature has reached at least 60 to 70 degrees Fahrenheit. Your plants should see about four to five months of consistent, warm weather for successful germination and growth. Due to their shallow roots, black beans don’t do well when transplanted, so use black plastic mulch to warm up your soil if you have a shorter growing season.
When to Harvest Black Beans
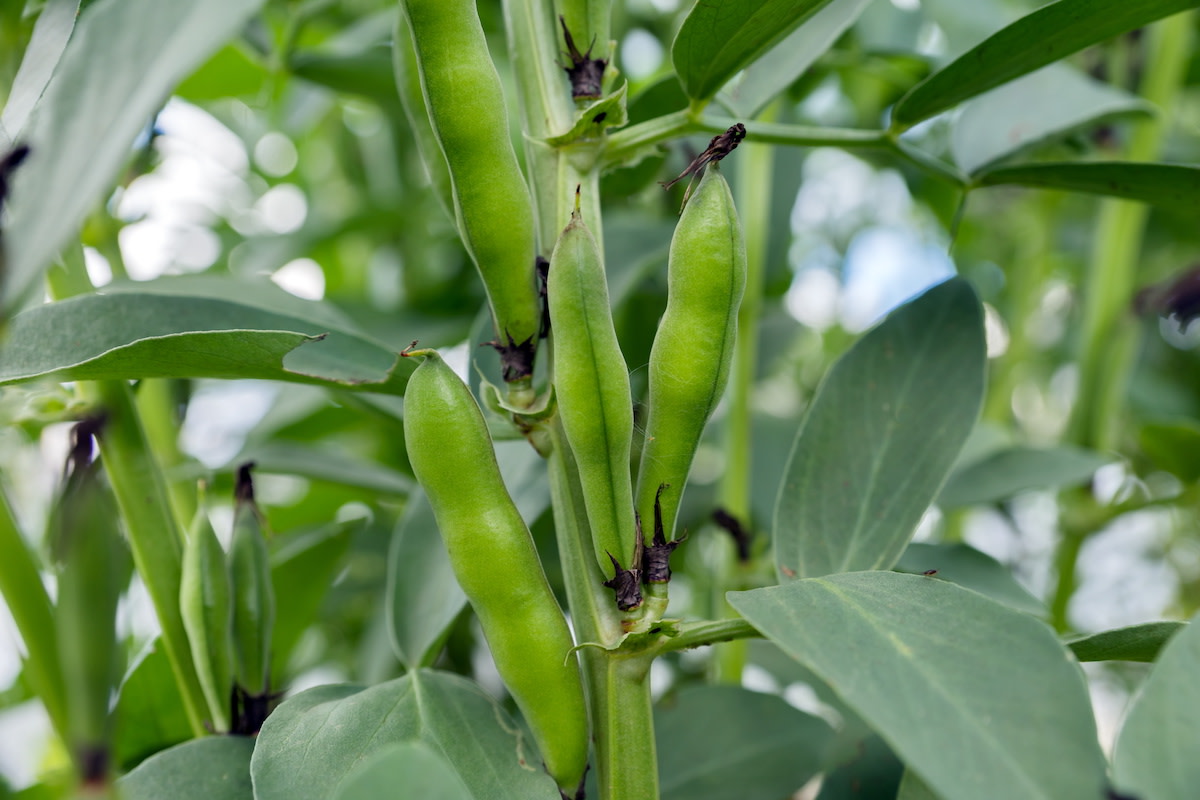
Your black beans are ready to harvest once the bean pods on your bush or poles have turned yellow and dry, typically anywhere from 90 to 140 days after planting, depending on the variety. Use a scissor to snip away the ripened pods from the plant to harvest your beans. For bush beans, you can harvest the pods all at once, but pole beans will continue to yield throughout the season so make sure you check your plant and harvest regularly.
How to Grow Black Beans
For growing black beans in your own home garden, follow the steps below.
- 1. Purchase dried black beans. Black beans are planted from dried black beans, rather than black bean seeds. To plant a black bean push or pole, purchase a bag of dried black beans.
- 2. Decide whether you want to plant pole beans or bush beans. Before you start planting, you’ll want to decide whether you want to plant your beans in a bush or on a pole. For a greater and more continuous yield, you can plant pole beans using a trellis for support. If you want to harvest your beans all at once, you can plant bush beans.
- 3. Prepare your soil. Black beans don’t need a lot of fertilizing because they produce their own nitrogen. However, they require a soil pH of 6.0 to 6.5 to grow successfully, so test your soil to make sure that the levels are correct. Make sure that you have loose, well-draining soil so that water doesn’t pool. You can also use a legume inoculant —a bacteria used to feed the soil and kickstart nitrogen production—when planting to boost the beans’ growth. Do not plant your black beans in the same spot where other legumes have grown within the last few years.
- 4. Pick a sunny location to plant. Black beans need at least six hours of full sun a day to grow successfully. Choose a spot in your garden that gets plenty of sunlight, and is unobstructed by other plants or other shade sources.
- 5. Soak your beans. Dried beans can germinate more easily once they’ve been soaked. Soak your beans in cool, clean water overnight before you intend to plant them.
- 6. Plant your bean seeds. Dig holes about one inch deep and six inches apart for bush beans. Pole beans can be a little closer—about four to six inches apart— though multiple trellises should be two to three feet apart. When you plant the beans, sure the eyes of the bean are facing downward.
- 7. Water your seeds. Lightly water your bean seeds after planting. Avoid overwatering your beans, but keep the soil moist as they germinate. Once your seeds have sprouted, water when the soil is mostly dry.
- 8. Mulch your soil. Mulching your soil can help it maintain moisture, keep it warm, and prevent weed growth. Start mulching your plants after they have sprouted a few leaves, and keep the mulch away from the stems to promote aeration.
- 9. Protect and support your beans. Check the soil around your bean plants in your garden frequently for pests like aphids, and rinse them off using a hose, or introduce beneficial pests like ladybugs into your crop.
Learn More
Grow your own garden with Ron Finley, the self-described "Gangster Gardener." Get the MasterClass Annual Membership and learn how to cultivate fresh herbs and vegetables, keep your house plants alive, and use compost to make your community—and the world—a better place.
