How to Grow and Harvest Potatoes at Home
Written by MasterClass
Last updated: Jun 7, 2021 • 4 min read
Home gardeners often grow vegetables like tomatoes, peas, and peppers—but have you ever tried homegrown potatoes? Potatoes (Solanum tuberosum) are starchy root vegetables that are staples in American cuisine. A sizable potato crop is a great addition to your vegetable garden because potatoes keep in the pantry much longer than tender veggies.
Learn From the Best
When to Plant Potatoes
Potatoes grow best in relatively cool soil, ideally between 45 degrees and 75 degrees Fahrenheit. This means that the potato growing season will vary depending on your climate:
- In cool-weather climates: If your area has cold winters and mild summers, plant potatoes just after the last frost date. In the northern United States, this usually means potato planting time is in early spring, mid- to late-April.
- In warm-weather climates: If your area has very hot summers and mild winters, plant potatoes in late summer just as the weather is starting to cool. In the southern United States, this usually means in September.
How Long Does it Take to Grow Potatoes?
The time it takes for the plants to reach maturity depends on the variety of potato you’d like to plant. Early-season varieties (like Yukon gold) take 75 to 90 days to produce, midseason varieties (like russet) take 90 to 135 days, and late-season varieties (like French fingerling) take anywhere from 135 to 160 days. You’ll need to select the right potato variety for your climate—for instance, if you have fewer days in your area where the soil temperature is within 45 and 75 degrees, consider an early-season variety.
How to Grow Potatoes
Planting potatoes is an easy and unique process compared to growing other vegetables.
- 1. Buy seed potatoes. While many garden vegetables are grown from seeds, potatoes are grown vegetatively, meaning that new sprouts will grow off of the produce itself. To grow potatoes, you’ll need seed potatoes, or potatoes covered in “eyes”—puckered spots that will readily sprout full-grown plants. Avoid grocery-store produce for your seed potatoes, if possible; they’re often treated with inhibitors to prevent sprouting.
- 2. Start your seed potatoes. Two or three weeks before you want to plant, place your seed potatoes in a cool, sunny spot to encourage hardy sprouting.
- 3. Cut your seed potatoes. A day or two before planting, cut each seed potato into a few pieces. Each piece should have at least two sprouts. Do not plant these right away—the pieces need a few days to “heal,” otherwise they’ll rot in the ground.
- 4. Choose and prepare your potato bed. Choose a sunny spot (at least six hours of full sun per day) in a raised bed with well-drained, slightly acidic soil (with a pH of 4.8–5.2), preferably filled with organic matter. Dig shallow trenches (four to six inches deep) that are long enough to plant each potato piece about eight inches apart.
- 5. Plant your seed pieces. Plant seed potatoes in the trench with the sprouts facing up (cut side down). Cover loosely with soil; potatoes grow best in loose soil, so don’t pack it down over them.
- 6. Maintain moisture. Potato plants should get one to two inches of water per week. Water the bed evenly to avoid the potatoes cracking or becoming knobby.
- 7. Periodically “hill” your potatoes. As your potato plants grow, leafy plants will sprout from the soil, while the tubers grow on separate stems under the ground. The tubers need to stay buried under the soil during their growth; if they’re exposed to too much sun, they’ll turn green and hard and be inedible. To ensure the tubers stay buried, follow a process called “hilling”—simply pile up a few inches of soil or mulch around the base of each plant, covering all but the top few rows of leaves. You should hill your potatoes three or four times during the season.
- 8. Keep your potatoes pest- and disease-free. Potatoes are common targets for Colorado potato beetles, flea beetles, leafhoppers, and aphids—handpick these pests off of your plants or spray them off with a blast of water. To avoid potato diseases like scab or blight, nourish your plants with compost tea, make sure your soil pH is not above 5.2, and maintain healthy crop-rotation practices.
How to Harvest Potatoes
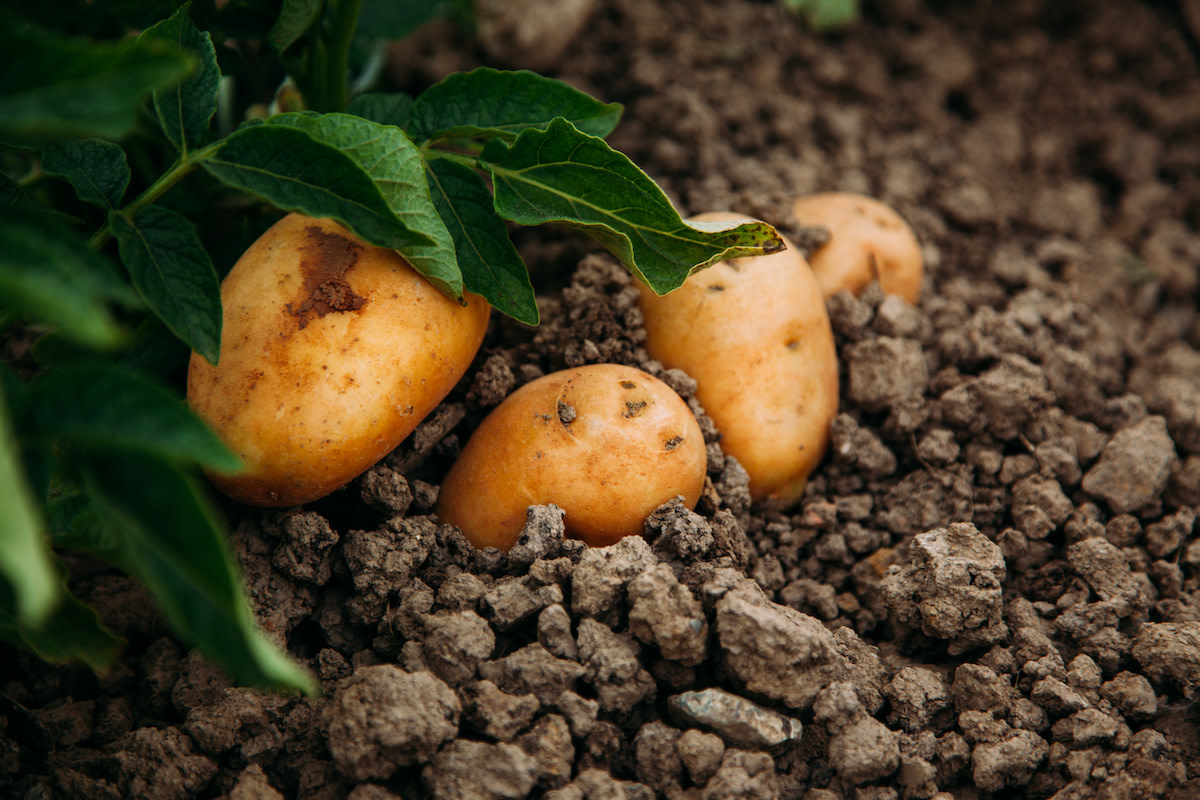
When you see the leafy plants beginning to die back, don’t be alarmed—that means it’s close to harvest time. Mature potatoes are ready two to three weeks after the plants start dying back (any tubers harvested before that are called “new potatoes,” and are more delicate and should be eaten right away). Once the top of the foliage has died completely, you can begin harvesting potatoes:
- 1. Gently dig up your potatoes. Using your fingers or a spading fork, lift the potatoes gently out of the dirt. The soil should be loose, so you shouldn’t need to dig aggressively. Do not leave the potatoes sitting in the sun; they will turn green and inedible. If you harvest any green potatoes, throw them out.
- 2. Allow the potatoes to air-dry. If your soil was particularly moist, allow the potatoes to air-dry (outside of direct sunlight).
- 3. Cure the potatoes. To prepare potatoes for storage, allow them to sit in a cool, dry, dark place for two weeks. This will harden the skins and help them last.
- 4. Store the potatoes. Store potatoes in a cool, dark place—if you don’t have a root cellar, the bottom shelf of your pantry will do. They can keep for up to six months.
Learn More
Grow your own food with Ron Finley, the self-described "Gangster Gardener." Get the MasterClass Annual Membership and learn how to cultivate fresh herbs and vegetables, keep your house plants alive, and use compost to make your community - and the world - a better place.
