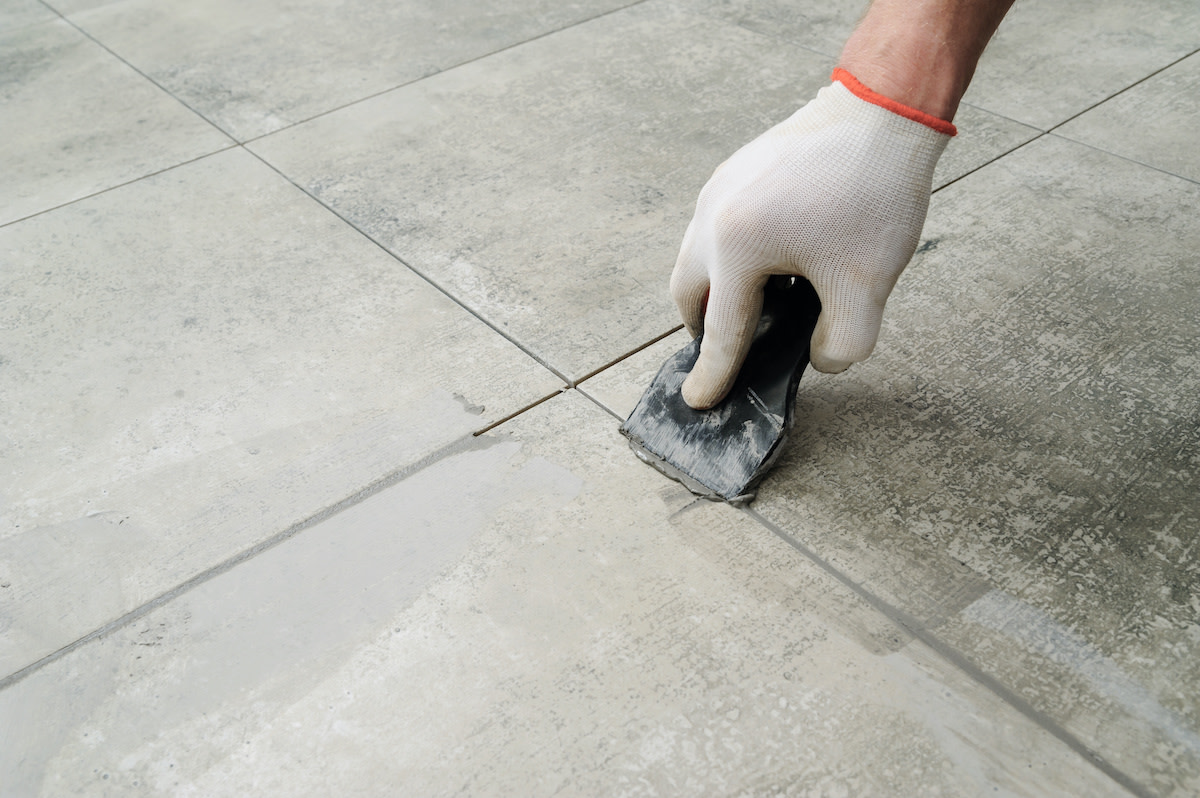
How to Grout Tile in 6 Steps
Written by MasterClass
Last updated: Jul 27, 2021 • 4 min read
Learn about selecting, mixing, and applying grout for home tiling projects.
Learn From the Best
What Is Grout?
Grout is a mortar or paste for filling the gaps between tiles or other surfaces. While grouting is an ancient technique, modern grout materials are varied and technologically advanced, allowing for many options in terms of texture, durability, and color. Grout is the substance that fills the spaces between individual ceramic tiles, known as grout lines, found in bathrooms and kitchens.
4 Types of Grout
Grout can be sanded or unsanded and can have color or an epoxy seal. Choosing the right kind for your project depends on the amount of space between the tiles. Consider these four types of grout:
- 1. Sanded grout: Sanded grout is stronger than unsanded and adds durability and thickness to tiles with gaps wider than an eighth of an inch. You can use sanded grout with floor tiles or bathroom tiles.
- 2. Unsanded grout: Tiles with a gap smaller than an eighth of an inch use unsanded grout. It is less thick than sanded grout, making it easier to apply, but it’s less durable over time. You can use unsanded grout on countertops if the grout lines are small enough.
- 3. Colored grout: Modern grout comes in various colors, from bright white to charcoal black. Darker colors will be easier to keep clean, as stains will be less visible, and they also tend to accentuate lighter tile colors. Lighter grout can blend with light tiles or provide an eye-catching contrast to darker-colored tile.
- 4. Epoxy grout: Epoxy grout is a pre-sealed grout that requires additional sealant after application. Epoxy is a fast-drying resin that forms a waterproof barrier, protecting this type of grout from mildew and making it more stain-resistant.
How to Mix Grout
Grout comes in a dry form and must be mixed with water to form the smooth, spreadable medium to fill in the gaps between tiles. Different types and brands will have varying instructions on mixing the grout, including how much water to use. Follow these general steps to mix grout:
- 1. Prepare a bucket. Have a bucket large enough to contain the dry grout and the volume of water that you will use. Keep in mind that you should only prepare as much grout as you think you can apply in about a half-hour period. After thirty minutes, it will start to dry, making it hard to work with and compromising the final product.
- 2. Add the grout and mix in the water. Put the dry grout into your container first, and then add the water. It can be helpful to use about a quarter less water than is recommended by the label, since this can be easier to mix initially and will give you extra control over your final product. You are looking for wet grout that has the consistency of peanut butter.
- 3. Use a grout float to mix up the grout. A grout float is a flat, rectangular trowel with a handle that can be useful for mixing, spreading, and cleaning up your grout.
How to Grout Tile
Grouting tile involves some knowledge of the material and a bit of technique. With the right preparation and setup, it can be a straightforward task. Follow these steps to grout tile:
- 1. Prepare the surface area for the grout. Are you grouting tile in a new space, or are you replacing old, damaged, or stained grout? If you have old grout, remove it before applying new grout. Use a grout saw or a powered rotary tool, and a putty knife to clean out any remaining residue. Ensure that these spaces, called the grout joints, are as clean as possible for the application of the new grout.
- 2. Start in the corner of your project space. Scoop some grout onto a small area of your tiling. It’s useful to start in a corner of your project space and work outward from that point.
- 3. Spread the grout. Once the grout is on the surface, use your grout float to spread it through the length of the gap. Keep your grout float at a 45-degree angle to allow the grout to spread easily without becoming uneven and to prevent the edge of the float from digging into the soft grout.
- 4. Work diagonally across the gaps. Move in a steady, fluid motion to prevent gouging or digging and to help ensure an even application.
- 5. Clean up the project area. Once you have all the gaps filled with grout, it’s clean-up time. You can use your grout float to wipe away any extraneous grout on the surface of your tile.
- 6. Go over the space with a damp sponge. After your grout has mostly dried, prepare two buckets of water. Using a circular motion, sponge away the excess grout on the surface of your tiles. Wring your sponge in one bucket and leave the other for clean water to rehydrate the sponge. You can do a second round of this sponging process about three hours after the initial one is complete to ensure that your tiles are clean and free of grout haze.
- 7. Seal the grout. Once your grout is completely dry, seal it. Grout sealer ensures that your grout will not absorb or retain moisture. Grout sealer comes in brush, roller, or spray-on applications.
Learn More
Get the MasterClass Annual Membership for exclusive access to video lessons taught by the world’s best, including Kelly Wearstler, Ron Finley, Bobbi Brown, RuPaul, and more.
