How to Germinate Seeds: 6 Steps for Beginning Seeds Indoors
Written by MasterClass
Last updated: Oct 29, 2021 • 3 min read
You can germinate vegetable or flower seeds indoors in early spring using a few basic tools. This gives plants more time to mature before you transplant them outdoors, which can be critical to their survival in colder climates.
Learn From the Best
What Is Seed Germination?
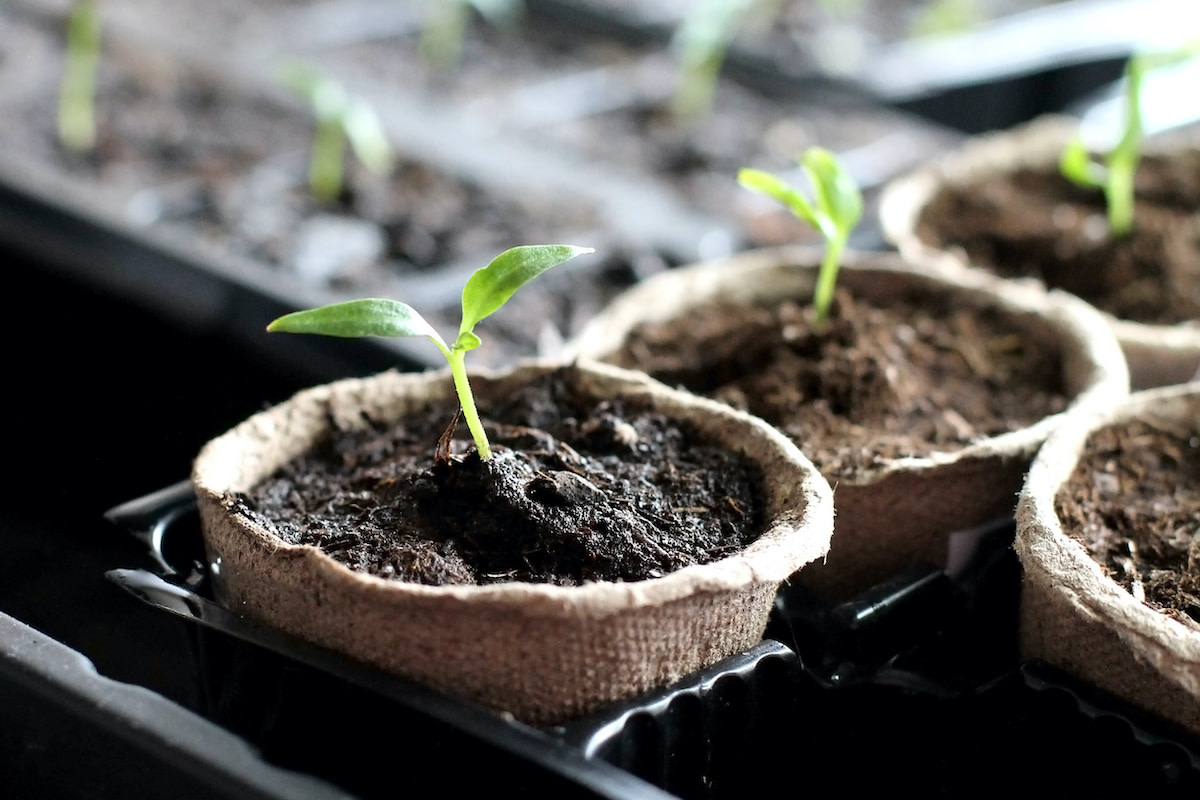
Seed germination (or seed starting) is the process of growing plants directly from seeds instead of buying ready-grown plants. Sprouting seeds indoors is an effective way to increase the germination rate versus germinating seeds outdoors directly in the soil. Additionally, indoor seed starting is a common method among those who have backyard vegetable gardens, especially those who live in colder, northern climates, where young seedlings might struggle to survive under chilly conditions.
What Types of Seeds Will Germinate Indoors?
You can germinate most seeds indoors if you follow the seed starting guidelines. The benefit of germinating seeds indoors, especially if you live in a cold climate, is that you will lengthen the plant’s growing season. This gives slow-growing vegetables like watermelon, tomatoes, sweet melons, or pumpkins time to mature before the first autumn frost.
You can also germinate quick-growing vegetables indoors. Start seeds for vegetables like assorted lettuce, Swiss chard, or radishes four to six weeks before the typical date of the last frost in your area to give them a head start on the growing season.
6 Steps to Germinating Seeds Indoors
To start seeds indoors, opt for new seeds—those older than two years might not germinate—and read the seed packet thoroughly to give yourself the greatest chance for success. Some vegetable or flower seeds might require precise temperatures, while others might require you to start them early in the season if they have a long germination period. Once you have an overview of your germination instructions, consider following these general steps:
- 1. Prepare the seed-starting soil mix. You can use commercially available seed starter kits, also known as seedling cups or peat pots. Alternatively, you can fill paper egg cartons with a growing medium or seed-starting mix. Whatever container you use should ideally have drainage holes.
- 2. Place the seeds in soil or a wet paper towel. Follow the seed packet instructions on how deep to plant the seeds. Typically, the rule of thumb is to sow seeds at a depth two times the width of a seed. For small vegetable seeds, like tomato seeds, that's about one-eighth inch to one-fourth inch into the soil. You can lightly press small seeds below the soil surface as opposed to digging small holes. You should plant larger seeds, like sunflower seeds, deeper below the soil surface. For a soilless and potentially faster germination, you can place the seeds on top of a damp paper towel, and cover them with a plastic bag. This germination method will likely produce tiny sprouts in less than a week.
- 3. Cover the seedlings with a plastic bag or lid. To create a miniature DIY greenhouse, loosely cover the seedlings—whether they are in soil or a paper towel—with a plastic bag, plastic wrap, or a clear plastic lid. Commercially available seed starter kits often include a lid that fits over the seedling tray.
- 4. Place the seeds in a warm location. Check the seed packets to understand the ideal soil temperature for each plant. Then place the seed tray in front of a windowsill that receives partial sun, or place the seed kits on a heating mat to maintain an even temperature and light. South-facing windows generally work well. Avoid hot, direct sunlight, as this might kill the seedlings. You will generally see the greatest success if you grow seedlings at a room temperature of sixty to seventy degrees Fahrenheit. In northern climates, you can consider using fluorescent lights, or grow lights, to encourage healthy seedlings.
- 5. Keep the potting mix moist. Seeds need heat and consistent moisture to germinate. Use a spray bottle to keep the soil evenly moist. Avoid overwatering or soaking the seeds.
- 6. Thin seedlings to encourage larger plants. Once the seeds sprout and you see small roots emerge from the damp paper towel, you can transplant the sprouts into seedling kits or potting cups. On the other hand, if you started your seeds in soil, you can focus on thinning the seedlings in each cup or peat pot after you see sprouts emerge. Use a pair of tweezers to remove all but one or two sprouts. Keep the sprouts that look the largest and healthiest and remove the others. Continue to keep their soil moist but provide good air circulation.
Learn More
Grow your own garden with Ron Finley, the self-described "Gangster Gardener." Get the MasterClass Annual Membership and learn how to cultivate fresh herbs and vegetables, keep your house plants alive, and use compost to make your community—and the world—a better place.
