How to Dry Makeup Brushes In 5 Steps
Written by MasterClass
Last updated: Mar 15, 2022 • 3 min read
Cleaning your makeup tools—like sponges and brushes—is essential to keep them long-lasting and sanitary, and dry brushes apply beauty products more effectively. Learn how to dry makeup brushes with this step-by-step guide.
Learn From the Best
What Are Makeup Brushes?
Makeup brushes are tools for applying various kinds of beauty products, including foundation, concealer, blush, eye shadow, and eyeliner. They come in many shapes and sizes for different makeup looks—large and wide brushes are better for face products like foundation and blush, while small or tapered brushes are better for detail-oriented products like shadow and liner. Makeup brushes utilize either animal hair or synthetic fibers.
How Often Should You Clean Makeup Brushes?
It’s necessary to clean your makeup brushes regularly since dirty makeup brushes are full of dead skin cells and can be a breeding ground for bacteria. How often you’ll need to clean your brushes depends on how much you use them—that can be anywhere from once a week to once a month. If you’re experiencing breakouts or other skin issues, clean your brushes more frequently. For brushes you rarely use, once a month is adequate. You’ll know it’s time for a good brush cleaning when you notice buildup of beauty products between the brush head and the base of the brush.
To clean your makeup brushes, swirl them against your palm with lukewarm water and a gentle soap or a DIY makeup brush cleaner until there is no more lather from the brush cleanser and the water runs clear.
How Long Does It Take for Makeup Brushes to Dry?
The air-drying process for makeup brushes can take two to twelve hours (or more), depending on the size and density of the brush. Thin, fan-shaped brushes may take two to three hours, while dense kabuki brushes may take twelve hours or more of drying time.
Avoid using a blow dryer as a hack to dry wet brushes since it can warp the head, melt the glue, and cause brush bristles to fall out faster.
How to Dry Makeup Brushes In 5 Steps
Here’s a step-by-step tutorial to help you dry your makeup brushes:
- 1. Clean your brushes. Clean your brushes by swirling them against your palm with lukewarm water and a gentle cleanser (like baby shampoo or a dedicated brush cleaner) until there is no more lather and the water runs clear.
- 2. Squeeze the water out. Once your brushes are clean, wrap them in a clean towel one at a time and gently squeeze them to remove as much water as possible.
- 3. Reshape them. Water can cause makeup brushes to lose their shape, so after you squeeze out the excess water, use your hand to gently reshape the head of the brush, smoothing down any bristles that are out of place.
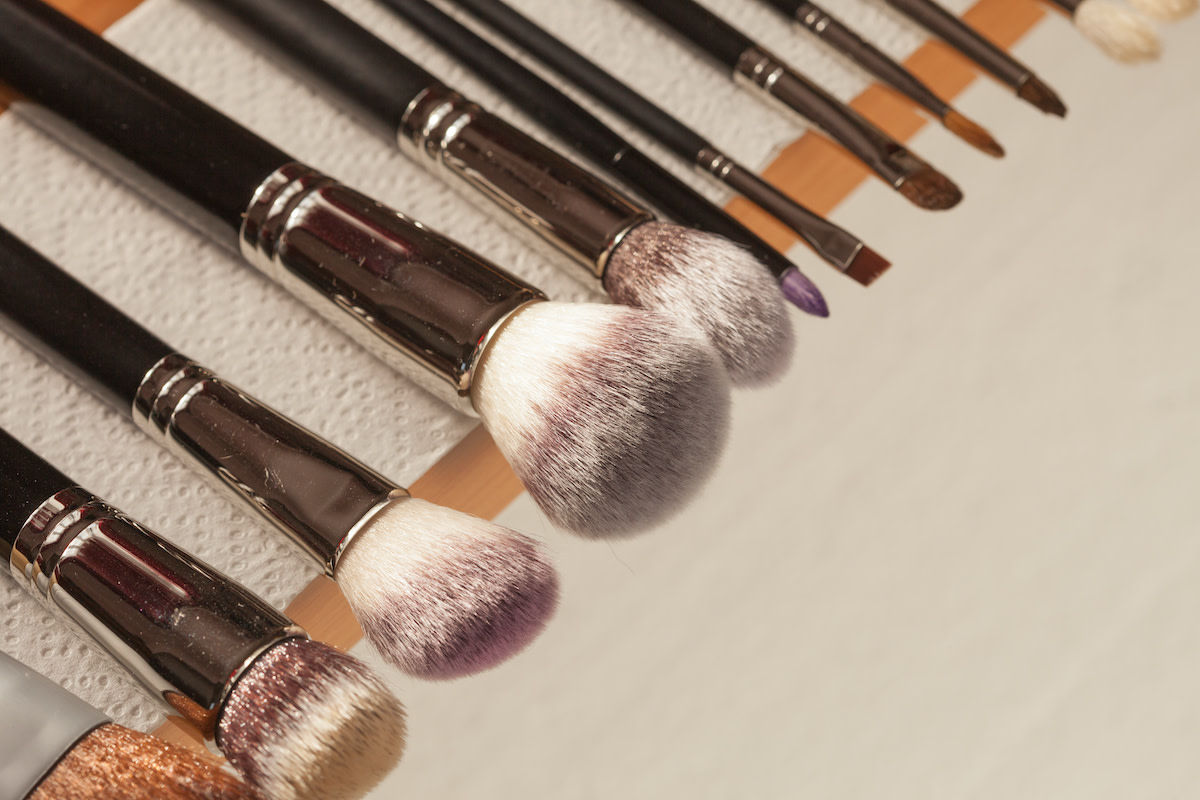
- 4. Lay them flat or place them in a drying rack. Place your clean brushes horizontally on a clean towel or paper towel on your counter or another flat surface. Avoid drying your brushes vertically in a cup with the brush heads facing up since the water will trickle down to the brush base, causing damage to the glue and brush handle. If you have limited counter space, purchase a makeup brush drying rack; this tool lets you dry brushes upside down with the brush hairs facing down, preventing damage while retaining the brush shape.
- 5. Let them air dry. Air-drying is the safest and most effective way to dry your brushes—if you use a hair dryer or other forced-air tool, it can warp them out of shape or cause them to lose their hairs much faster by loosening the glue. For the fastest results, air-dry your brushes near a doorway or window for maximum air circulation or in a room with good air-conditioning. Avoid spots that get direct sunlight since this can bleach and warp your brushes.
Learn More
Get the MasterClass Annual Membership for exclusive access to video lessons taught by the world’s best, including Bobbi Brown, RuPaul, Anna Wintour, Marc Jacobs, Diane von Furstenberg, and more.
