How to Dry Gourds: Guide to Harvesting and Curing Gourds
Written by MasterClass
Last updated: Jun 7, 2021 • 3 min read
Learn how to harvest and dry gourds from your garden to make seasonal decor.
Learn From the Best
What Is a Gourd?
Gourds, also known as squash and pumpkin, are a type of bumpy, sometimes warty, hard-shell fruit grown on a vine. Gourds belong to the Cucurbitaceae family (called cucurbits for short), which also includes watermelon and cucumbers, and some species are edible. Gourds are one of the oldest cultivated plants and served as utilitarian objects such as utensils, water bottles, storage containers, and dippers in prehistoric times and ancient Egypt. Today, gourds feature in soup and pie recipes, and ornamental gourds can be Halloween decor.
Lagenaria vs. Cucurbita Gourds: What’s the Difference?
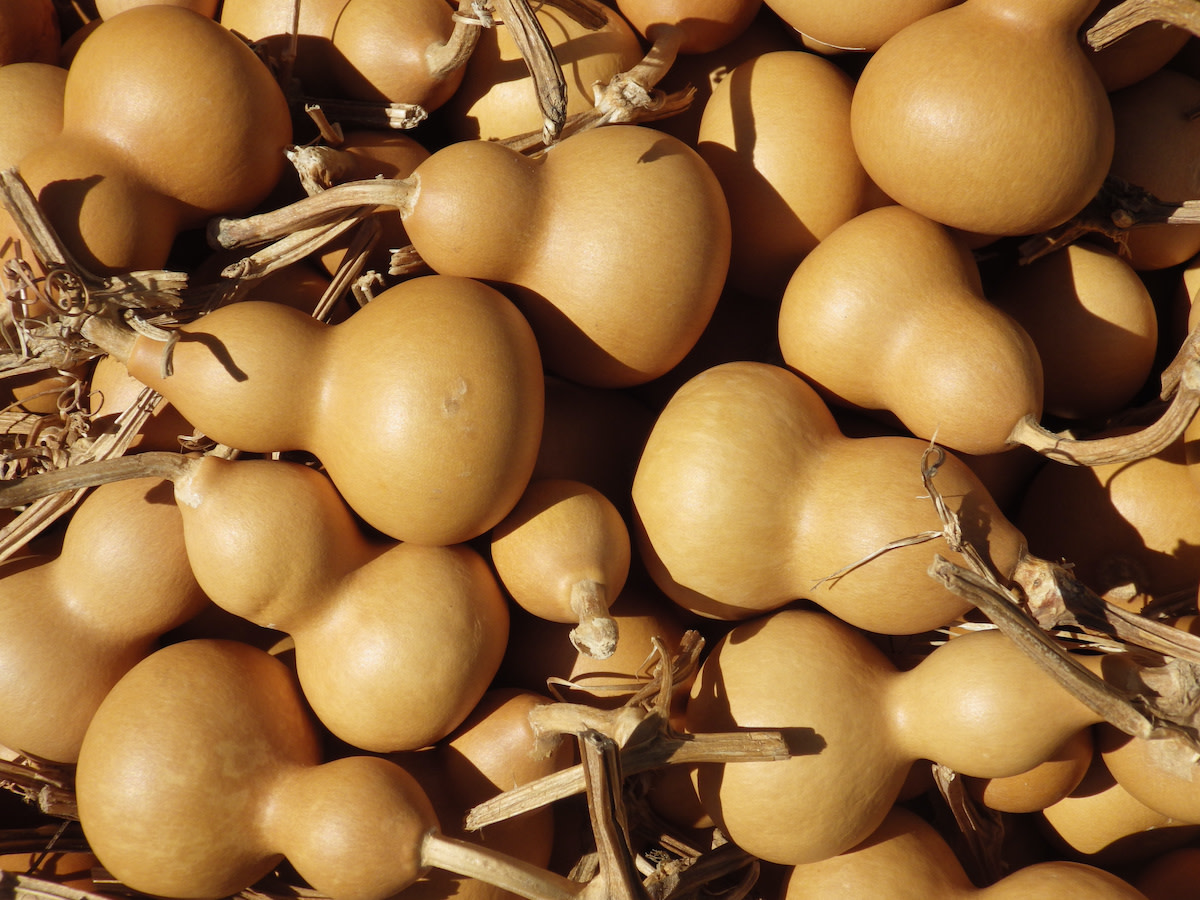
The Cucurbitaceae family contains more than 100 genera and over 700 species of gourds. The most common gourds are in two genera: Lagenaria, known as calabash or bottle gourds, and Cucurbita.
- Lagenaria: These decorative, thin-skinned gourds make great containers or birdhouses. Lagenaria gourds have smooth stems and soft, large leaves and white flowers.
- Cucurbita: These gourds are multi-colored with thick, sometimes ridged shells, prickly leaves and stems, and yellow flowers. Varieties of Cucurbita include edible squashes and pumpkins.
How and When to Harvest Gourds for Drying
A good rule of thumb is to harvest the gourd when the stems and tendrils around the fruit begin to turn brown. Follow these tips for harvesting gourds according to size:
- 1. Harvest small gourds when the fruit has ripened completely. When the fruit has ripened completely, the gourd’s colors are fully present, and the outer skin is hard to cut with a knife.
- 2. Harvest mature gourds before the first frost. You should harvest the mature gourds after the stems have dried out and turned brown and before the first frost. Do not harvest too early, or else the fruit will rot.
- 3. Cut the gourds’ stems. Using a sharp knife or some garden shears, cut each gourd's stem, leaving a few inches of stem intact. The stems allow water to evaporate from the gourd since the skin of the gourd is non-porous.
How to Dry Gourds in 7 Steps
Drying gourds involves drying the inside and outside of a gourd. Different types of gourds have varying dry times: Cucurbita gourds will cure in a few weeks, and Lagenaria gourds will take upwards of six months to fully cure.
- 1. Wash the gourd in warm soapy water. Let the gourd air dry and remove any trace of moisture and bacteria with rubbing alcohol or distilled vinegar.
- 2. Dry the outside of the gourd. Place the gourd in a well-ventilated area so the veneer can dry out. Exposure to moisture may cause the gourd to rot. The drying process will take about a week, and the colors on the rind will change slightly.
- 3. Dry out the inside of the gourd. Next, you need to cure the gourd, or dry its interior, which can take up to six months. Move the gourd to a dark, dry place such as a garage or a basement. Put the gourd in an area that gets plenty of airflow in all directions. You can hang the gourd or place it on a surface, such as a drying rack or pallet. If drying multiple gourds, make sure the gourds do not touch.
- 4. Turn the gourd every few weeks. If you are drying a gourd on a surface, rotate it every couple of weeks so that it dries evenly. If a gourd starts to decay or become soft, discard it.
- 5. Assess the curing process. A fully cured gourd has hard outer skin. The seeds will rattle on the inside when shaken, and the gourd will feel light.
- 6. Clean the cured gourd. Wipe down the gourd with a mix of a bleach solution of one parts bleach to nine parts water to remove any surface mold.
- 7. Paint or decorate the cured gourd. When the drying process is complete, you can paint the gourd and turn it into a decorative fall display, a DIY birdhouse, or even a ladle.
Learn More
Grow your own garden with Ron Finley, the self-described "Gangster Gardener." Get the MasterClass Annual Membership and learn how to cultivate fresh herbs and vegetables, keep your house plants alive, and use compost to make your community—and the world—a better place.
