How to Direct Sow Seeds in Your Garden
Written by MasterClass
Last updated: Jun 7, 2021 • 3 min read
Sowing seeds requires good timing, favorable weather conditions, and careful attention to detail—so much so that many home gardeners end up buying young seedlings or small plants from a garden center rather than sow seeds themselves. With practice, though, seed-starting is an incredibly rewarding endeavor.

Learn From the Best
What Is Direct Sowing?
Direct sowing involves planting seeds directly into your outdoor garden soil. Direct sowing is easiest in mild climates, where late winter and early spring provide above-freezing temperatures and reliable precipitation. If you live in a less forgiving climate, you can still sow both small seeds and larger seeds directly into the ground, but you must carefully time your planting to make the most out of growing season. Most seed packets offer specific guidelines for when to sow seeds in the ground. In many cases, this will be eight to ten weeks before the last frost in your region.
Direct Sowing vs. Transplanting: What’s the Difference?
Whereas direct sowing involves planting seeds directly in the ground, the transplanting method involves starting seeds indoors—often in a seed tray or a small pot on a south-facing window. After a few weeks, young seedlings sprout. By the time you transplant the seedlings into the garden, they should have several sets of true leaves and a fledgling root system.
There are pros and cons to both approaches. When you start seedlings indoors, you have more control over growing conditions, like temperature and moisture. You won’t have to worry about frost, wind, or building an outdoor cold frame. When you direct sow, however, the plants you grow from seed in the garden tend to have heartier root systems than those transplanted from pots. If they successfully reach the sprouting stage, they're more likely to survive the long run.
How to Direct Sow Seeds in Your Garden
If you’re direct sowing seeds into your garden soil, here are several steps to follow for optimal results:
- 1. Enrich the soil. Prior to seeding, work some bagged topsoil or homemade compost into the top six inches of the soil; this will enhance the soil's nutrient content. Nearly all garden centers sell a seed-starting mix with sufficient nutrients for young flower and vegetable seeds. You can also promote the presence of beneficial soil bacteria by layering cardboard and egg cartons on the surface of the soil several weeks before planting.
- 2. Remove weeds. If you have weed seeds in your soil surface, you can coax them to sprout prior to planting your seeds. To do this, cover the ground with clear plastic sheeting to increase soil temperatures and promote seed germination; plastic wrap or a clear plastic bag will do in a pinch. As weed seeds germinate and sprout, remove them from the ground, making sure to get their roots as well as their tops.
- 3. Sow your seeds in late winter or early spring. Consult your seed packet for the best time for planting. Note that planting times may vary depending on your region. A good rule of thumb is to sow seeds eight to ten weeks prior to the last frost.
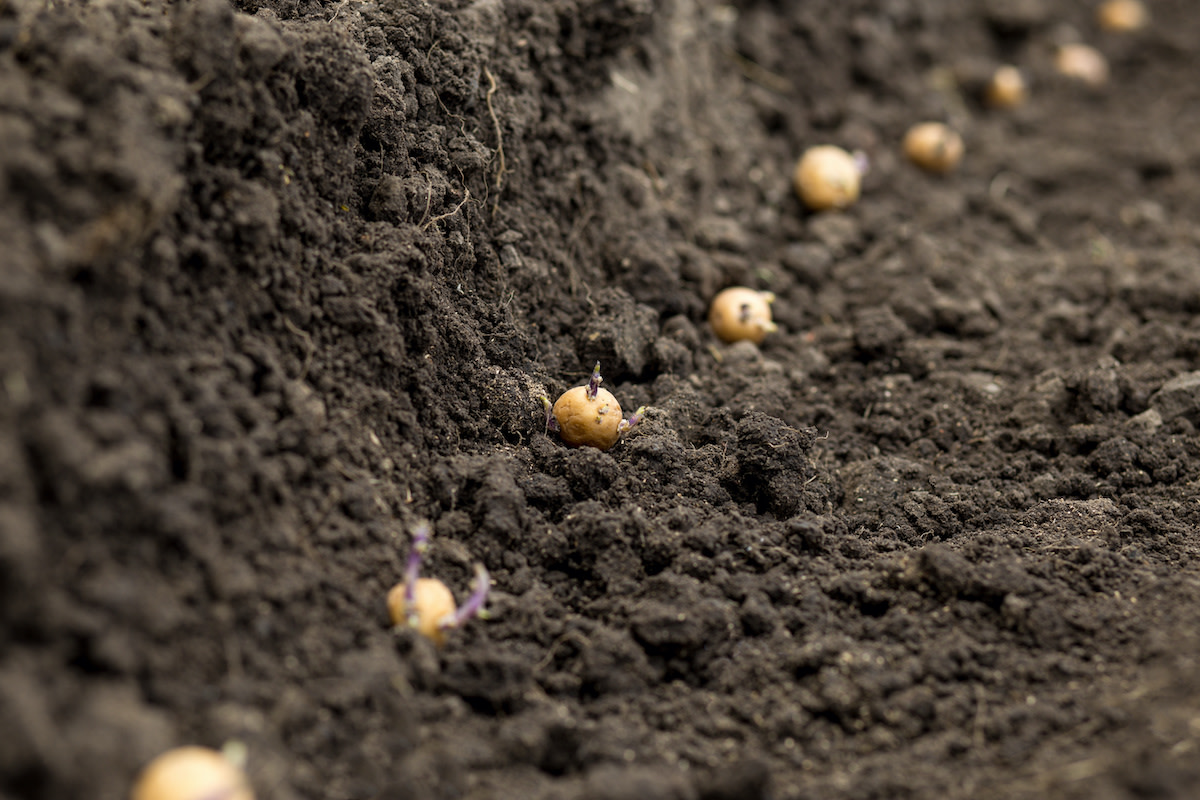
- 4. Plant seeds at the proper depth. Planting depth matters for seed germination. For shrubs and vegetables with larger seeds, plant each seed at a depth that's roughly three times the diameter of the seed itself. For small seeds, simply press them into the soil, deep enough to ensure they’re covered. You can scatter flower seeds by hand, then rake the soil to bury them.
- 5. Water gently. Moisten the ground where you've planted your seeds, but avoid overwatering. The soil around seeds should remain moist but never soggy standing water. A regular regimen of drip-style watering will yield the best results.
- 6. Thin seedlings occasionally. Too many young plants close together will crowd each other out and make it impossible for any to thrive. Thin seedlings periodically so that the surviving plants can grow to their maximum potential.
- 7. Add mulch once the seedlings have matured. Avoid mulching the soil until plants emerge from the ground and their stems begin to strengthen. Mulch hinders water evaporation and weed growth, but it also limits the flow of air and water. Mature plants benefit from mulch, but seedlings do not.
Learn More
Grow your own food with Ron Finley, the self-described "Gangster Gardener." Get the MasterClass Annual Membership and learn how to cultivate fresh herbs and vegetables, keep your house plants alive, and use compost to make your community - and the world - a better place.