Découpage Guide: How to Découpage in 6 Steps
Written by MasterClass
Last updated: Jul 15, 2021 • 3 min read
Learn how to découpage, a popular craft method for decorating objects with paper and textiles.
Learn From the Best
What Is Découpage?
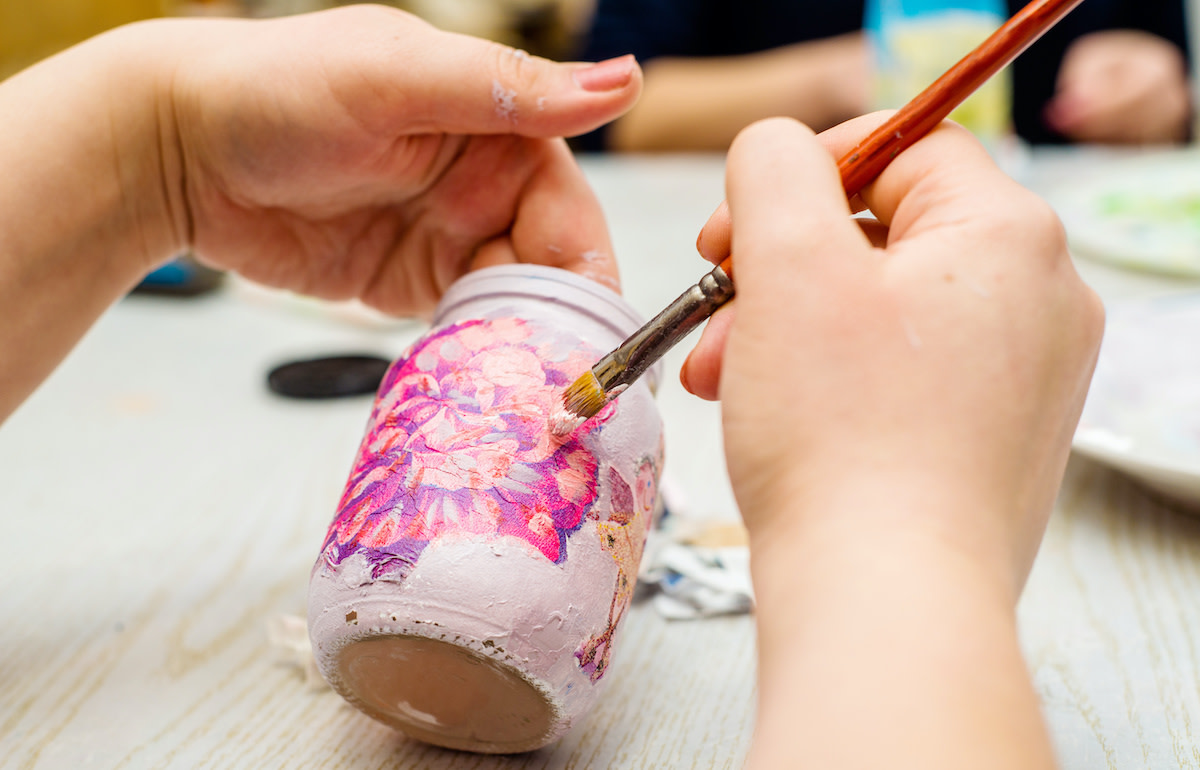
Découpage is a craft that involves gluing fabric or paper cutouts onto objects, then sealing the entire object to make it look painted. Découpage is a DIY way to decorate home items and upcycle old objects with new embellishments. You can découpage many surfaces, including wood, metal, glass, terra cotta, and even plastic. Furniture, vases, lampshades, picture frames, and glassware are popular household items to découpage.
A Brief History of Découpage
The word “découpage” comes from the Middle French word "decouper," which means to cut up, cut out, or carve out. The découpage method possibly originates from Siberia, where it was used to decorate tombs. The technique then migrated to China and eventually to Europe. It was prevalent in Italy and France—artisans would découpage furniture, frames, and book covers. Today, découpage is an easy craft project thanks to all-in-one glue and seal products such as Mod Podge.
Découpage vs. Collage: What’s the Difference?
Découpage is a type of collage, a form of visual arts in which visual elements are combined to create a new image that conveys a message or idea. In addition to découpage, other subgenres of collage include photomontage and fabric collage, each of which offers a variation of its basic form. Modern technology has also led to the rise of digital collage art or eCollage created by computer and photo-editing software programs.
5 Essential Découpage Supplies
Select an object to découpage, then gather the following supplies for your project:
- 1. Découpage medium: Find a glue and sealer product to coat and finish your item. These products are available in shiny and matte finishes and hard-coat finishes for furniture and dishwasher-safe finishes for dishware. Alternatively, you can use school glue mixed with equal parts water, plus a standard sealer or lacquer—or varnish if you’re covering wood objects.
- 2. Sharp scissors: Use sharp scissors or sewing shears to cut the paper or fabric. You can also use a craft knife or rotary cutter for more intricate cuts.
- 3. Paper cutouts and fabric: Gather fabric scraps and paper items, such as magazine paper, book pages, tissue paper, wrapping paper, paper napkins, scrapbook paper, photos, gold foil, greeting cards, or even specialized découpage paper. If you print clipart or digital images, make sure it’s not an inkjet printer, or else it will bleed when it comes into contact with the glue.
- 4. Foam paint brushes: Prepare two paint brushes, one for applying glue and the other for sealer. Foam brushes are the best for spreading the découpage medium.
- 5. Brayer tool: You’ll need a brayer tool or squeegee to remove air bubbles from the top layer of the découpage medium.
How to Découpage in 6 Steps
Follow these steps to transform household items and upcycle old objects with paper and fabric:
- 1. Prepare your object. Wipe down the object to clean any surface debris. If you are decoupaging wooden furniture, sand it with grit sandpaper to ensure the surface is smooth and clean. Wipe away any sand that accumulates, then apply a primer to the wood. You can also paint the wood using acrylic paint if you want a different base for your cutouts, but wait until the paint is dry before you découpage.
- 2. Cut your découpage images. Carefully cut out the decorations that you are using, either paper items or textiles.
- 3. Apply the glue to your object. Brush glue onto the back of the decoration and stick it onto the object. You can also apply glue directly to the place you want the decoration to lie on the object, then place the paper or fabric onto the glue spot.
- 4. Remove any air bubbles from the surface. Smooth out the decoration by pushing from the center of the image outward to remove any air bubbles. You can use your fingers or a brayer tool.
- 5. Dry your object. After you finish adding the decorations and embellishments, let the glue dry completely.
- 6. Seal your project to finish. Apply at least three coats of découpage medium to finish, letting it dry between coats. Repeat this process until the entire surface of the object is even with a smooth finish—you shouldn’t be able to feel the edges of the decoration. If making an object for outdoor use, add a spray lacquer or waterproof varnish. Let your new découpage home decor dry for a day or two before use.
Learn More
Get the MasterClass Annual Membership for exclusive access to video lessons taught by the world’s best, including Kelly Wearstler, Ron Finley, Bobbi Brown, RuPaul, and more.
