Mixology Essentials: How to Create Cocktail Floats and Layers
Written by MasterClass
Last updated: Jun 7, 2021 • 1 min read
Layered cocktails first came into fashion during the mid-1800s, in the form of a coffee-chaser known as a pousse-café, which highlighted bright, intense flavors and colorful liqueurs for a visual effect. Learning to float layers is an easy and versatile skill in any bartender’s tool-kit—and it’s not just for fun shots.
Learn From the Best
What Is a Cocktail Float?
In mixology, a float most often refers to the top layer of a drink. This is achieved through a broader technique called layering, which uses the specific gravity of each liqueur to create distinctly visible layers in a cocktail or shot glass. This can be purely for presentation (either to create a striking accent or effect, like momentarily lighting a drink on fire), or it can be more intentional, enabling a distinct experience of a drink’s separate flavor components.
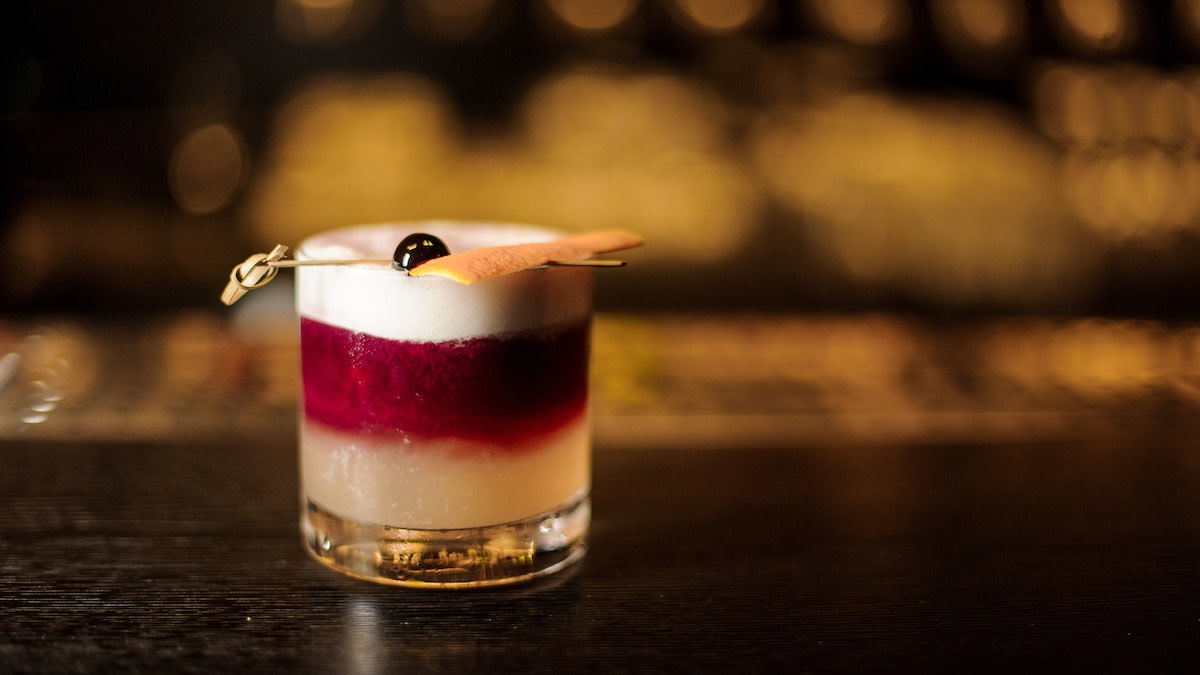
Layered drinks include everything from layered shots, to the sparkling wine float on a French 75, the heavy cream float on a White Russian, the ombré look of a Tequila Sunrise (grenadine, orange juice, and finally, tequila), or the band of red wine that crowns a New York Sour.
How to Layer a Cocktail: Step-by-Step Guide
Before beginning, gather all your ingredients and the glass you’ll be using—already chilled, if possible.
- 1. Determine the heaviest liquid, as this will form the first layer on the bottom of the glass. These are typically the sweeter elements in the recipe, many of which have a cream or heavy syrup base and higher sugar content.
- 2. If the drink requires relatively rigid layers with different densities, hold a bar spoon (a regular spoon will work as well) upside down over the glass, just above the previous layer. Carefully pour your next heaviest ingredient. The curved surface of the spoon will evenly disperse the liquid and keep the layers intact. If a drink only requires a float, shake or stir the base spirit and any other ingredients as normal, then carefully pour the float over the top. Some mixing will occur naturally here; watching the tendrils of the float ingredient seep downward is part of the effect!
- 3. Repeat as many times as the recipe calls for. Remember: The final top layer should have the lightest density.
Learn More
Learn more about mixology from award-winning bartenders. Refine your palate, explore the world of spirits, and shake up the perfect cocktail for your next gathering with the MasterClass Annual Membership.
